 Pin it
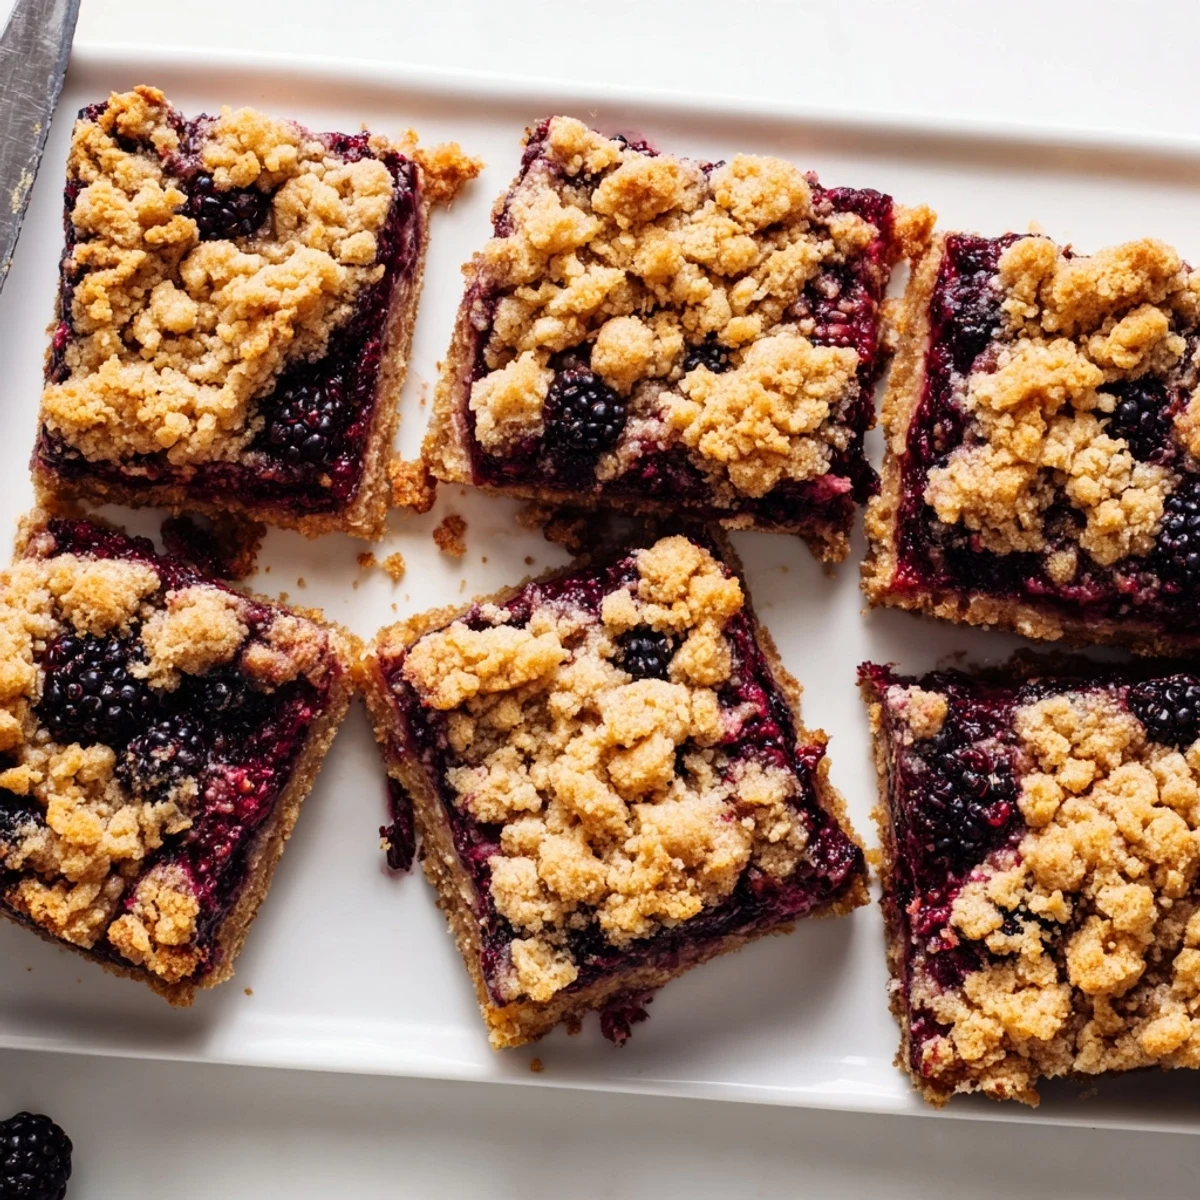
 These tender bars feature a buttery shortbread crust topped with sweetened blackberries and finished with a golden, cinnamon-spiced crumble. The dough doubles as both base and topping, making preparation simple and efficient.
Fresh blackberries are tossed with sugar, cornstarch, and bright lemon juice before being spread over the pressed crust. The remaining crumb mixture gets scattered across the fruit layer, creating that signature textured topping that bakes to golden perfection.
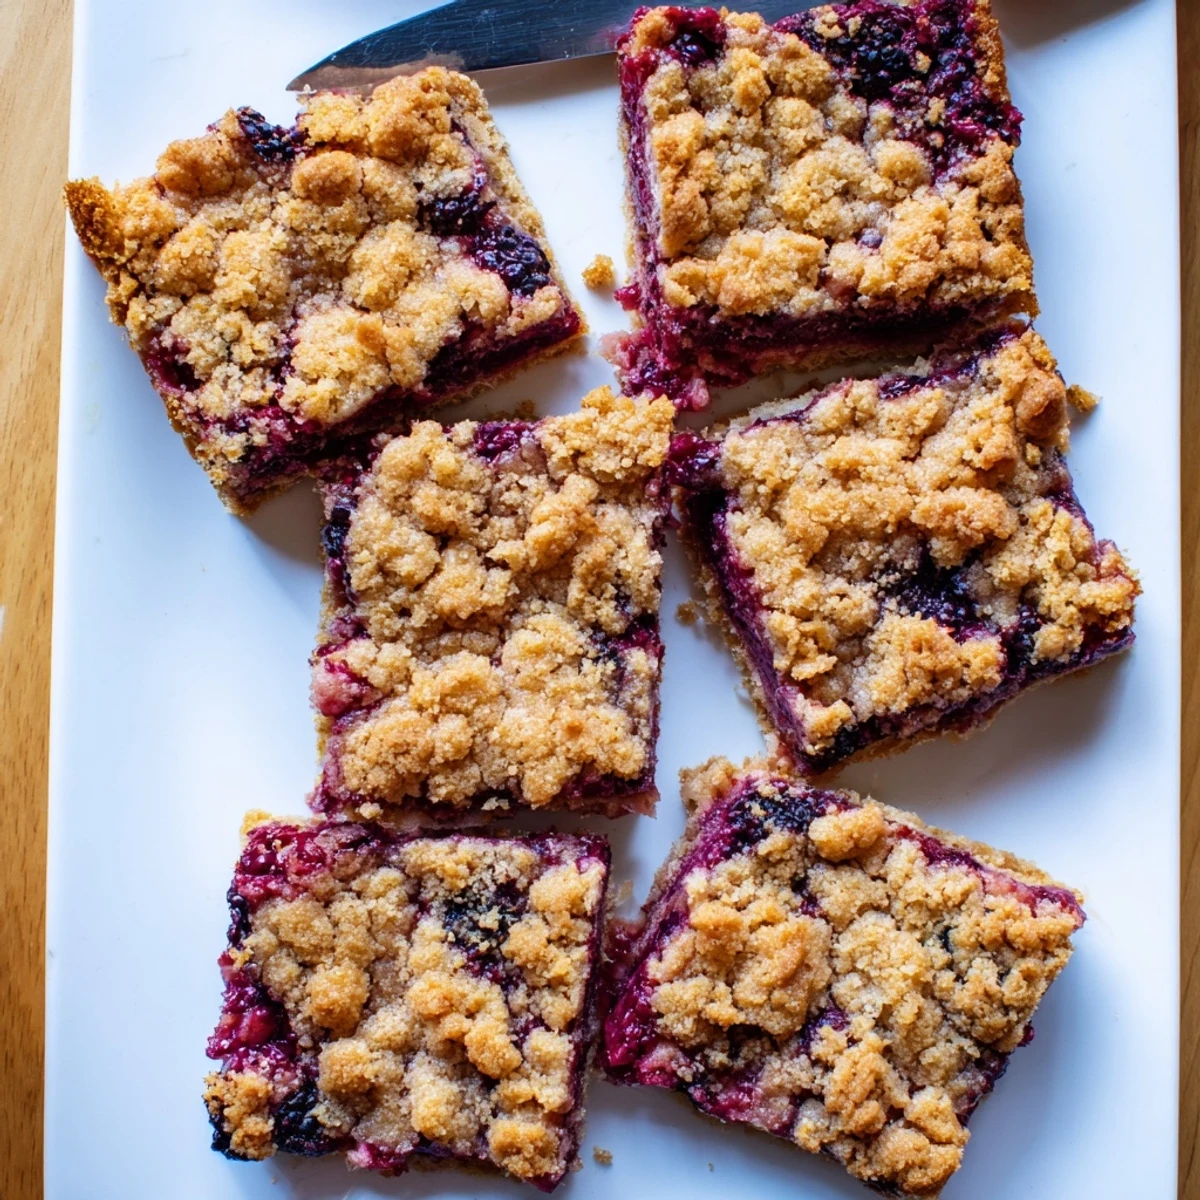
Bake until the edges are bubbling and the top is deeply golden, then cool completely before slicing. The bars store beautifully at room temperature for three days or refrigerated for a week. They're equally delightful on their own or topped with vanilla ice cream.
My kitchen still smells like butter and berries the morning after I made these crumble bars for the first time. I had picked up way too many blackberries at the farmers market, justifying the overflowing basket with plans for jam that never happened. These bars became my happy accident, simpler than pie but somehow more satisfying.
Last summer I brought a batch to a friends backyard barbecue, and they disappeared before the burgers even hit the grill. Her aunt asked for the recipe three times throughout the evening, claiming she never bakes but would make an exception for these bars. Now they are my go to whenever I need something that feels special but does not require a pastry degree.
Ingredients
- 2 cups all purpose flour: The foundation for both your tender crust and the crumbly topping that makes these bars so irresistible
- 1 cup granulated sugar: Sweetens the dough just enough to complement the tart berries without overwhelming them
- 1/2 teaspoon baking powder: Gives the crust a subtle lift so it bakes up tender rather than tough or dense
- 1/4 teaspoon salt: Balances the sweetness and enhances all the other flavors in the buttery dough
- 1/2 teaspoon ground cinnamon: Adds warmth and depth that pairs beautifully with the bright blackberry filling
- 1 cup cold unsalted butter, cubed: Must be cold to create that perfect crumbly texture that bakes into something magical
- 1 large egg: Binds the dough together while keeping it tender and manageable to press into the pan
- 3 cups fresh blackberries: The star of the show, bursting with juice and flavor as they bake into a jammy layer
- 1/2 cup granulated sugar: Sweetens the tart blackberries just enough to let their natural flavor shine through
- 2 tablespoons cornstarch: Thickens the berry juices as they bake, preventing a soggy bottom while keeping the filling luscious
- 1 tablespoon fresh lemon juice: Brightens the berry flavor and enhances their natural sweetness without making it taste like lemon
- 1 teaspoon lemon zest: Adds a fragrant citrus note that makes the blackberry flavor really pop
Instructions
- Get your oven ready:
- Preheat to 350°F and line a 9x9 pan with parchment paper, letting the edges hang over like handles for easy lifting later.
- Mix the dry ingredients:
- Whisk together flour, sugar, baking powder, salt, and cinnamon in a large bowl until everything is evenly combined.
- Cut in the cold butter:
- Work the cubed butter into the flour mixture with a pastry cutter or your fingers until it looks like coarse crumbs with some pea sized pieces remaining.
- Bind the dough:
- Add the egg and mix until the dough starts clumping together, it will still look crumbly and that is exactly right.
- Form the crust:
- Press about two thirds of the dough firmly into the bottom of your prepared pan, creating an even layer that reaches the edges.
- Prepare the filling:
- Gently toss the blackberries with sugar, cornstarch, lemon juice, and zest until the berries are evenly coated.
- Layer the berries:
- Spread the sugared blackberries evenly over the pressed crust, using all the berries and any juices in the bowl.
- Add the crumble topping:
- Sprinkle the remaining dough over the berries in uneven clumps, some larger, some smaller, for that classic crumble look.
- Bake until golden:
- Bake for 38 to 42 minutes until the top is golden brown and you see the berry filling bubbling happily around the edges.
- Cool completely:
- Let the bars cool completely in the pan on a wire rack, then use the parchment handles to lift them out before slicing.
 Pin it
 My daughter now requests these for every school bake sale, and I love that I can make them the night before without any fuss. They have become the kind of recipe that feels like giving someone a hug, especially when wrapped in parchment and tied with baker's twine.
Making These Your Own
Raspberries work beautifully here and create an even brighter red filling, while blueberries yield a mellower, jammy result. I have used frozen berries in a pinch, just thaw them completely and drain off any excess liquid before tossing with the sugar and cornstarch.
Storage and Make Ahead Tips
These bars actually taste better on day two, once the flavors have had time to mingle and the filling has set completely. They stay fresh at room temperature for three days, though I have kept them refrigerated for up to a week when my kitchen was particularly warm.
Serving Suggestions
A warm bar with vanilla ice cream is my idea of dessert perfection, especially when the berries are still slightly warm from the oven. They also pair wonderfully with afternoon tea or as an unexpected addition to a brunch spread.
- Sprinkle a little turbinado sugar over the topping before baking for extra crunch
- Try mixing different berries like strawberries and rhubarb for a seasonal twist
- Serve with a dollop of Greek yogurt for a breakfast that feels like dessert
 Pin it
 There is something deeply satisfying about a dessert that looks impressive but comes together with such simple ingredients and straightforward steps. Hope these bars find their way into your kitchen and onto your table soon.
Recipe FAQ
- → Can I use frozen blackberries?
-
Yes, frozen blackberries work perfectly. Thaw them completely and drain any excess liquid before tossing with the sugar and cornstarch. This prevents the filling from becoming too watery during baking.
- → How do I know when the bars are done baking?
-
The bars are ready when the crumble topping is golden brown and you see the fruit filling bubbling around the edges. The center should be set but still juicy. This typically takes 38–42 minutes at 350°F.
- → Can I make these bars gluten-free?
-
Absolutely. Substitute the all-purpose flour with a 1:1 gluten-free flour blend designed for baking. The texture and flavor remain excellent, making these accessible for those avoiding gluten.
- → Should I refrigerate the bars?
-
They store well at room temperature in an airtight container for up to three days. For longer storage, refrigerate for up to one week. Bring chilled bars to room temperature before serving for the best texture.
- → Can I substitute other berries?
-
Raspberries, blueberries, or a mixed berry blend all work beautifully. Adjust the sugar slightly based on the fruit's natural sweetness. The method remains the same regardless of which berries you choose.
- → Why must the bars cool completely before slicing?
-
The filling needs time to set as it cools. Cutting warm bars will cause them to crumble and the fruit layer to run. Letting them cool completely ensures clean slices and proper texture.
