 Pin it
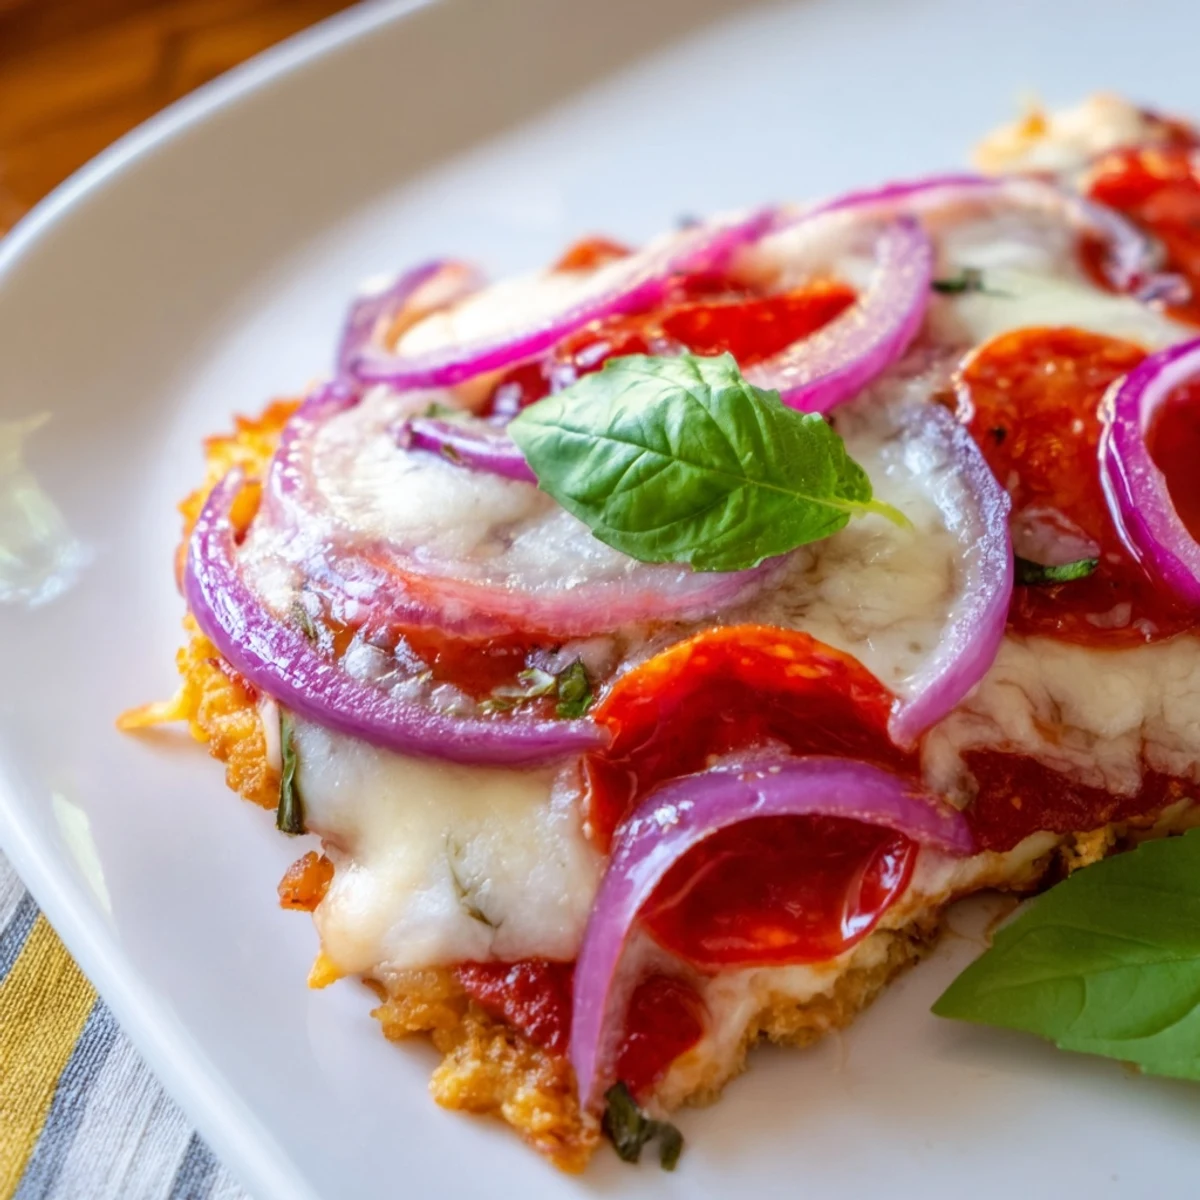
 This innovative pizza swaps traditional dough for a crispy, golden chicken base that delivers serious protein while keeping carbs low. The ground chicken mixture bakes into a firm, flavorful foundation that holds up beautifully under classic toppings.
The preparation involves mixing ground chicken with Parmesan, egg, and aromatic seasonings, then shaping and partially baking before adding your favorite toppings. The result is a satisfying slice that's both gluten-free and keto-friendly without sacrificing texture or taste.
Customize with vegetables, different meats, or keep it classic with pepperoni and mozzarella. The crust develops a satisfying crunch that rivals conventional versions.
The smell of this pizza baking triggered something visceral in my kitchen last week. My roommate wandered in from her home office, following the scent of melting cheese and golden crust, asking if I had ordered delivery. When I slid this chicken-based creation from the oven, she stood frozen mid-question, genuinely confused about how something that smelled this indulgent could possibly fit her keto lifestyle. We devoured the entire thing standing over the counter, forgetting entirely about the plates we had set out.
Last month, I served this at a small dinner party where two guests were strictly gluten-free. I was nervous they would feel like they were getting a compromise version of the meal while everyone else ate regular pizza. But when we all sat down to eat, the gluten-free slices disappeared faster than anything else on the table. Both guests asked for the recipe before dessert even came out, and one of them texted me two days later saying she had already made it three times.
Ingredients
- 500 g ground chicken: The higher fat content creates a more tender crust, so avoid extra lean varieties
- 1 large egg: This is the crucial binder that keeps everything together as the crust bakes
- 50 g grated Parmesan cheese: Adds a salty depth that mimics the fermented flavor of traditional wheat dough
- 1 tsp garlic powder: Use fresh garlic powder, not garlic salt, or your crust will become too salty
- 1 tsp Italian seasoning: I crush the dried herbs between my fingers first to wake up the oils
- 1/2 tsp salt: Essential because ground chicken is naturally quite bland on its own
- 1/2 tsp black pepper: Freshly ground makes a noticeable difference in the final flavor
- 120 ml sugar-free pizza sauce: Check labels carefully, some sugar-free brands still have hidden carbs
- 150 g shredded mozzarella cheese: Low-moisture part-skim melts better than fresh mozzarella for this application
- 60 g sliced pepperoni: The rendered fat from the pepperoni seasons the crust as it bakes
- 1/2 small red onion, thinly sliced: Soak the slices in cold water for 10 minutes to remove harsh bite
- 1/2 red bell pepper, thinly sliced: These add sweetness and color contrast against the salty toppings
- Fresh basil leaves: Add these after baking so they stay bright and aromatic
Instructions
- Preheat and prep your station:
- Set your oven to 220°C and line a large baking tray or pizza stone with parchment paper. I arrange all my toppings in small bowls beforehand so everything is within arms reach once I start assembling.
- Mix the crust:
- Combine the ground chicken, egg, Parmesan cheese, garlic powder, Italian seasoning, salt, and black pepper in a bowl. Use your hands to mix until everything is fully incorporated and the mixture holds together when squeezed.
- Shape the base:
- Spread the chicken mixture evenly on your prepared tray, forming it into a 30 cm round circle about 1 cm thick. Make the edges slightly thicker than the center to create a natural crust border.
- Pre-bake the crust:
- Bake for 15 minutes until the surface feels firm and has started turning golden in spots. The chicken will release some liquid during this step, which is completely normal.
- Blot excess moisture:
- Carefully remove the partially baked crust from the oven and use paper towels to gently blot away any surface moisture. This simple step is the secret to achieving that satisfying crunch in the final product.
- Add your toppings:
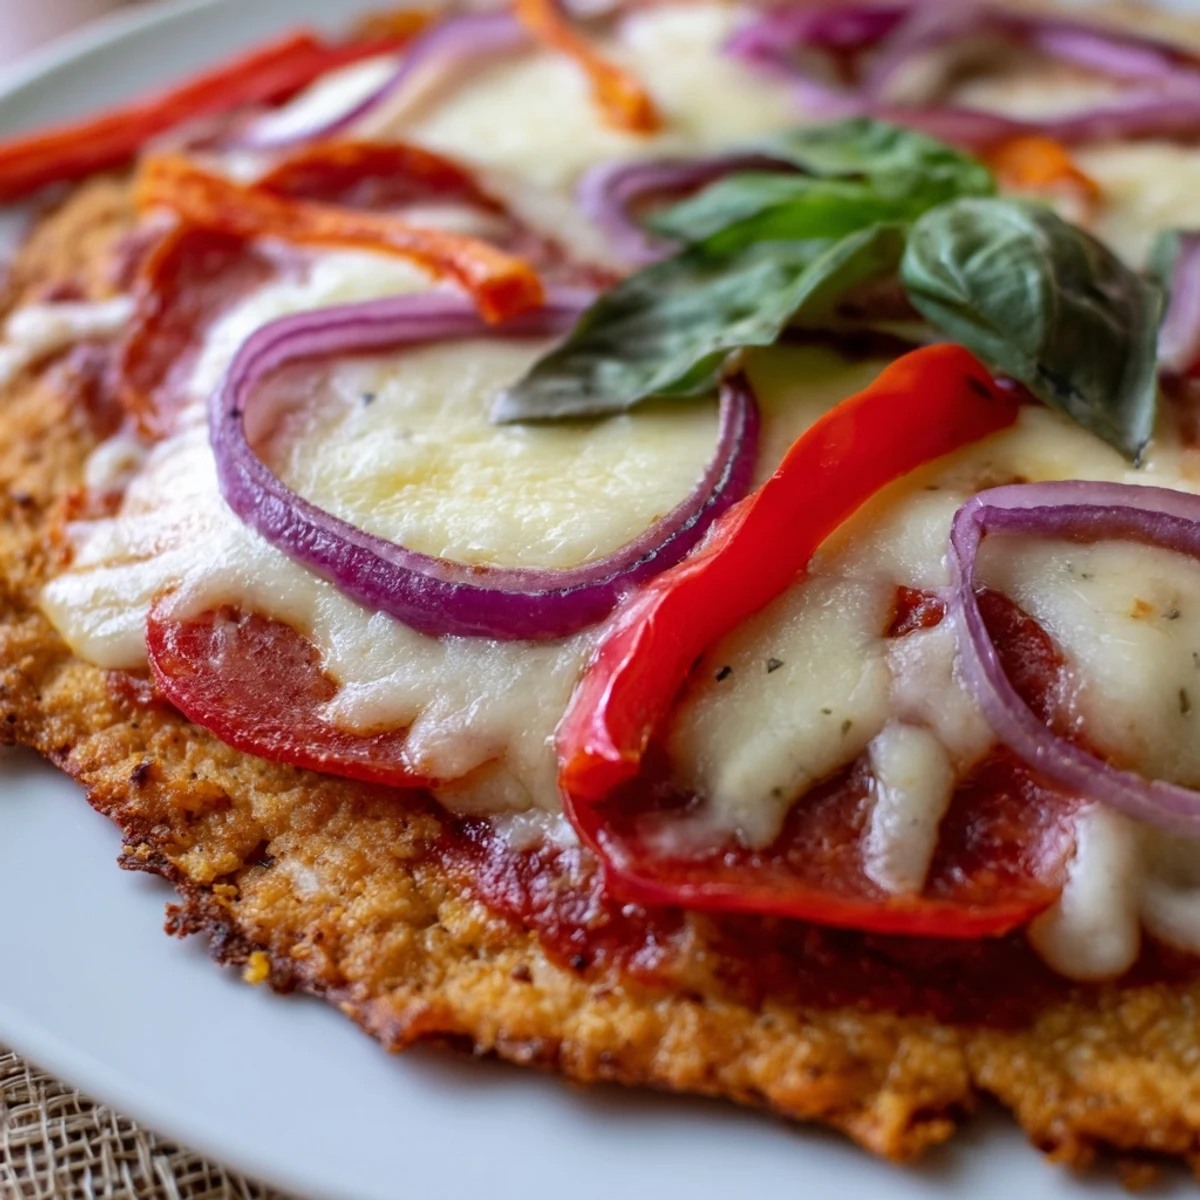
- Spread the pizza sauce evenly across the crust, then layer on the mozzarella, pepperoni, onion slices, and bell pepper. Leave a small border around the edges if you want the crust to stay extra crispy.
- Final bake:
- Return the pizza to the oven for 8 to 10 minutes, watching until the cheese is bubbly and has developed golden spots. The kitchen will smell incredible at this point, which is how you know it is almost ready.
- Rest and garnish:
- Let the pizza rest for 5 minutes before slicing, which gives the cheese a moment to set and prevents toppings from sliding off. Scatter fresh basil leaves over the top right before serving while the pizza is still hot.
 Pin it
 This recipe has become my Friday night ritual, something I look forward to all week long. There is something deeply satisfying about making pizza completely from scratch while still keeping it light enough that I never feel weighed down afterwards. Last Friday, I ate three slices while watching a movie and felt completely energized instead of needing the usual post-pizza nap.
Getting The Crust Texture Right
The key is spreading the chicken mixture evenly without making it too thin. If you can see through to the parchment paper in any spots, patch it with more mixture, or those areas will burn while thicker sections remain undercooked. I use an offset spatula to smooth the surface, which helps create uniform thickness across the entire crust.
Customizing Your Toppings
This base works beautifully with almost any pizza topping combination you love. I have found that pre-cooking watery vegetables like mushrooms or spinach prevents them from making the crust soggy during the final bake. Just sauté them quickly in a dry pan until they release their moisture, then add them like any other topping.
Serving And Storage
Leftovers reheat surprisingly well, either in a 180°C oven for about 8 minutes or in a hot skillet for a crispy bottom. I sometimes make two crusts at once and freeze the second one after the initial 15-minute bake, then thaw and add toppings later for an even faster weeknight meal. The frozen crust keeps for about a month without losing texture or flavor.
- Use a pizza cutter and press down firmly in one smooth motion rather than sawing back and forth
- If reheating leftovers, cover loosely with foil to prevent the toppings from drying out
- This pizza is best enjoyed the same day but will keep refrigerated for up to 3 days
 Pin it
 There is nothing quite like pulling a homemade pizza from the oven, especially when you know it fits perfectly into your lifestyle without sacrificing any of the joy. This recipe has turned Friday nights into something I genuinely anticipate all week long.
Recipe FAQ
- → What makes the chicken crust hold together?
-
The combination of egg and Parmesan cheese acts as a binder, while the ground chicken's natural proteins firm up during baking to create a stable base.
- → Can I freeze the chicken crust?
-
Yes, partially bake the crust, let it cool completely, then wrap tightly and freeze for up to 3 months. Thaw before adding toppings and finishing.
- → Is this suitable for ketogenic diets?
-
Absolutely. With only 6g of carbohydrates and 35g of protein per serving, this fits perfectly into keto and other low-carb eating plans.
- → Why do I need to blot the crust before topping?
-
Removing surface moisture prevents a soggy bottom and ensures the final texture stays crispy rather than steaming under the sauce and cheese.
- → Can I use other ground meats?
-
Ground turkey works well as a leaner alternative. Pork adds more fat and flavor. Avoid very lean meats as they may become tough during baking.
- → How thin should I spread the crust?
-
Aim for about 1 cm thickness. Too thin and it may crack, too thick and the center won't cook through properly before the edges overbrown.
