 Pin it
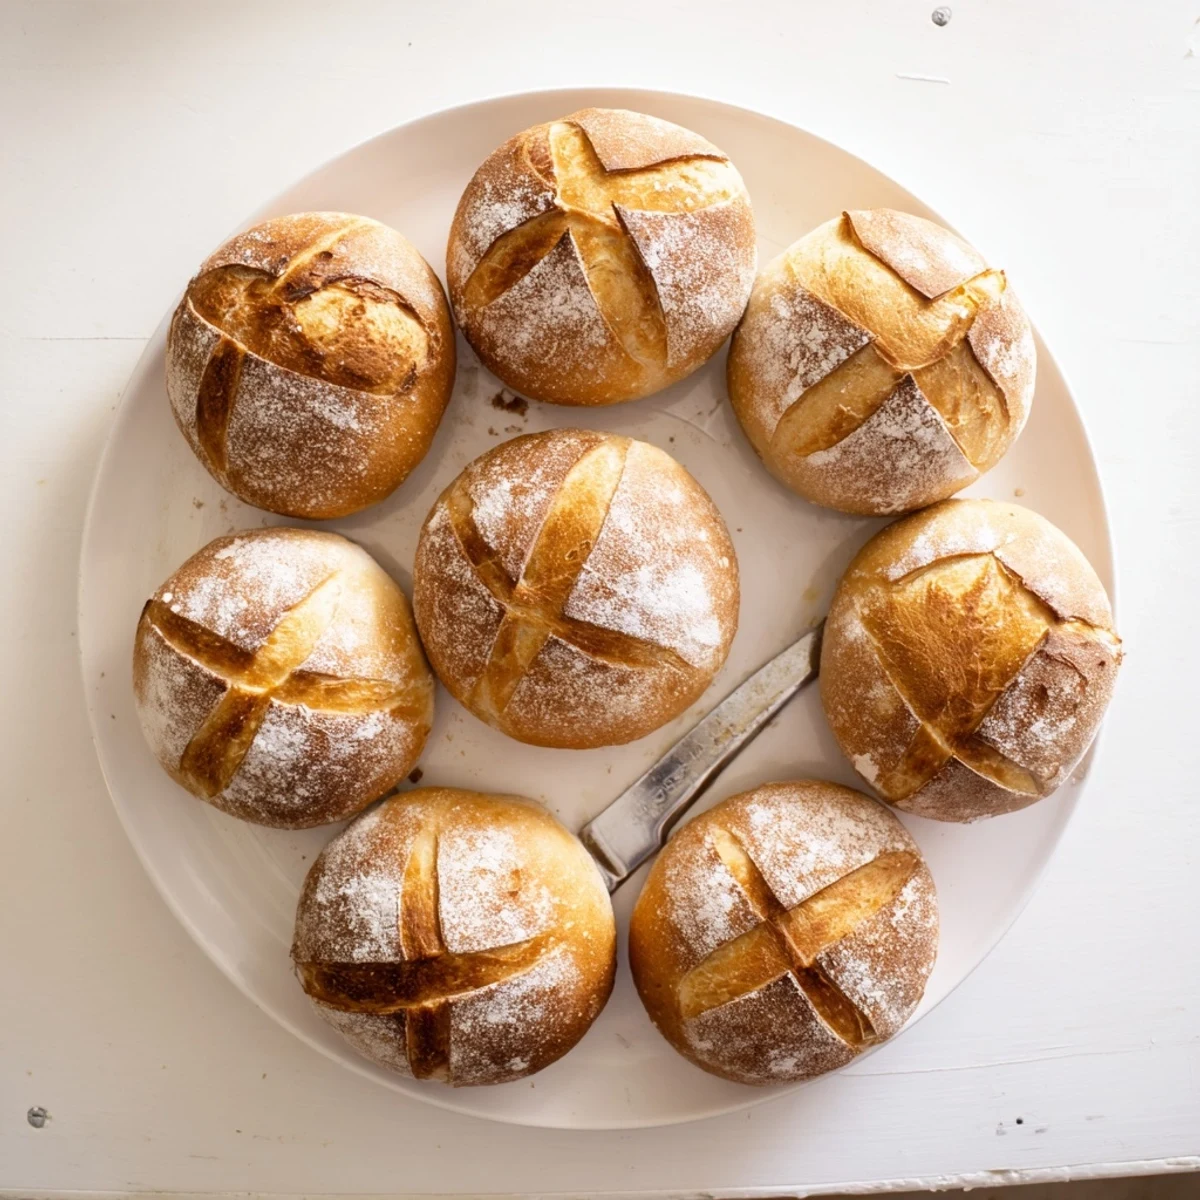
 Create bakery-quality golden rolls with irresistibly crispy crusts and pillowy soft centers. These classic French-style breads feature a beautifully caramelized exterior that gives way to a tender, airy interior. Perfect for serving warm with melting butter, dipping into soups, or building hearty sandwiches. The steam-baking technique ensures that signature crackly crust home bakers love, while the simple yeast dough develops deep flavor during rising. Each batch yields eight handheld rolls ready to elevate any meal.
My tiny apartment kitchen smelled like a proper French boulangerie when I first attempted these rolls, the steam hitting my glasses as I peered into the oven. I'd been intimidated by bread baking for years, convinced yeast was some mysterious creature that required perfect conditions to thrive. That afternoon proved me wrong, and these rolls have become my go-to comfort recipe ever since.
Last winter, during a snowed-in weekend with friends, I made a triple batch. We ate them warm, slathered with salted butter, while watching fat flakes accumulate outside the window. Something about tearing into a crusty roll with people you love makes even the simplest meal feel like a celebration.
Ingredients
- Bread flour: The higher protein content creates that signature chewy interior and robust structure
- Lukewarm water: Too hot kills the yeast, too cold makes it sluggish, aim for bath temperature
- Active dry yeast: Watch it foam, that's your insurance that the dough will rise properly
- Salt: Don't skip it, salt is crucial for flavor and controlling yeast fermentation
- Sugar: Just a teaspoon feeds the yeast and helps develop that golden crust color
- Extra flour for dusting: Makes your homemade loaves look like they came from a bakery window
Instructions
- Wake up the yeast:
- Dissolve sugar in lukewarm water, sprinkle yeast on top, and wait 10 minutes until it bubbles enthusiastically
- Build the dough:
- Mix flour and salt into the yeast mixture, then knead until the dough becomes smooth and bounces back when pressed
- Let it rise:
- Place dough in an oiled bowl, cover with a damp cloth, and find a warm spot for an hour until it doubles in size
- Shape your rolls:
- Gently deflate the dough, divide into 8 equal pieces, and form each into a smooth ball or oval
- Second rise:
- Arrange rolls on parchment paper, cover loosely, and let them puff up for 30-40 minutes
- Preheat with steam:
- Heat oven to 450°F and place a water tray on the bottom rack to create a steamy environment
- Score and bake:
- Dust tops with flour, make quick slashes with a sharp knife, then bake until golden and crusty
 Pin it
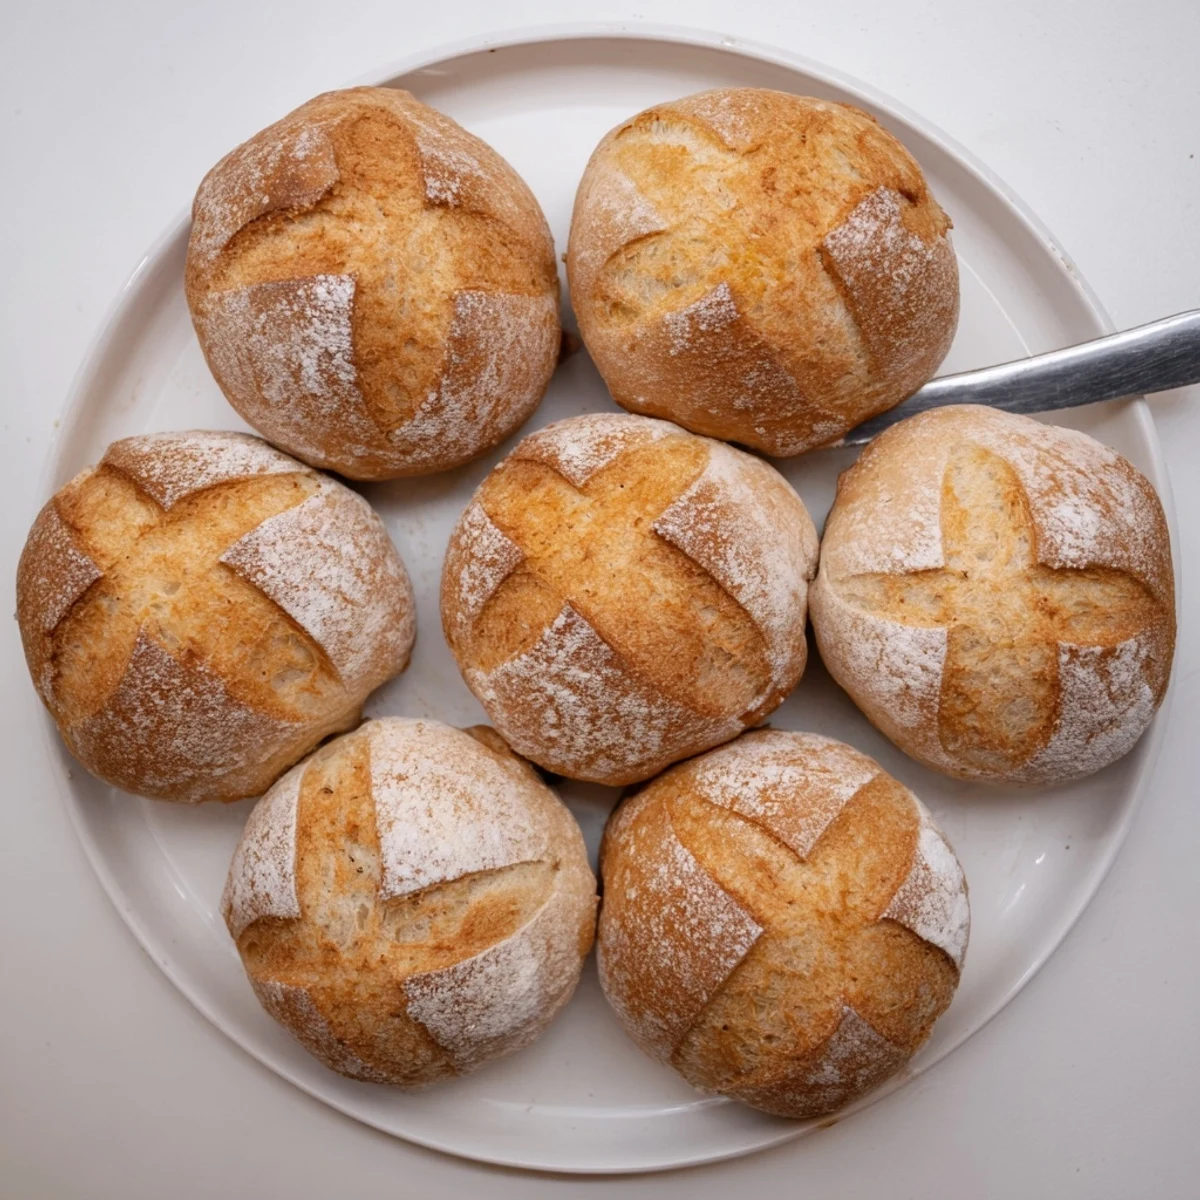
 My neighbor once knocked on my door while these were baking, convinced I'd started a secret bread business from my apartment. The smell travels through walls, which I consider a bonus rather than a drawback.
Getting The Perfect Rise
I've learned that finding the warm spot for rising is an art form. Sometimes it's on top of the refrigerator, other times inside a barely warmed oven with the light on. Wherever it is, the dough will tell you when it's ready, it should look puffy and hold a fingerprint when gently pressed.
Mastering The Slash
The first time I slashed my rolls, I was terrified of ruining them. Now I realize it's like giving the dough permission to expand beautifully. Use your sharpest knife, hold it at a slight angle, and make one confident motion, hesitation creates jagged edges.
Customization Ideas
These rolls are incredibly forgiving and welcome experimentation. Swap some water for milk and butter for a softer dinner roll, or add herbs and cheese to the dough for something entirely different.
- Sprinkle sesame or poppy seeds before baking for extra crunch
- Brush with garlic butter immediately after removing from the oven
- For sandwich rolls, flatten them slightly before the second rise
 Pin it
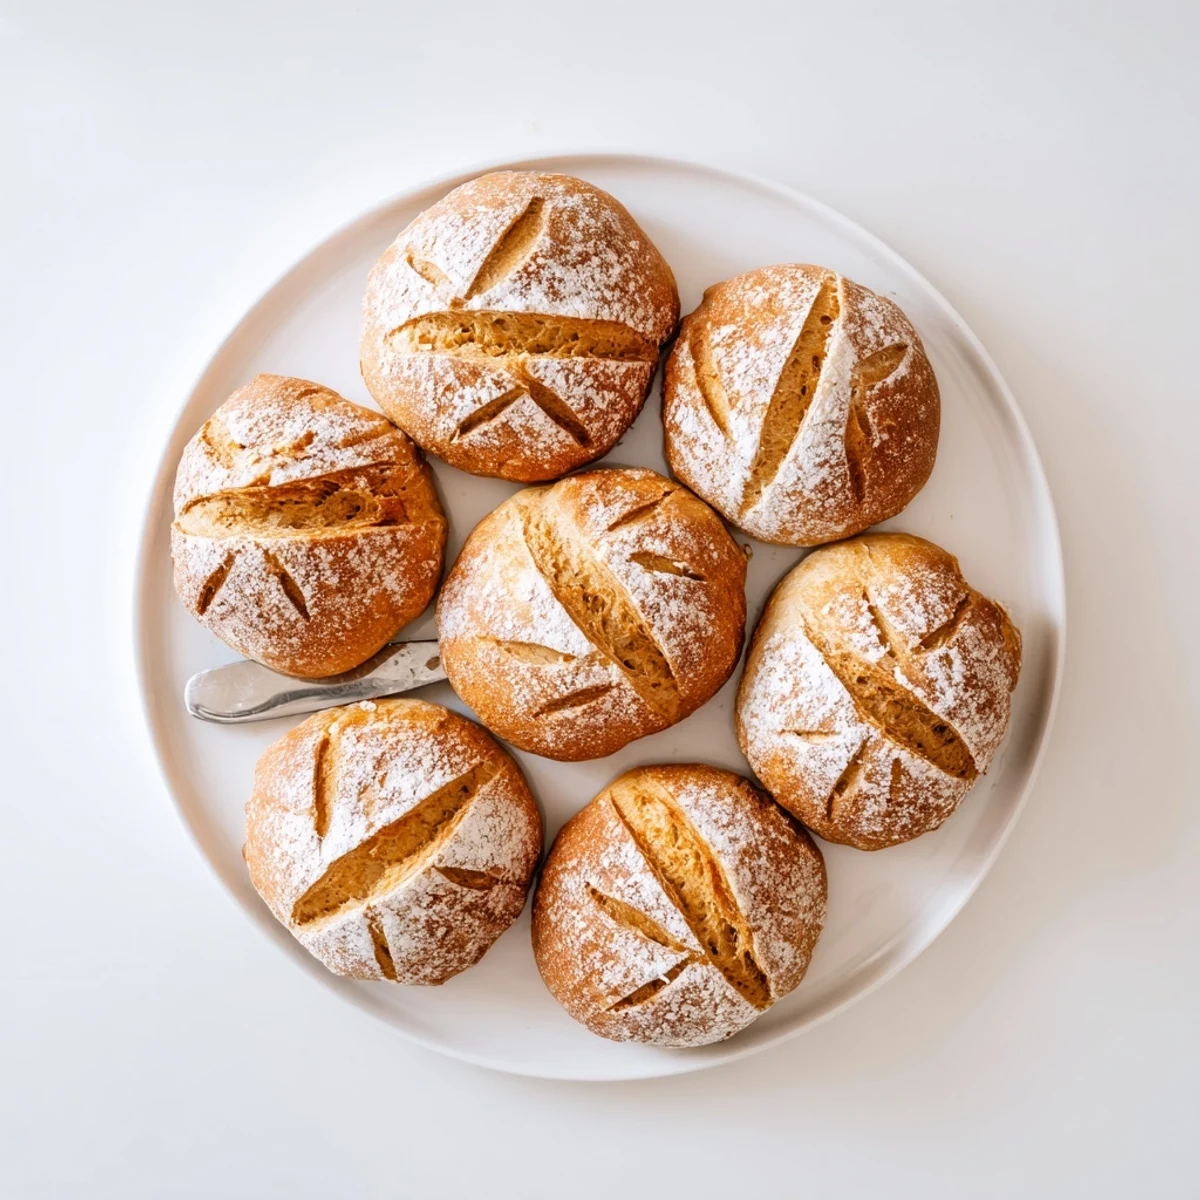
 There's nothing quite like the sound of a fresh roll crackling as it cools on the counter. It's the kitchen equivalent of a warm welcome home.
Recipe FAQ
- → How do I get the crispiest crust on my rolls?
-
Place a tray of water on the bottom oven rack while baking. The created steam helps develop that signature crackly, golden exterior. Also ensure your oven reaches full temperature before baking.
- → Can I make these rolls ahead of time?
-
Yes, shape the dough and refrigerate overnight before the final rise. Bring to room temperature, let rise, then bake. Freshly baked rolls can also be frozen and reheated at 180°C for 5-8 minutes.
- → Why did my dough not double in size?
-
This usually means inactive yeast or too cool temperatures. Ensure your water is lukewarm (not hot) and find a warm, draft-free spot for rising. Fresh yeast and proper environment are essential.
- → What's the purpose of slashing the tops before baking?
-
Slashing allows steam to escape and helps the rolls expand properly while baking, creating that beautiful split appearance and ensuring even rising without bursting.
- → Can I use all-purpose flour instead of bread flour?
-
You can substitute all-purpose flour, though bread flour provides better structure and chewiness due to higher protein content. The results will still be delicious with a slightly softer texture.
