 Pin it
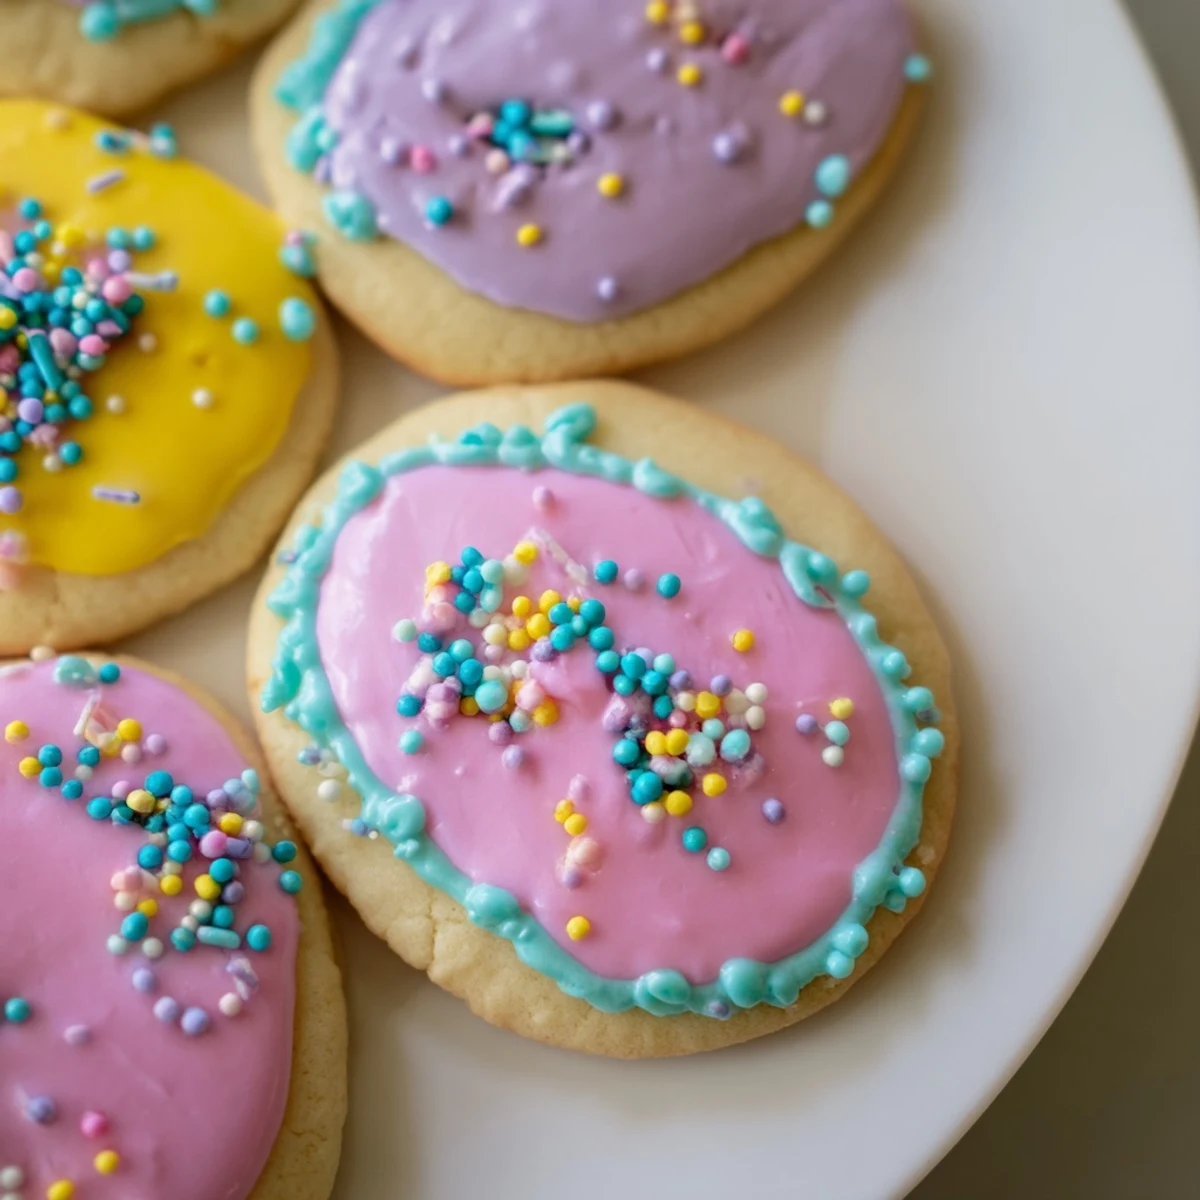
 These delightful Easter cookies feature a classic buttery sugar cookie base that's soft and tender. The dough comes together quickly and requires chilling for easy rolling. Cut into your favorite spring shapes—eggs, bunnies, chicks, or flowers—then decorate with colorful royal icing and sprinkles. The corn syrup in the icing creates a smooth, glossy finish that sets beautifully. Kids will love helping decorate these treats, making them perfect for family baking time during spring festivities. Store in an airtight container for up to a week.
My kitchen counter looked like a pastel explosion last April, with powdered sugar dusting every surface and three little nieces wielding butter knives like they were decorating tools. The youngest had decided that pink and blue icing should be swirled together on every single egg shaped cookie, creating these tie dye masterpieces that somehow tasted better than the perfectly decorated ones. We ended up with more frosting on our faces than on the cookies, but nobody was complaining.
Last year I made the mistake of trying a fancy decorator icing recipe that required heating sugar to precise temperatures and ended up with a grainy disaster that nobody could pipe. My grandmother would have laughed herself silly watching me panic over a candy thermometer when all along, the simple powdered sugar and corn syrup version was what she used every year. These cookies remind me that sometimes the most traditional methods are traditional for a reason.
Ingredients
- All purpose flour: The structure builder, but do not pack it down or your cookies will be tough instead of tender
- Baking powder: Just enough to give the cookies a subtle lift without making them cakey or puffy
- Salt: Essential for balancing all that sweetness and making the butter flavor pop
- Unsalted butter: Room temperature is non negotiable here, cold butter will not cream properly and you will have sad, dense cookies
- Granulated sugar: Creamed with butter until fluffy, this is what creates those delightfully crisp edges while keeping centers soft
- Large egg: Brings everything together and adds richness, use it straight from the fridge for better structure
- Pure vanilla extract: Do not even think about using imitation, the real stuff makes all the difference in a simple sugar cookie
- Powdered sugar: Sifting is annoying but absolutely necessary to prevent lumps in your royal icing
- Milk or water: Start with less and add more gradually, you cannot undo runny icing but you can always add more sugar
- Light corn syrup: The secret ingredient that makes icing dry with a glossy, professional looking finish
- Food coloring: Gel colors give more vibrant results with less liquid, which helps keep your icing consistency perfect
Instructions
- Whisk the dry ingredients together:
- In a medium bowl, combine flour, baking powder, and salt until well blended. Set this aside while you work on the wet ingredients.
- Cream butter and sugar:
- Beat butter and sugar in a large bowl until the mixture turns pale and fluffy, about 2 to 3 minutes. This step is worth the extra time for better texture.
- Add egg and vanilla:
- Beat in the egg followed by vanilla extract until everything is thoroughly combined and smooth.
- Combine dough:
- Gradually mix in the dry ingredients, stopping as soon as the flour disappears. Over mixing here leads to tough cookies.
- Chill the dough:
- Divide dough in half, form into disks, wrap tightly, and refrigerate for at least 30 minutes. This prevents the cookies from spreading too much in the oven.
- Prepare for baking:
- Preheat your oven to 350°F and line baking sheets with parchment paper.
- Roll and cut:
- Roll chilled dough to 1/4 inch thickness on a floured surface. Cut out shapes and transfer to prepared sheets, leaving 1 inch between cookies.
- Bake:
- Bake for 8 to 10 minutes until edges are set but centers still look slightly soft. They will continue firming up on the hot pan.
- Cool completely:
- Let cookies rest on the baking sheet for 5 minutes before moving to a wire rack. They must be completely cool before icing or the decoration will melt right off.
- Prepare royal icing:
- Whisk together powdered sugar, milk, corn syrup, and vanilla until smooth. Adjust with more liquid or sugar until you reach a thick but pipeable consistency.
- Decorate:
- Divide icing and tint with food coloring. Pipe or spread onto cooled cookies and add sprinkles immediately while the icing is still wet. Let icing dry completely before storing.
 Pin it
 My sister-in-law started crying when she saw the tray of decorated cookies I brought to Easter dinner last year, not because they were beautiful but because her mother used to make the exact same ones. She took one bite and said it tasted like childhood, which is probably the highest compliment any recipe can receive. Now I make them every year, even when I am short on time, because some traditions are worth the extra effort.
Making These With Kids
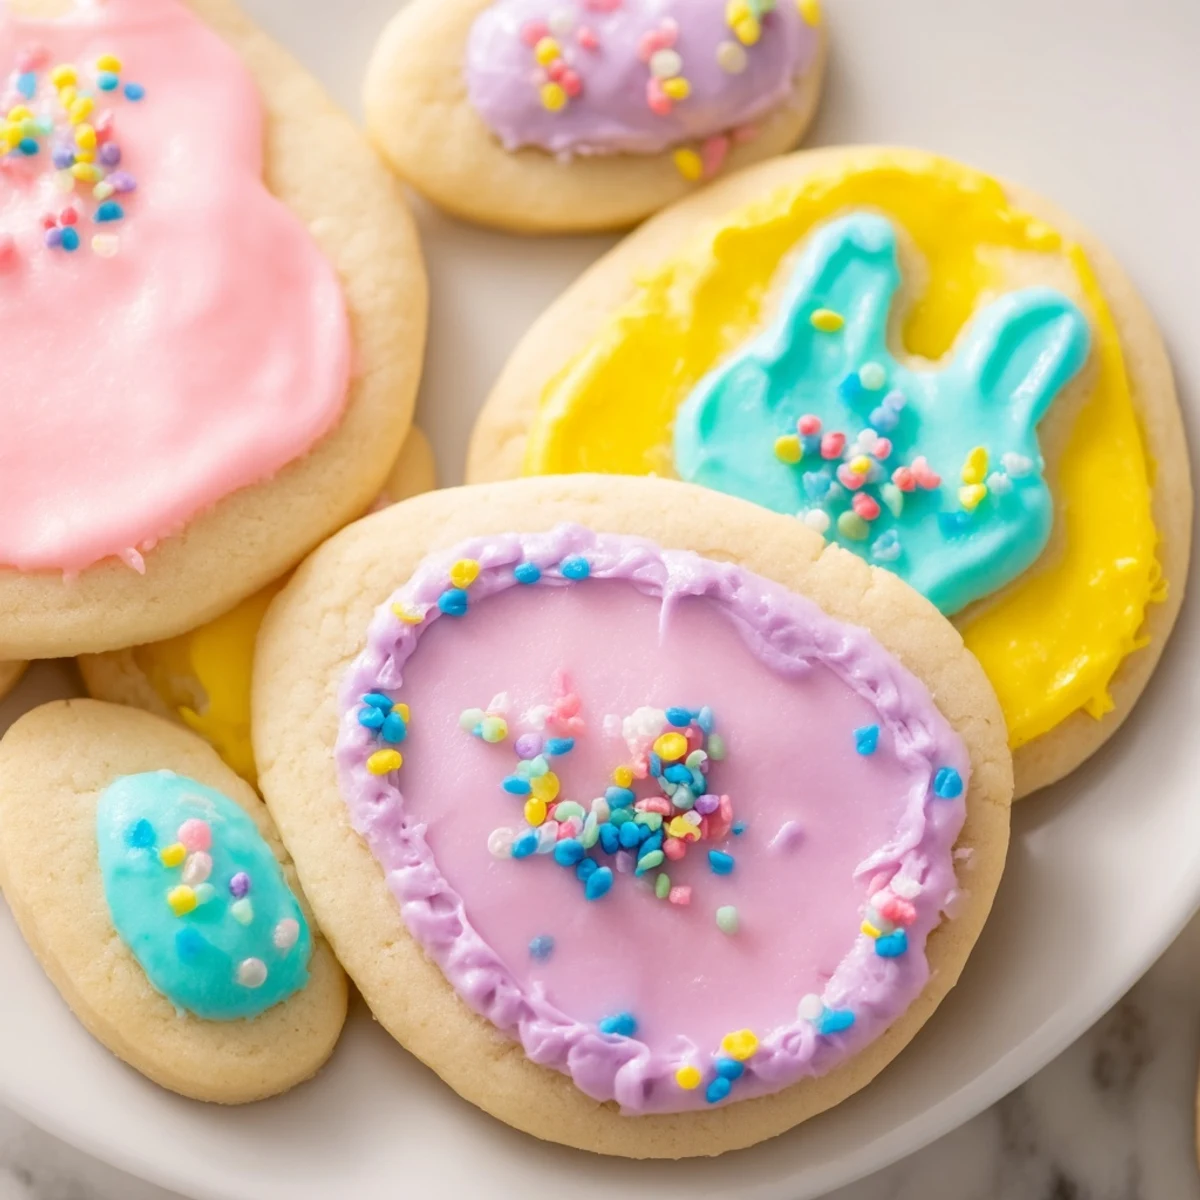
The rolling and cutting part is where children really shine, though you should expect flour to end up everywhere. I have learned to set up a separate decorating station for little ones with their own bowls of icing and sprinkles. They take such pride in their creations, even when the Easter bunnies look more like lopsided cats covered in way too many rainbow jimmies.
Storage Solutions
Once the royal icing has completely hardened, usually overnight, these cookies stack beautifully between layers of parchment paper. I have found they actually taste better on the second day, when the flavors have had time to meld and the icing has set completely. An airtight container keeps them fresh for up to a week, though in my house they rarely last that long.
Decoration Ideas That Work
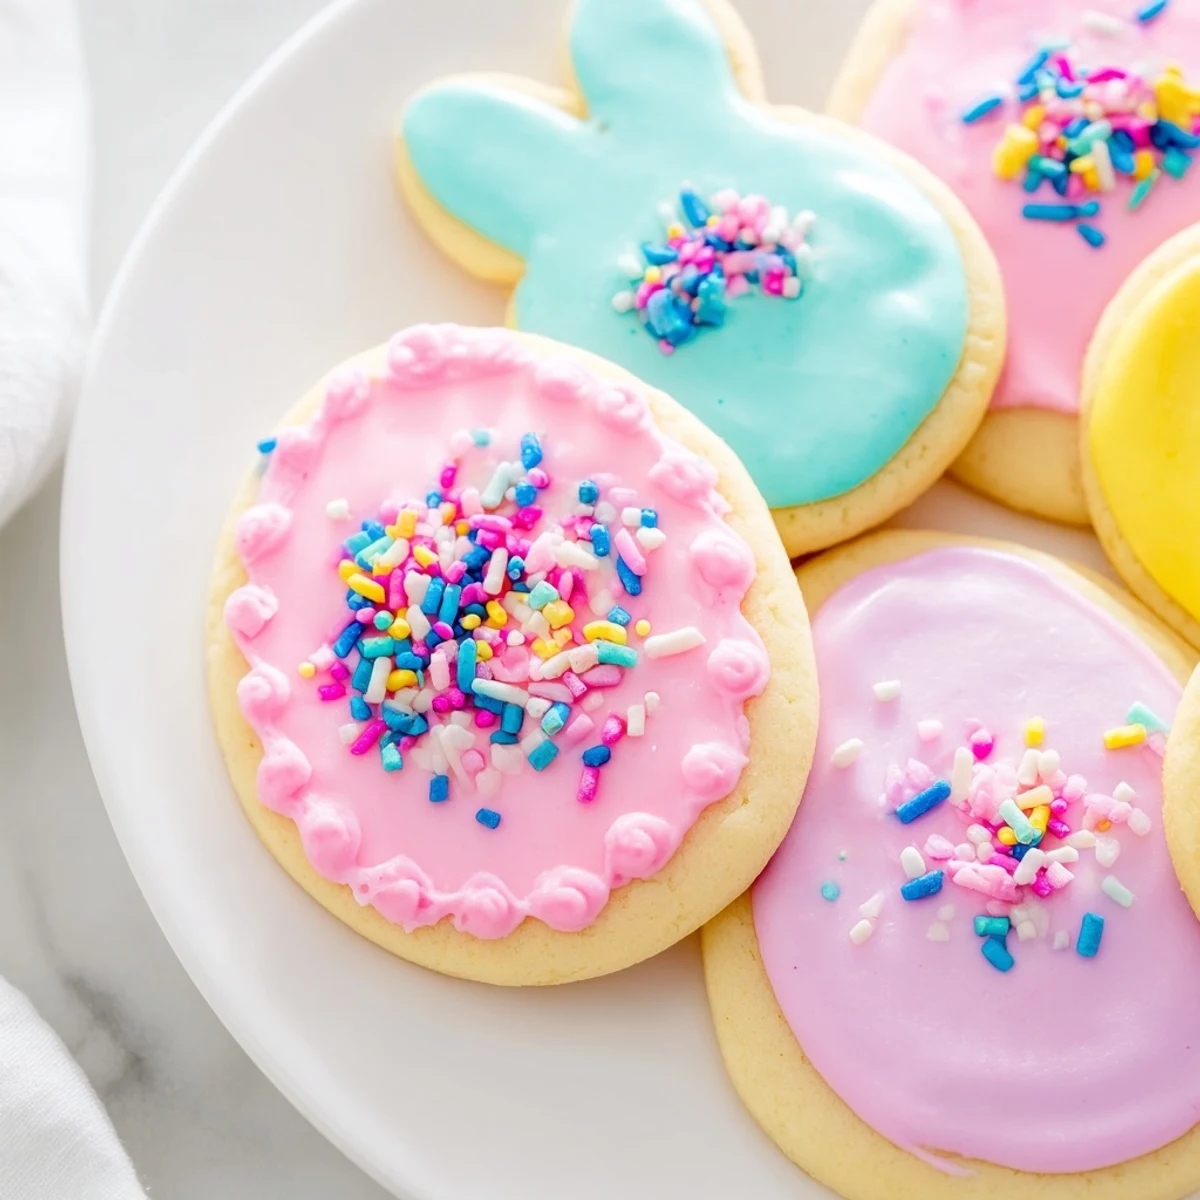
Pastel colors feel most authentic to spring, but do not be afraid to add some brighter accents for visual interest. Polka dots are surprisingly easy, just pipe small circles of contrasting icing and let them dry before outlining your main design.
- Outline and flood technique gives the most professional looking results if you have patience for the drying time
- Sanding sugar adds sparkle and crunch without any extra effort
- Edible pearl dragées make perfect bunny eyes and flower centers
 Pin it
 There is something so satisfying about pulling a tray of perfectly shaped cookies from the oven, knowing they are about to become part of someone else Easter memories. Happy baking and may your sprinkles always land where you want them.
Recipe FAQ
- → How long should I chill the cookie dough?
-
Chill the dough for at least 30 minutes. This prevents spreading during baking and makes rolling easier. You can chill overnight if needed.
- → Can I freeze these cookies before or after decorating?
-
Yes! Freeze undecorated cut cookies in layers with parchment paper. Thaw before decorating. Already decorated cookies freeze well too—just ensure the icing is completely set first.
- → What's the best way to achieve the right icing consistency?
-
Start with 1½ tablespoons of liquid. Add more gradually until the icing flows smoothly but holds its shape. Thicker icing works for outlining, thinner for filling designs.
- → Why did my cookies spread too much in the oven?
-
This usually happens when the dough is too warm. Always chill thoroughly and work quickly when rolling and cutting. Also ensure your butter is at room temperature, not melted.
- → Can I make these cookies without a stand mixer?
-
Absolutely! Use a large bowl and wooden spoon or hand mixer. Creaming butter and sugar just takes slightly more elbow grease. The results will be equally delicious.
- → How far in advance can I decorate these cookies?
-
Decorate up to 2 days before serving. The royal icing dries hard and protects the cookies underneath. Store in a cool, dry place away from moisture.
