 Pin it
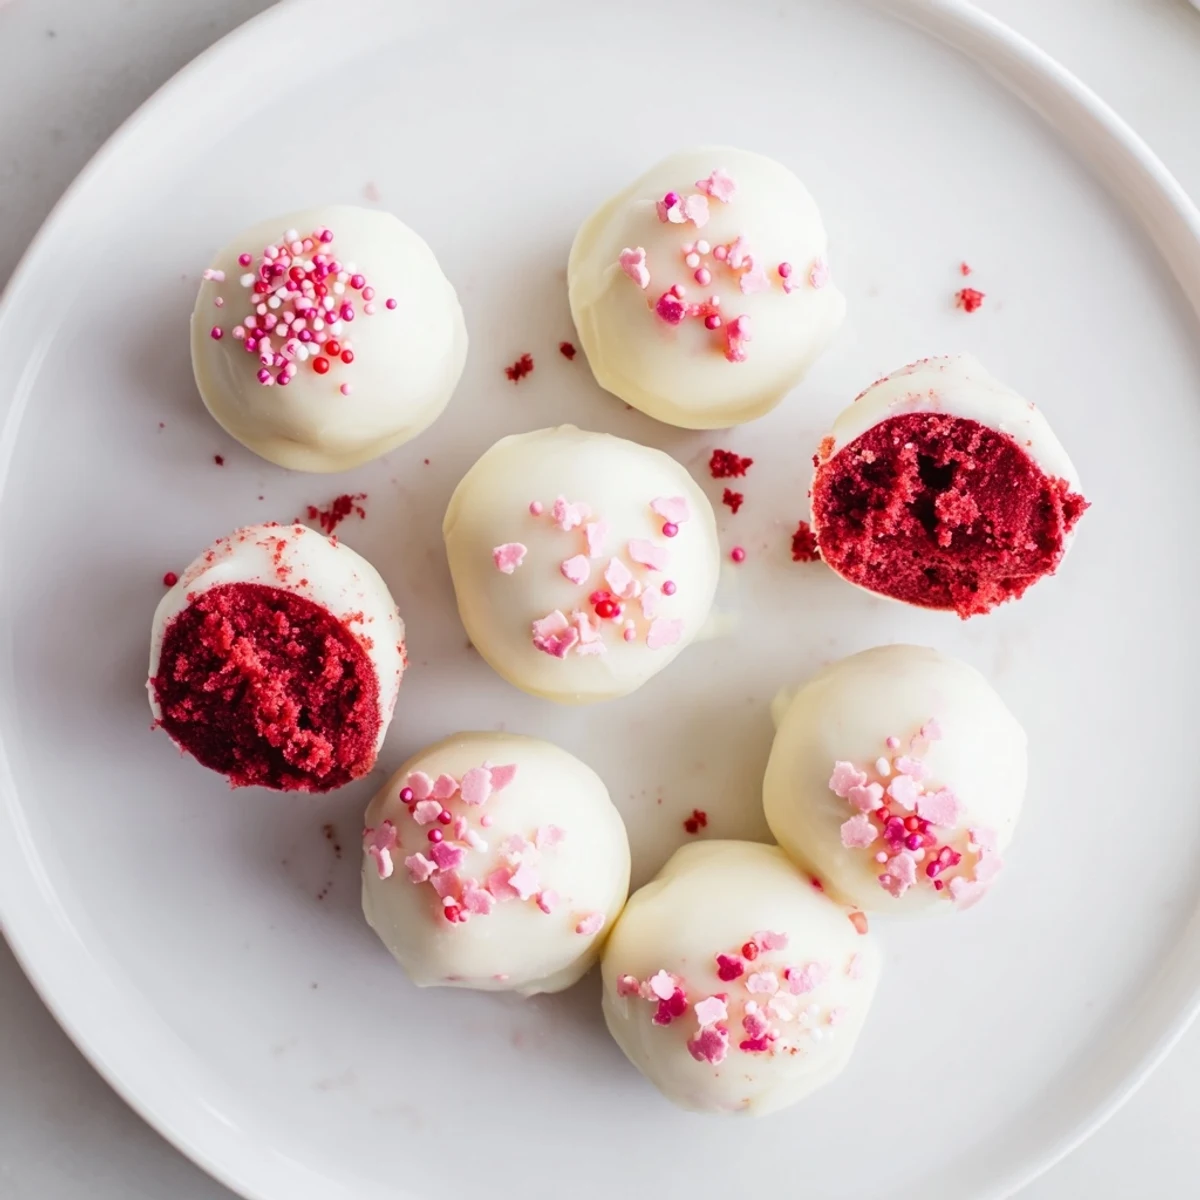
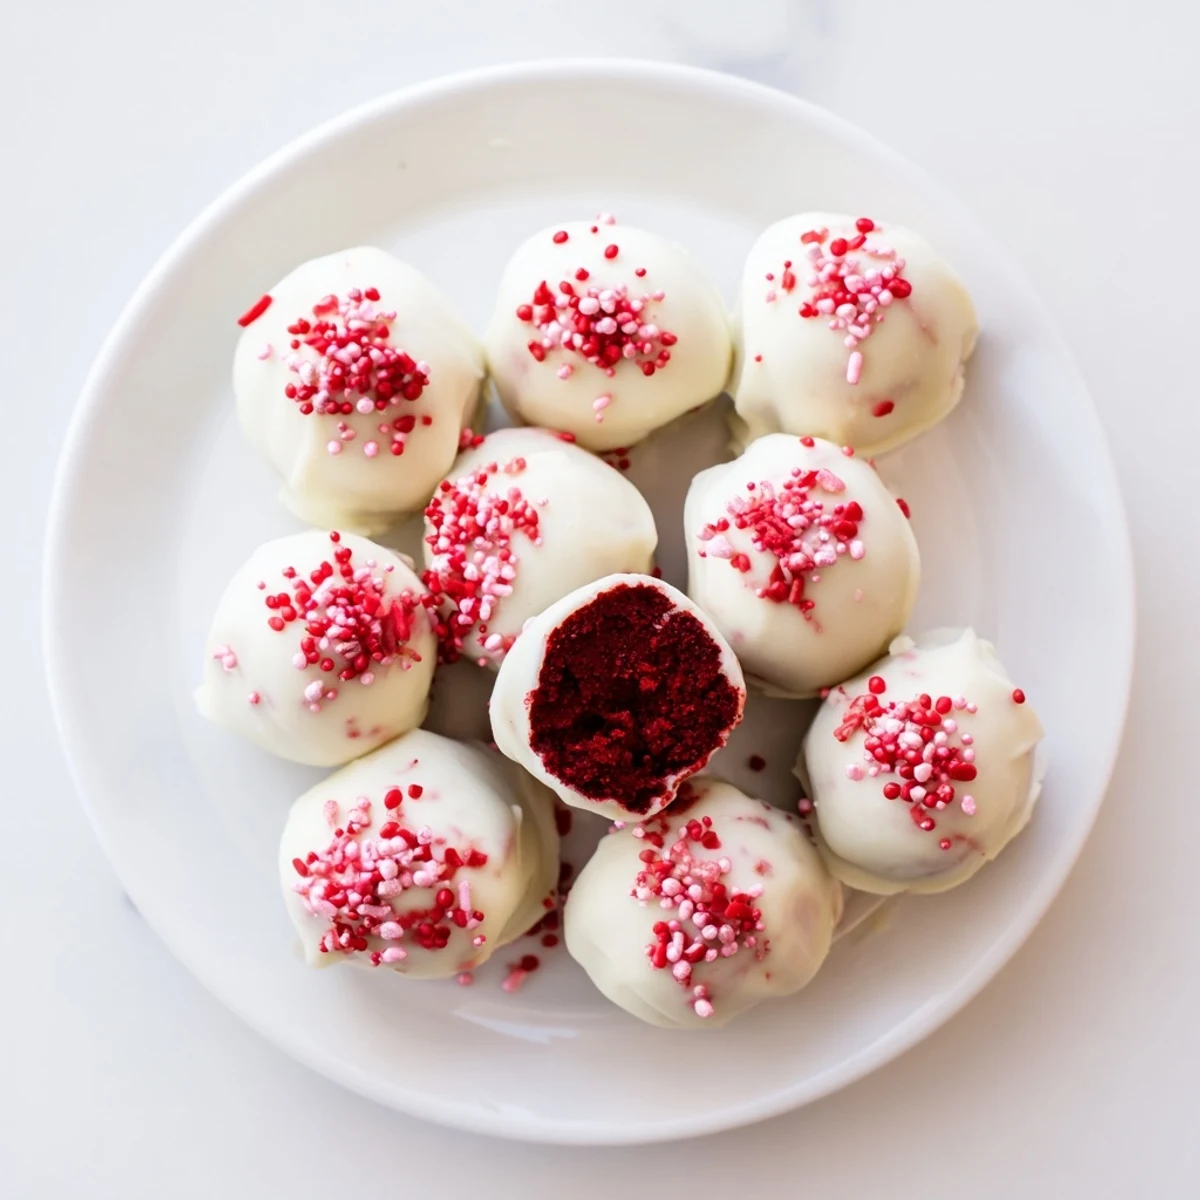
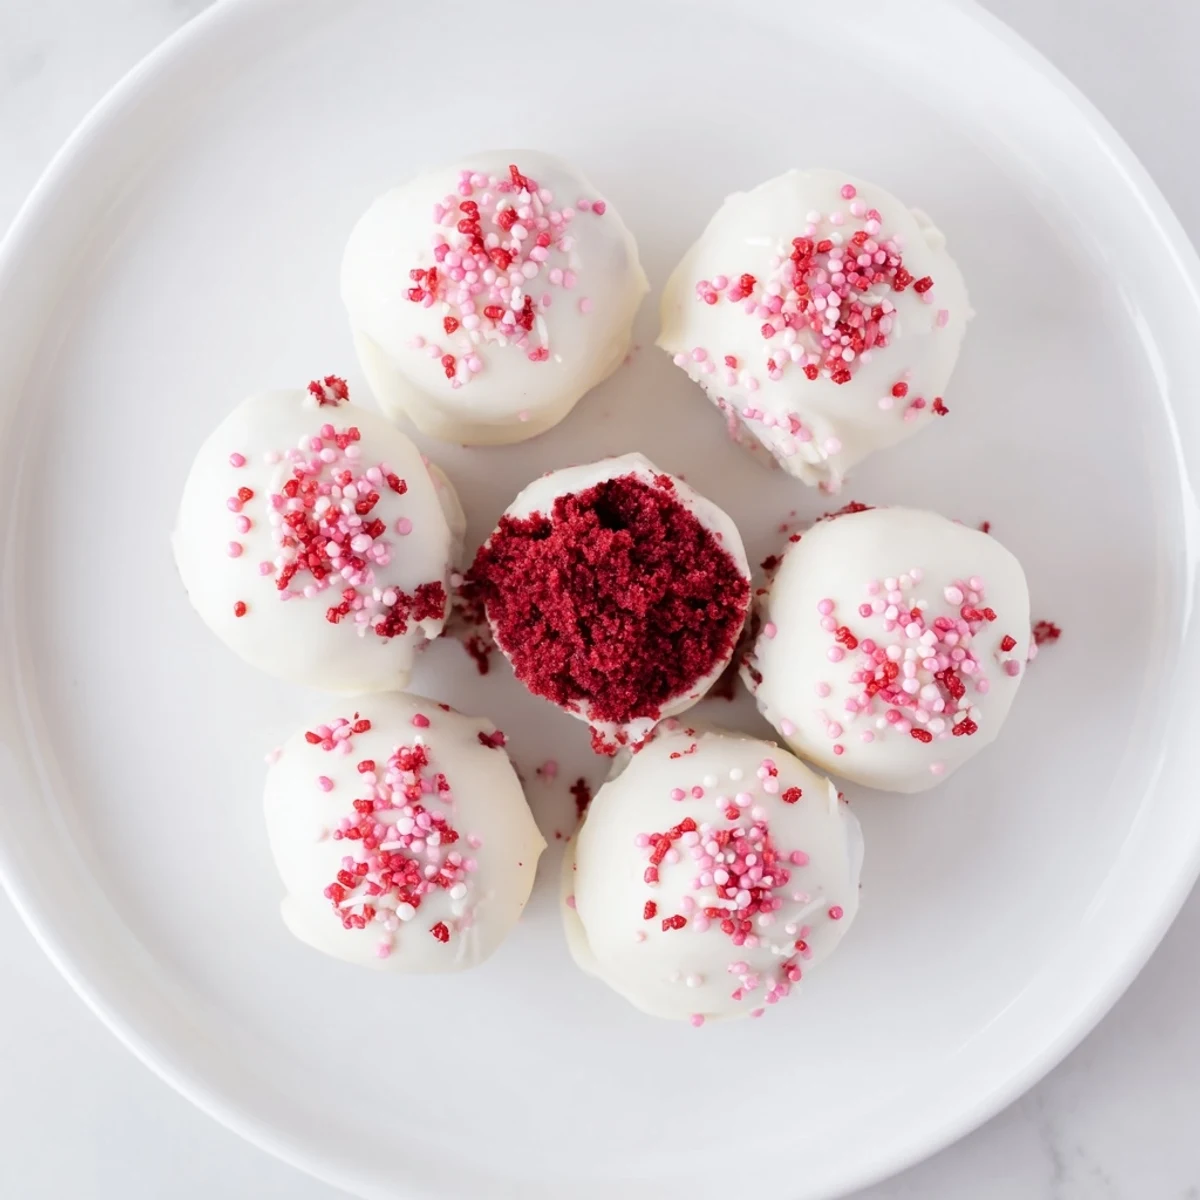
 These decadent red velvet cake truffles transform classic cake into handheld treats. Crumbled baked red velvet cake mixes with softened cream cheese to create a rich, doughy filling that's rolled into bite-sized balls. After chilling until firm, each truffle gets dipped in melted white chocolate for a smooth, professional finish.
The preparation is straightforward—simply bake the cake, let it cool completely, then crumble and combine with cream cheese mixture. Rolling the mixture into uniform balls and freezing them briefly ensures they hold their shape during dipping. The white chocolate coating sets beautifully in the refrigerator, creating a lovely contrast against the vibrant red interior.
These truffles store well for up to five days, making them ideal for party prep or gifting. The combination of moist red velvet cake, tangy cream cheese, and sweet white chocolate creates an indulgent dessert that's as visually striking as it is delicious.
The office breakroom became my impromptu testing ground when I first started making red velvet truffles. I brought in a batch and watched them disappear in under five minutes, with three people immediately asking for the recipe. Now I keep a stash in the freezer for emergency chocolate cravings or unexpected guests.
My sister-in-law requested these for her wedding shower, and I spent a very nervous afternoon rolling perfect spheres in my tiny apartment kitchen. When I saw the bridesmaids passing them around and reaching for seconds, I knew the slight hand cramp was worth every bite.
Ingredients
- Red velvet cake mix: Using a high-quality boxed mix saves time without sacrificing flavor, though homemade cake works wonderfully too
- Cream cheese: Make sure this is completely softened so it blends smoothly into the cake crumbs without any lumps
- White chocolate: Melting wafers give the smoothest coating, but chips work fine with the addition of coconut oil
Instructions
- Bake and Cool the Cake:
- P Prepare your cake according to package directions, baking until a toothpick comes out clean. Let it cool completely—the cake needs to be at room temperature or the cream cheese will melt when you mix it in.
- Create the Dough:
- Crumble the cooled cake into fine crumbs using your hands or a food processor. Beat the softened cream cheese until smooth, then fold it into the crumbs until everything holds together like cookie dough.
- Shape the Balls:
- Roll tablespoon portions into smooth spheres and place them on a parchment-lined sheet. Freeze for 20 to 30 minutes until firm—chilled balls dip much more cleanly than soft ones.
- Coat with Chocolate:
- Melt the white chocolate with coconut oil in 20-second microwave intervals, stirring between each. Use a fork to dip each chilled ball, letting excess chocolate drip off before returning to parchment.
- Set and Serve:
- Add sprinkles immediately while the chocolate is still wet, then refrigerate for at least 30 minutes until the coating is completely set. Store in the refrigerator for up to five days.
 Pin it
 These became my go-to holiday gift after my neighbor dropped off a plate of homemade cookies and I needed something equally special to return. The year I packaged them in clear boxes with red ribbon, I started getting requests by November.
Make Them Yours
I have experimented with different coatings over the years. Dark chocolate creates a sophisticated contrast to the sweet cake, while milk chocolate keeps things classic and crowd-pleasing. You can even tint white chocolate with food coloring for themed parties.
Troubleshooting Tips
If your truffles develop cracks in the coating, it is usually from temperature changes—let them come to room temperature before dipping and store them in the refrigerator, not the freezer. Lumpy chocolate means it got too hot or some water sneaked in.
Serving Ideas
I arrange these on a vintage cake stand for parties or nestle them in mini cupcake liners for a polished look. They also make stunning gifts packaged in clear boxes or decorative tins.
- Place them in small candy cups for easy grabbing at parties
- Drizzle extra melted chocolate over the top for a decorative touch
- Serve them alongside coffee or dessert wine for an elegant finish
 Pin it
 There is something deeply satisfying about turning cake into something even better. These truffles have become my secret weapon for any celebration.
Recipe FAQ
- → Can I make these truffles ahead of time?
-
Absolutely. These truffles store beautifully in an airtight container in the refrigerator for up to 5 days. You can also freeze the undipped cake balls for up to 2 months and coat them in white chocolate when ready to serve.
- → What type of chocolate works best for coating?
-
White chocolate provides the classic red velvet color contrast, but dark or milk chocolate work equally well for flavor. Use melting wafers or high-quality chocolate chips for the smoothest coating. Adding coconut oil helps achieve a professional finish.
- → Why do my truffles fall apart when dipping?
-
The cake balls need to be thoroughly chilled before dipping. Freezing them for 20-30 minutes ensures they're firm enough to handle. If the mixture seems too crumbly, add a bit more cream cheese to bind everything together.
- → Can I use homemade cake instead of cake mix?
-
Yes, homemade red velvet cake works perfectly. Just ensure it's completely cooled before crumbling. The texture should be moist but not underbaked—slightly drier cake actually holds together better in truffle form.
- → How do I get a smooth white chocolate coating?
-
Melt the chocolate in 20-second intervals, stirring between each to prevent seizing. Adding a tablespoon of coconut oil or shortening creates a thinner, more workable consistency. Let excess chocolate drip off completely before placing on parchment.
- → Can I make these gluten-free?
-
Simply use a gluten-free red velvet cake mix in place of regular cake mix. All other ingredients are naturally gluten-free, though always verify labels on chocolate chips and sprinkles to be certain.
