 Pin it
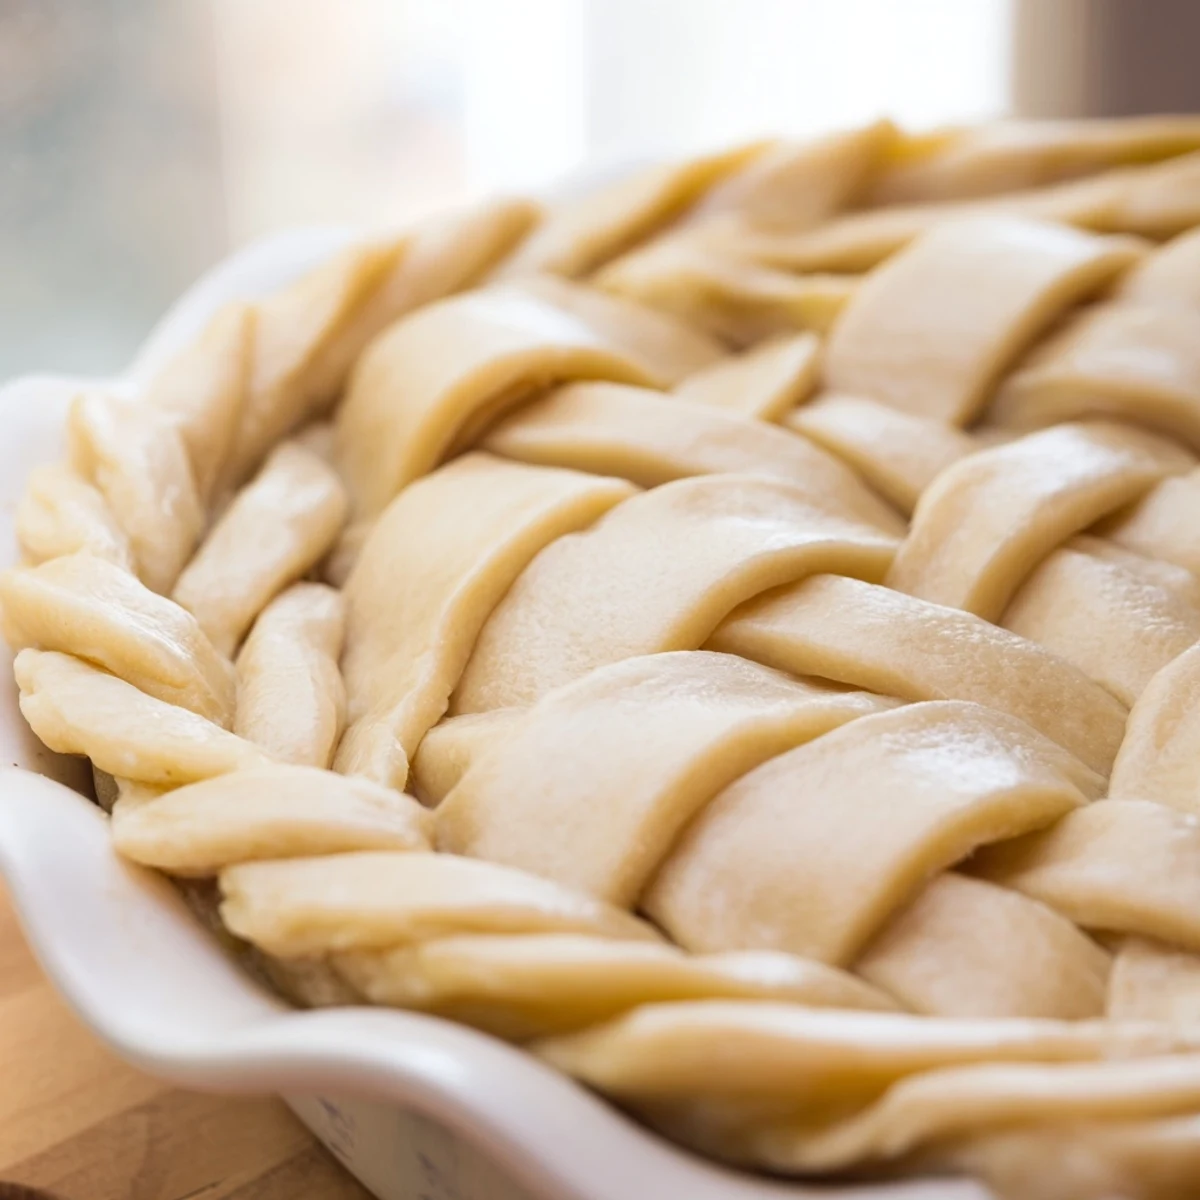
 Elevate your homemade pies with a show-stopping fishtail braid crust. This decorative technique transforms ordinary pastry edges into stunning braided borders that rival bakery quality. The method involves rolling dough into thin strips, weaving them using a specialized fishtail braiding technique, and adhering the finished braid around your pie rim for golden, professional results.
The first time I attempted a braided pie crust, I was hosting dinner for my in-laws and feeling dangerously ambitious. My kitchen looked like a flour bomb had gone off, and I may have whispered a few choice words while trying to keep those dough strips from sticking to everything. But when that pie emerged from the oven with its golden woven crown, the collective gasp around the table made every frustrating moment worth it. Now braiding crust has become my secret weapon for turning ordinary pies into conversation pieces.
Last Thanksgiving, I made three pies just so I could practice different braiding patterns on each one. My niece sat on the counter watching, absolutely mesmerized by the weaving process, and declared it the coolest thing shes ever seen in the kitchen. By the time we were done, she was demanding to learn and now she makes better braided crusts than half my adult friends.
Ingredients
- All purpose flour: The foundation of your crust, providing structure and that tender flaky texture we all crave
- Cold unsalted butter: Keeping it buttery cold is the non negotiable secret to creating those magical flaky layers
- Salt: Enhances flavor and balances the sweetness in dessert pies
- Sugar: Optional but I highly recommend it for fruit pies to create that golden brown finish
- Ice water: The minimal hydration needed to bring dough together without developing too much gluten
- Egg wash: Gives your beautiful braid that professional sheen and helps it bake evenly golden
Instructions
- Prepare the perfect pie dough:
- Whisk flour, salt, and sugar in a large bowl, then work in cold butter until you see pea sized chunks throughout. Add ice water gradually, mixing just until the dough holds together when squeezed, then divide into disks and chill for at least an hour.
- Roll and cut your strips:
- Roll one chilled disk on a floured surface into a rectangle about 1/8 inch thick, then cut six even strips measuring 12 inches long and 1/2 inch wide.
- Master the fishtail braid:
- Press three strip ends together, begin with a simple three strand braid for one set, then switch to the fishtail pattern by repeatedly crossing outer strips to the center until complete.
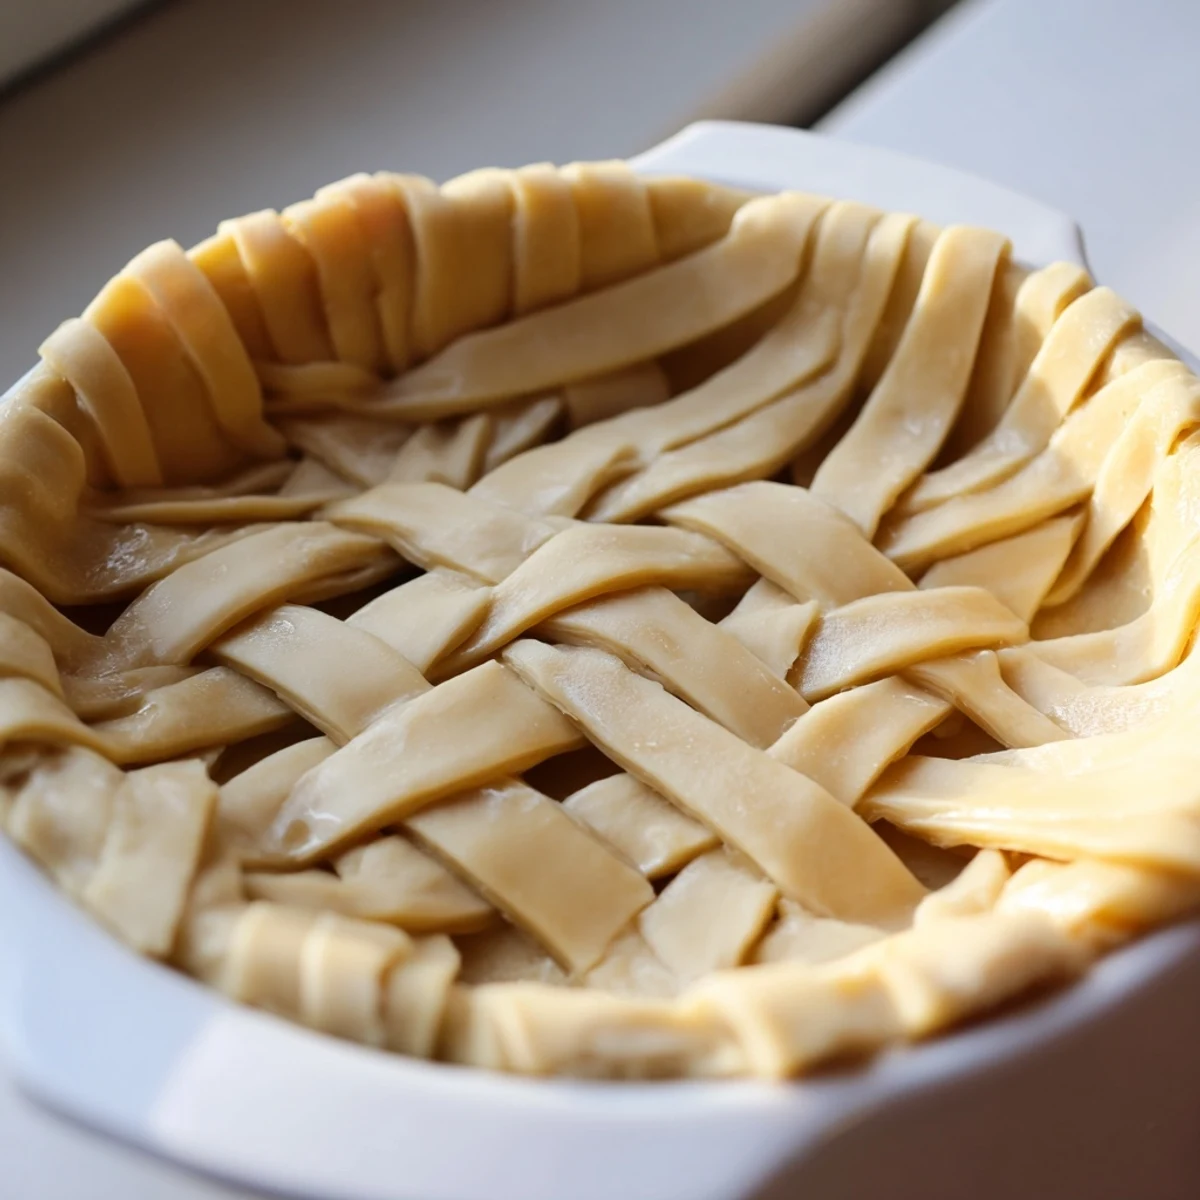
- Assemble your masterpiece:
- Trim excess dough from your filled pie and brush the rim with water. Gently lift your braid and position it around the edge, pressing lightly to secure.
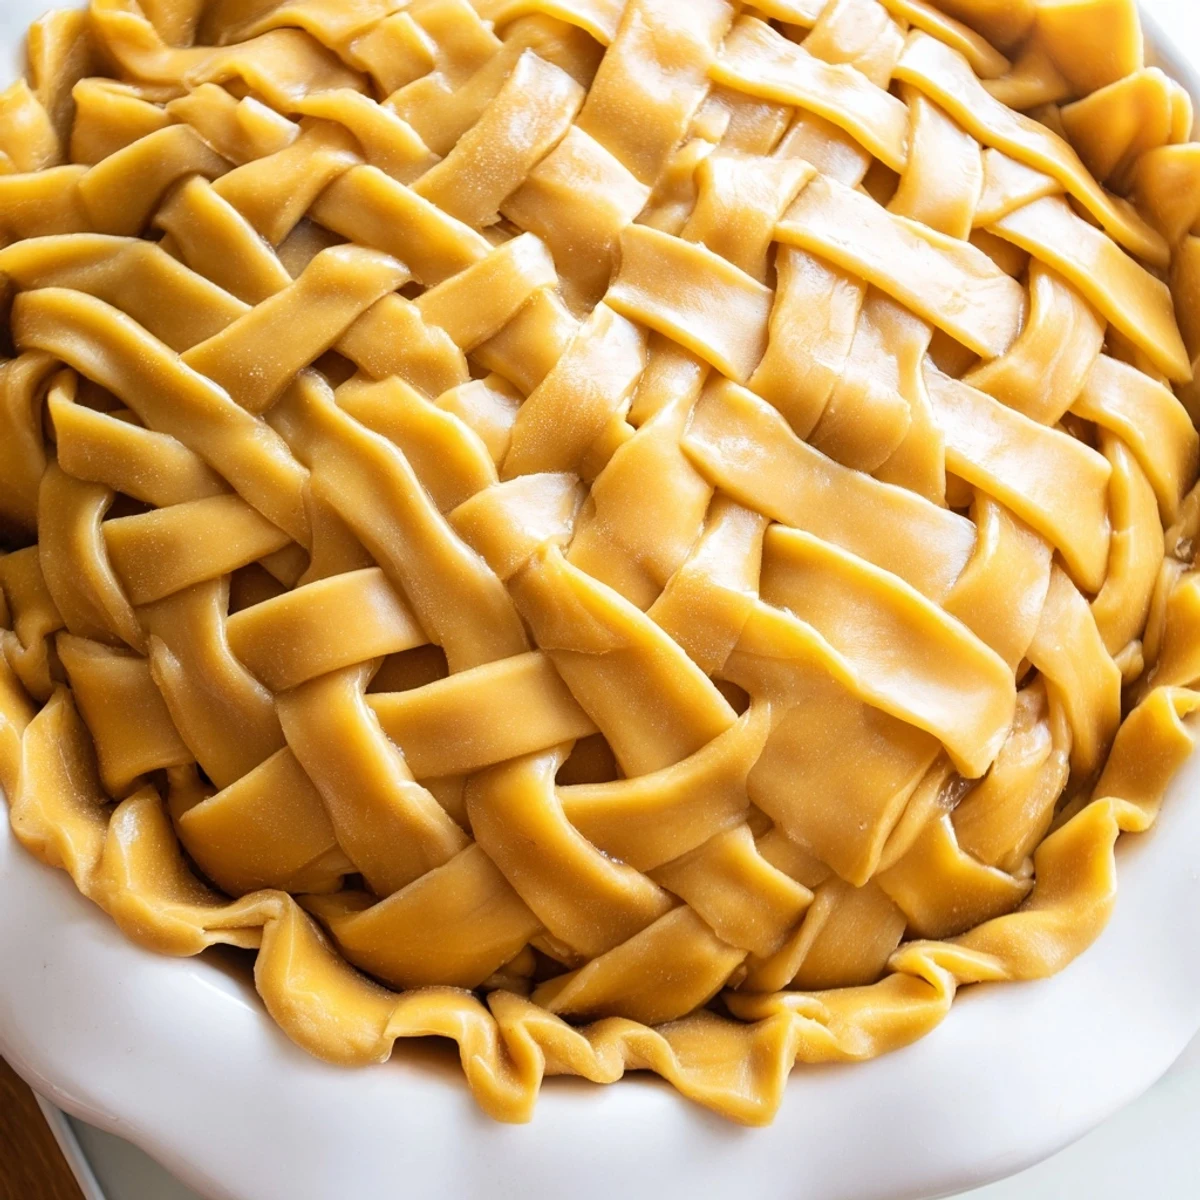
- Add the golden finish:
- Brush the braid thoroughly with egg wash for that gorgeous shine, then bake according to your pie recipe directions or at 375°F for 12 to 15 minutes if pre baking.
 Pin it
 My friend Sarah admitted she was intimidated by decorative crusts for years until I showed her that even imperfect braids look stunning. Her first attempt was lopsided and uneven, but when she brought that cherry pie to our potluck, everyone absolutely fawned over it. Sometimes the most handmade looking creations get the biggest compliments.
Temperature Control
Ive learned through many sticky situations that keeping your dough cold is absolutely critical. When I first started, I would work so slowly that the butter would soften and my strips would stretch into impossible shapes. Now I keep a bowl of ice water nearby and chill everything if I sense the dough getting too warm or fussy.
Braid Variations
Once you master the basic fishtail, try mixing in strips colored with beet juice or spinach puree for a stunning visual effect. I once did a red and green braid for Christmas and people thought I was some kind of pastry wizard. Simple color additions make the weaving pattern even more striking and memorable.
Troubleshooting Common Issues
If your braided edge starts to darken too quickly while baking, loosely tent the pie with foil for the remaining time. Sometimes I get overzealous with the egg wash and the braid browns faster than the rest of the crust. Also, if the braid feels loose or insecure, use a dab of water as glue to press it more firmly onto the pie rim.
- Mix herbs like thyme or rosemary into the dough for savory pies
- Use water instead of egg wash for a more matte finish
- Keep extra dough scraps handy to patch any gaps during assembly
 Pin it
 There is something deeply satisfying about serving a pie that looks as good as it tastes. This little bit of extra effort creates memories that last long after the last slice is gone.
Recipe FAQ
- → What makes fishtail braiding different from regular braiding?
-
Fishtail braiding crosses outer strands inward rather than weaving three strands continuously, creating a flatter, wider pattern that resembles a fish tail. This technique produces a more intricate, woven appearance that's perfect for decorative pastry edges.
- → How do I keep the braided dough from falling apart during assembly?
-
Maintain chilled dough throughout the process. Work quickly and handle strips minimally to prevent warming. Press strip ends firmly together before braiding and use light brushing of water along the pie rim to help the completed braid adhere securely.
- → Can I make the braids ahead of time?
-
Yes, prepare braids up to 24 hours in advance. Wrap completed braids tightly in plastic and refrigerate. For longer storage, freeze between layers of parchment paper for up to 2 weeks. Thaw in refrigerator before applying to your pie.
- → What types of pies work best with braided crusts?
-
This decorative technique suits both sweet and savory varieties. Fruit pies, quiches, pot pies, and custard tarts all benefit from the elegant finish. The braid adds structural support while creating visually appealing borders for any filled pastry creation.
- → How can I add color variation to my braids?
-
Incorporate vegetable juices or purees into separate dough portions. Beet creates deep red, spinach yields green, and turmeric produces golden hues. Roll colored doughs separately, cut strips, and alternate colors during braiding for striking visual effects.
- → What if my dough strips keep breaking while cutting?
-
Dough that's too cold may crack, while warm dough becomes sticky. Let chilled dough rest at room temperature for 5-10 minutes before rolling. Use a sharp pizza cutter or knife, and cut with one smooth motion rather than sawing back and forth.
