
 Pin it
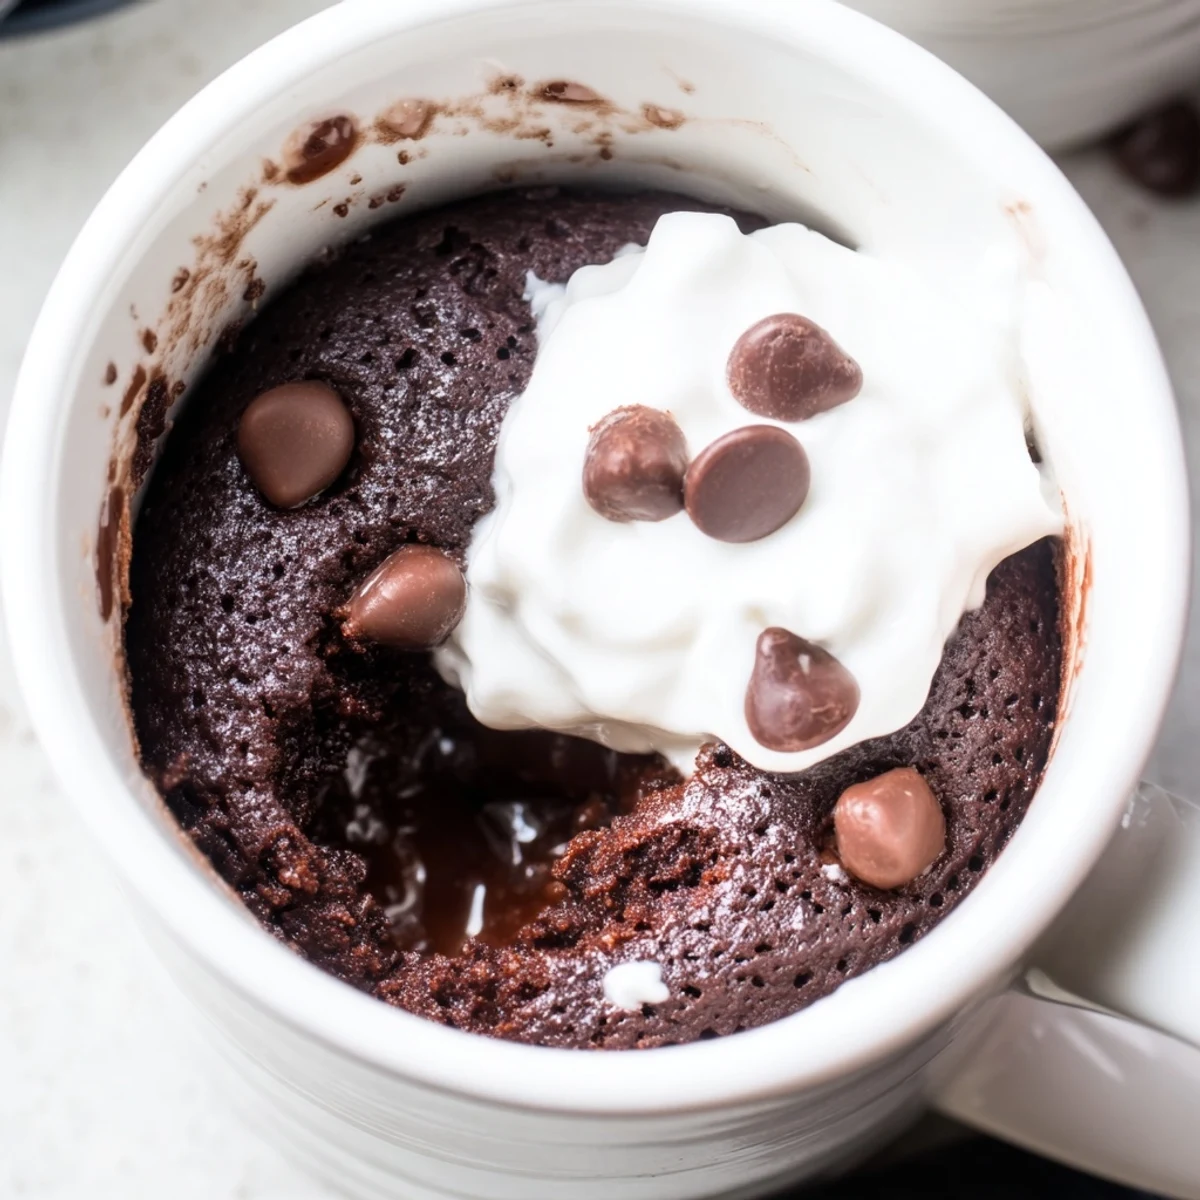
 This gluten-free chocolate mug cake delivers a rich, fudgy dessert in under 7 minutes from start to finish. Using a simple blend of gluten-free flour, cocoa powder, and pantry staples, you'll have a perfectly moist single-serving treat.
Simply mix dry and wet ingredients directly in a microwave-safe mug, pop it in the microwave for about a minute, and enjoy a warm, decadent chocolate cake without any gluten. Top with whipped cream or ice cream for an extra indulgent touch.
The rain was hammering against the kitchen window and I had exactly seven minutes before a video call I was dreading, which is honestly the perfect circumstance under which to discover a mug cake that actually works. I dumped cocoa powder on my sweatshirt, used a fork because the whisk was dirty, and somehow pulled a genuinely fudgy little cake out of the microwave that tasted like I had tried far harder than I did.
I made this for my niece during a sleepover and she looked at me like I had performed a magic trick, watching a mug transform into dessert in the time it takes to brush your teeth.
Ingredients
- Gluten-free all-purpose flour blend (3 tbsp): The backbone of the cake and you want a blend that already contains xanthan gum so the crumb holds together without getting gummy.
- Unsweetened cocoa powder (2 tbsp): Use a quality dutch-processed brand if you can find it because that deep chocolate flavor is carrying the whole recipe.
- Granulated sugar (3 tbsp): This amount lands somewhere between a brownie and a cake sweetness level which is exactly where you want to be at ten oclock at night.
- Baking powder (1/4 tsp): Just enough lift to keep it from becoming a chocolate brick in the microwave.
- Salt (pinch): Never skip this because salt is what makes chocolate taste like chocolate instead of just sweet.
- Milk, dairy or non-dairy (3 tbsp): Any milk works here so use whatever you have in the fridge, though oat milk gives a particularly nice creaminess.
- Vegetable oil or melted coconut oil (2 tbsp): Oil is what keeps this cake velvety and moist even after sitting for a few minutes, and coconut oil adds a subtle richness if you have it.
- Pure vanilla extract (1/4 tsp): A tiny amount but it rounds out the chocolate and makes the whole thing taste more complete.
- Chocolate chips (2 tbsp, optional): Fold these in if you want pockets of melted chocolate running through the center because life is short.
Instructions
- Build the Dry Base:
- Pile the flour, cocoa powder, sugar, baking powder, and salt straight into a microwave-safe mug that holds at least 12 ounces, then stir with a fork until the mixture looks evenly dark with no pale streaks hiding in the corners.
- Add the Wet Ingredients:
- Pour in the milk, oil, and vanilla, then mix vigorously with your fork while scraping the bottom and sides of the mug to chase down every dry pocket until you have a smooth, lump-free batter that looks like thick brownie batter.
- Fold in the Chocolate Chips:
- Drop in the chocolate chips and give the batter two or three gentle stirs so they are scattered throughout rather than sunk at the bottom.
- Microwave with Caution:
- Cook on high power for exactly one minute, then peek at the center, it should look set on the edges but still slightly soft in the middle, and if it looks wet give it another ten seconds but never go past ninety seconds total.
- Let It Rest:
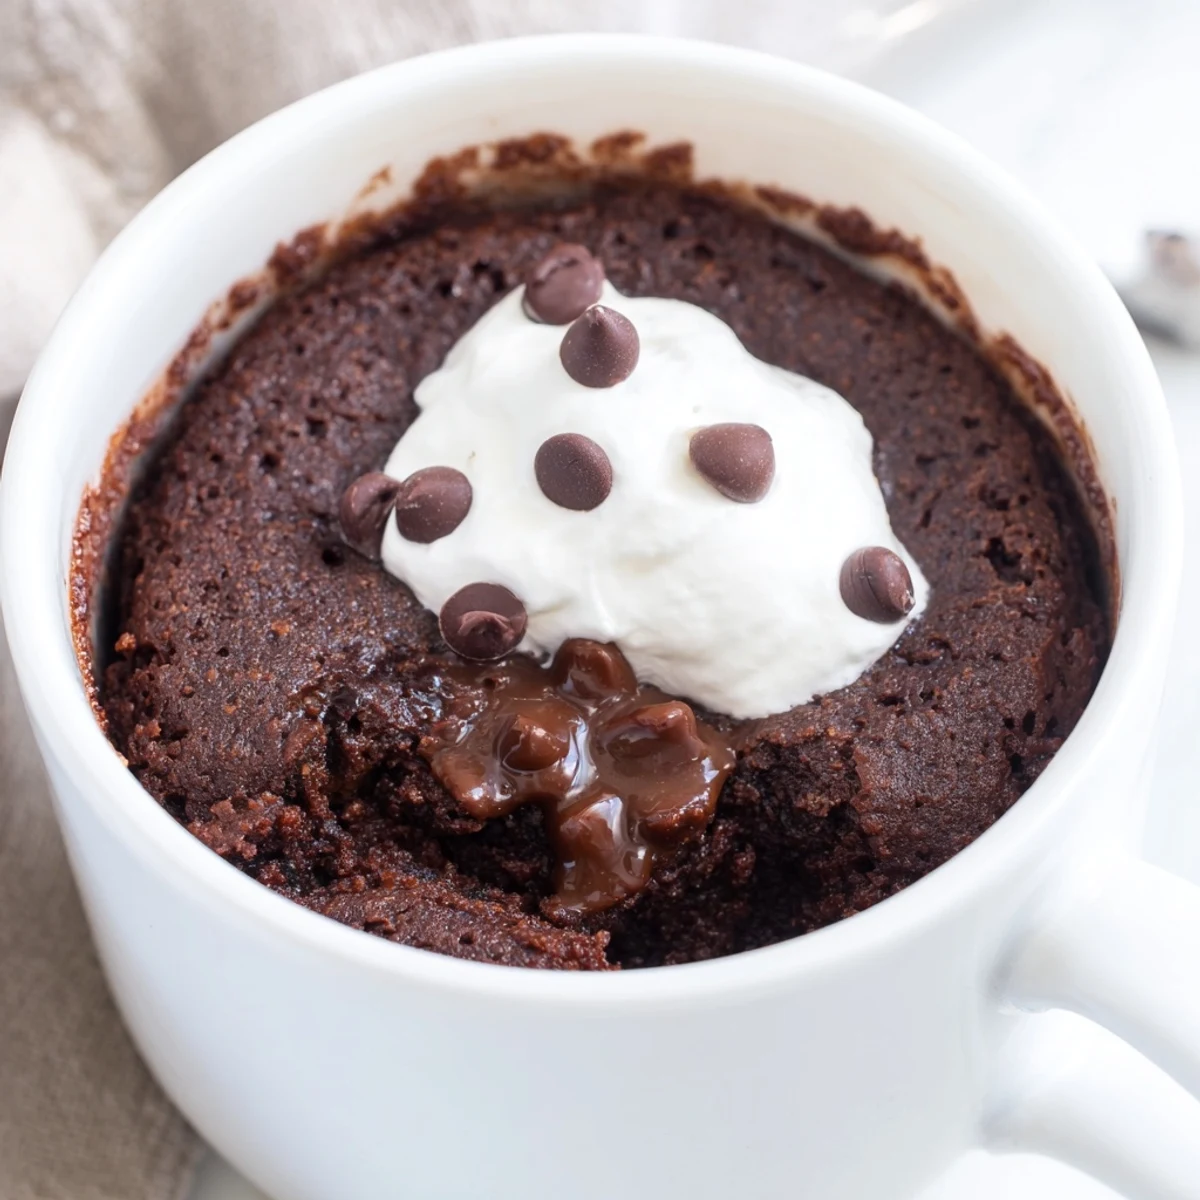
- Walk away for one to two minutes while the residual heat finishes cooking the center and the cake firms up into that perfect fudgy texture.
 Pin it
 There is something quietly wonderful about eating cake out of a mug at your own kitchen counter with the overhead light on and nobody watching.
What to Top It With
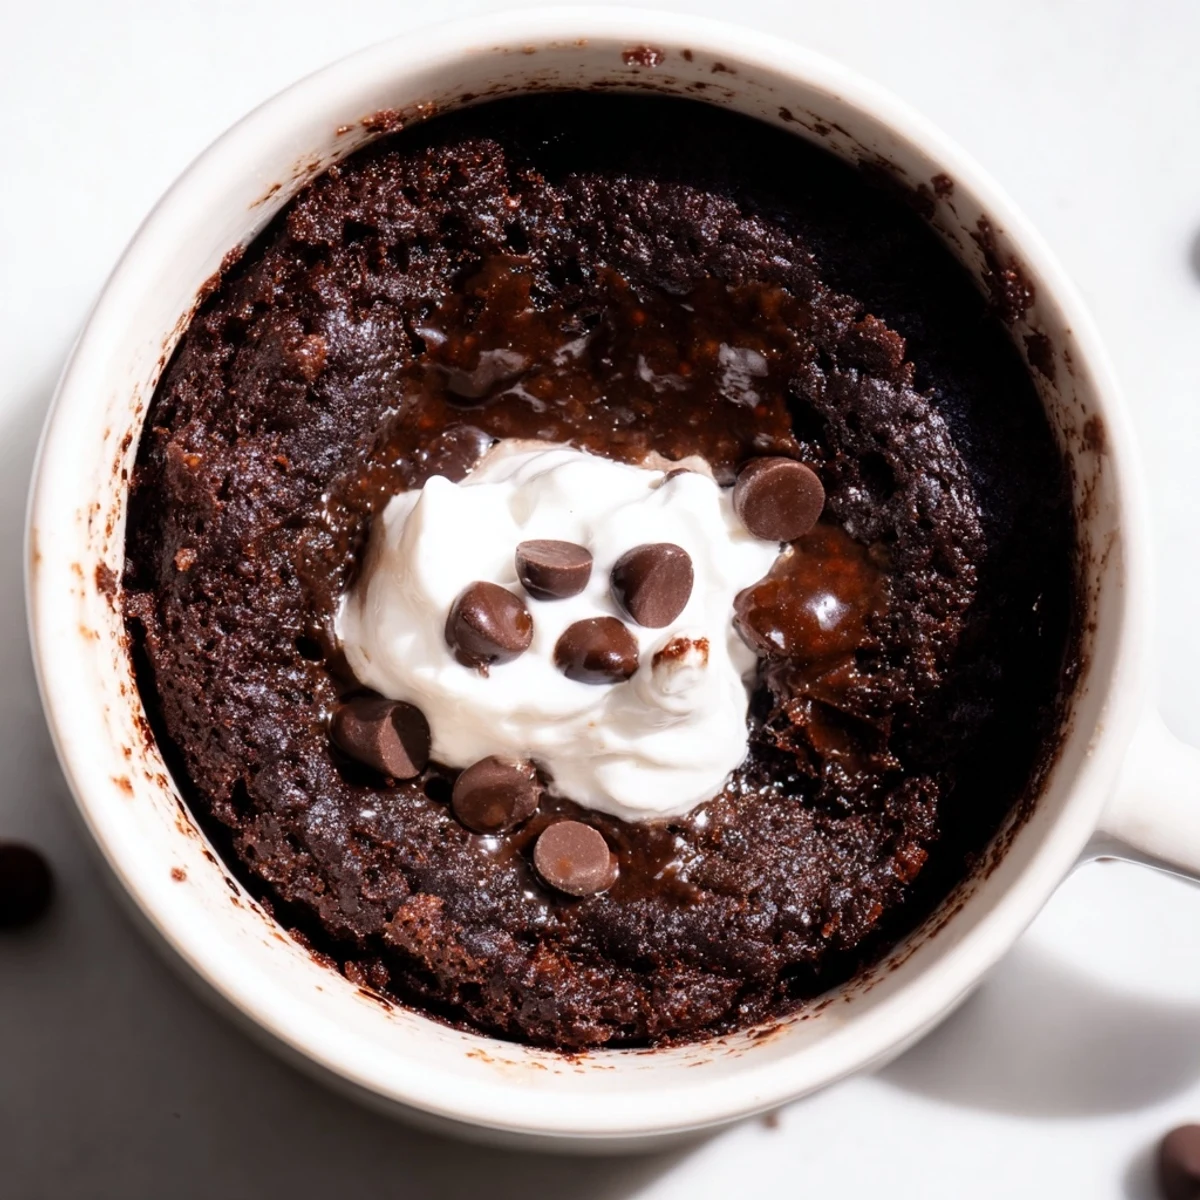
A scoop of cold vanilla ice cream melting over the warm cake creates a contrast that makes the whole thing feel like a real dessert rather than a shortcut, and a dollop of whipped cream with a shake of cocoa powder on top makes it presentable enough to serve to a friend without apology.
Making It Your Own
A teaspoon of espresso powder stirred into the dry ingredients deepens the chocolate without adding any coffee taste, and a pinch of cinnamon gives it a warmth that makes this feel like something you would order at a cafe in the fall.
Gluten-Free Baking Notes
Not all gluten-free flour blends behave the same way so check that yours includes a binder like xanthan gum or the cake may crumble apart when you try to eat it.
- Always verify your ingredients carry a certified gluten-free label if cross-contamination is a health concern.
- Keep your measuring spoons level and avoid packing the flour into the spoon for the most consistent results.
- Remember that this recipe is vegetarian by default but switching to dairy-free milk and chocolate chips makes it fully vegan as well.
 Pin it
 Keep this recipe in your back pocket for nights when you deserve something sweet but cannot be bothered to turn on the oven.
Recipe FAQ
- → Can I make this mug cake dairy-free as well?
-
Yes, simply substitute the milk with almond, oat, or soy milk and use dairy-free chocolate chips. Coconut oil works great as a replacement for vegetable oil too.
- → Why is my mug cake coming out dry?
-
Overcooking is the most common cause. Start with 1 minute in the microwave and check for doneness. The center should still look slightly moist. Add additional time in 10-second increments only if needed.
- → What size mug should I use?
-
Use a microwave-safe mug that holds at least 12 ounces. This gives the batter enough room to rise without overflowing during cooking.
- → Can I mix everything ahead of time?
-
You can pre-measure and combine the dry ingredients in the mug and store it covered at room temperature. Add the wet ingredients and microwave when you're ready to enjoy it fresh.
- → Is there a way to make it even more chocolatey?
-
Adding a teaspoon of espresso powder to the dry ingredients enhances the chocolate flavor beautifully. You can also stir in extra chocolate chips or drizzle melted chocolate on top after cooking.
- → Can I bake this in the oven instead of microwaving?
-
Yes, you can bake it in a preheated oven at 350°F (175°C) for about 12-15 minutes. Keep a close eye on it to avoid overcooking, as oven times may vary depending on the mug size and material.