 Pin it
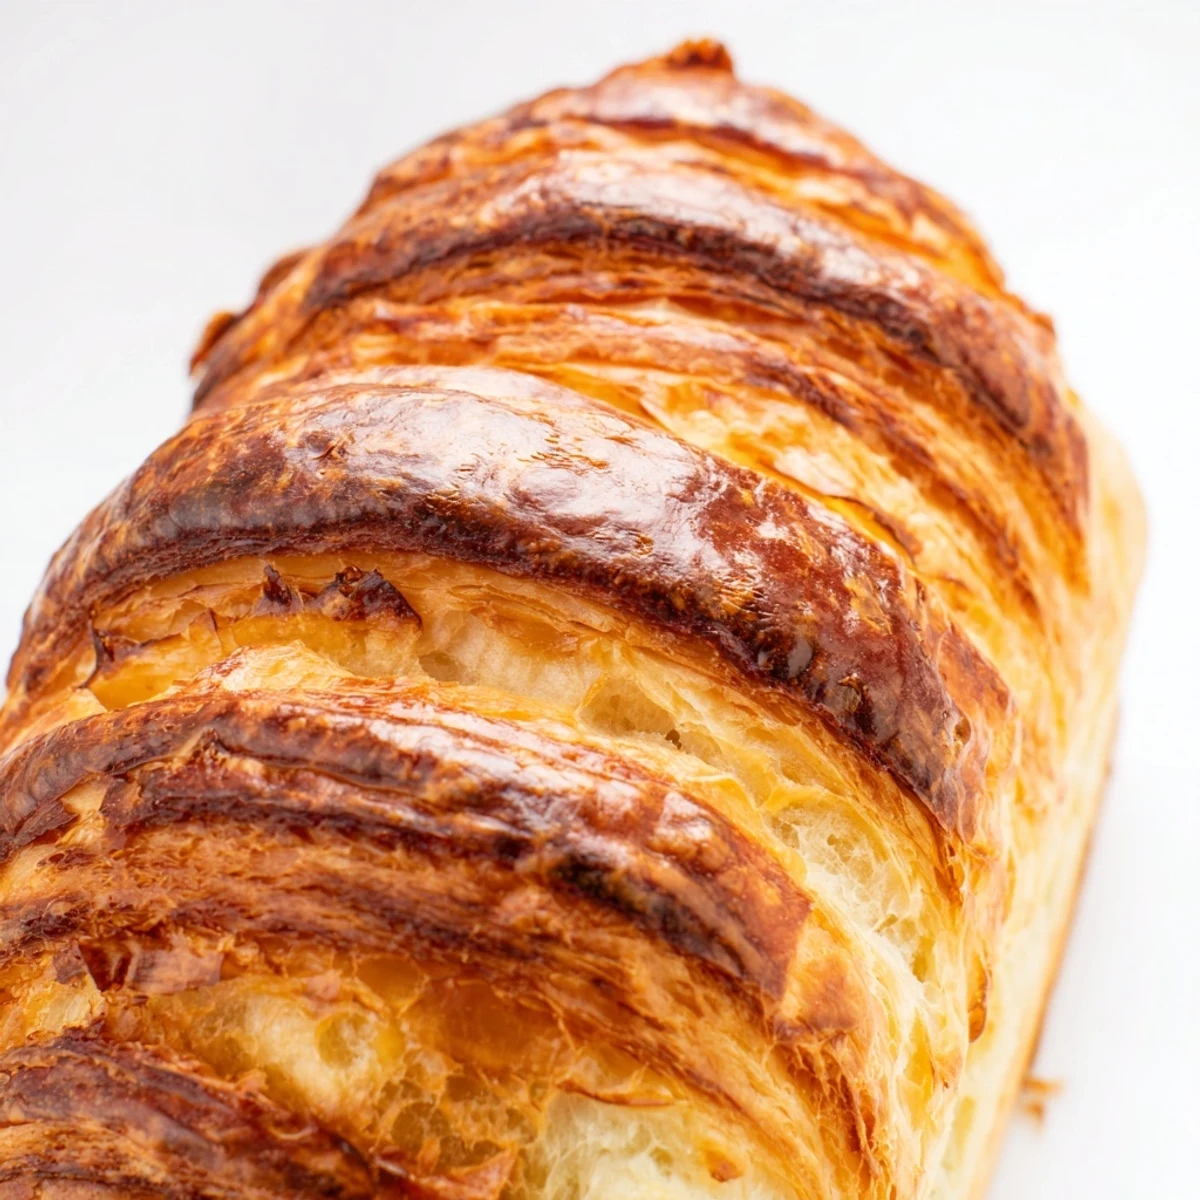
 Create a stunning French-inspired loaf that brings the delicate, flaky texture of croissants into an easy-to-slice format. This dough undergoes traditional lamination, layering cold butter between folds to create those signature airy pockets and golden crust. While the process requires patience through multiple chilling periods, the result delivers unmatched richness and complexity. The finished loaf features a tender interior with distinct buttery layers, ideal for toasting and serving with preserves or honey.
My tiny Paris apartment kitchen was barely big enough to turn around in, but the buttery aroma that filled every corner made up for the lack of counter space. Id attempted croissants three times before admitting defeat, then stumbled onto this brilliant compromise. Now I make this bread whenever I need that flaky, laminated dough magic without the tears and frustration of shaping individual pastries.
The first time I served this at brunch, my friend Sarah actually stopped mid conversation and asked what bakery Id woken up at 4am to visit. Watching peoples faces when they cut into that first slice, seeing the layers separate, hearing that satisfied sigh, it turned a simple bread into something closer to magic.
Ingredients
- All-purpose flour: Bread flour would make it too tough for those delicate layers we want
- Instant yeast: No proofing needed, it goes straight into the flour mixture
- Whole milk: The fat content matters here, skim milk just wont give you the same tender crumb
- Unsalted butter: You need two separate amounts, both cold and melted, for different stages
- Large egg: Room temperature eggs blend better into the dough structure
Instructions
- Mix the initial dough:
- Combine flour, sugar, salt, and yeast in a large bowl, keeping yeast on the opposite side from salt. Pour in lukewarm milk, melted butter, and egg. Stir until a sticky, shaggy dough forms.
- Knead until smooth:
- Work the dough on a floured surface for 7 to 10 minutes until it feels elastic and springs back when pressed. Place in a greased bowl, cover, and let rise until doubled, about 1 hour.
- Chill the dough:
- Punch down the risen dough and shape into a rough rectangle. Wrap and refrigerate for 30 minutes, which makes rolling easier and prevents butter from melting.
- Layer in butter:
- Roll chilled dough into a 12 by 16 inch rectangle on a floured surface. Arrange cold butter slices over two thirds of the dough, leaving a 1 inch border.
- First fold:
- Fold the unbuttered third over the center, then fold the remaining third on top like a letter. Rotate 90 degrees so the open edges face you.
- Second turn:
- Roll again to 12 by 16 inches, fold into thirds, wrap, and chill 30 minutes. This creates the first set of layers.
- Complete the turns:
- Repeat rolling, folding, and chilling two more times for three total turns. The dough becomes more cooperative with each fold.
- Shape the loaf:
- After the final chill, roll dough to 8 by 16 inches. Roll tightly from the short end into a log and place seam side down in a greased 9 by 5 inch loaf pan.
- Final rise:
- Cover loosely and let rise until doubled, about 1 hour. The dough should feel puffy and spring back slowly when touched.
- Bake until golden:
- Brush with egg wash mixed with milk. Bake at 375F for 35 to 40 minutes until deep golden and hollow sounding when tapped.
 Pin it
 My grandmother, who baked bread every Saturday of her adult life, admitted this technique impressed her. That moment of validation made every sore muscle and butter stained apron worth it.
Temperature Control
Cold butter creates distinct layers while melted butter adds tenderness. Working quickly during rolling prevents the butter block from softening too much. A warm kitchen is the enemy here, so if youre baking on a hot day, chill your rolling pin and work surface.
Shaping Secrets
Roll the final dough evenly so the loaf bakes straight. Too thick at one end means uneven rising. Tuck ends under neatly for a professional look, even if no one else will see the bottom.
Serving and Storage
This bread needs to cool completely before slicing, otherwise steam escapes and the interior becomes gummy. Patience truly pays off here. The texture improves after sitting for a few hours, so bake ahead if possible.
- Wrap cooled loaves tightly and freeze for up to three months
- Revive day old slices in a 350F oven for 5 to 7 minutes
- Slice and freeze individual portions for quick weekday toasting
 Pin it
 Some mornings deserve butter on your fingers and flour on your cheek. This bread is one of those mornings.
Recipe FAQ
- → What makes this different from regular bread?
-
The lamination process creates distinct flaky layers similar to traditional croissants, whereas regular bread has a uniform crumb structure. The cold butter folded into the dough separates during baking, creating those signature buttery pockets and a tender, layered texture throughout each slice.
- → Can I skip the chilling steps?
-
The chilling periods are essential for maintaining butter temperature and preventing it from melting into the dough. Skipping these steps will result in lost layers and a denser final loaf. Plan for the required 30-minute intervals to achieve proper lamination and flaky texture.
- → Why is my dough shrinking when rolling?
-
Dough shrinkage occurs when gluten becomes tense and needs relaxation. If this happens, simply cover the dough and let it rest for 10-15 minutes before continuing to roll. Working with thoroughly chilled dough also helps maintain the desired shape without excessive spring-back.
- → Can I make this dough ahead?
-
Yes, you can refrigerate the dough overnight after completing the folding turns. Wrap it tightly and let it come to room temperature for about 20 minutes before the final rolling and shaping. This actually improves flavor development and can make fitting the process into your schedule easier.
- → How do I know when it's fully baked?
-
The loaf should develop a deep golden-brown color on top and sound hollow when tapped on the bottom. An instant thermometer inserted into the center should read at least 190°F. If the top browns too quickly, tent with foil during the final 10-15 minutes of baking time.
- → What's the best way to store leftovers?
-
Wrap cooled slices tightly and store at room temperature for up to 3 days, or freeze for longer preservation. This loaf actually freezes beautifully—slice before freezing and toast individual portions directly from frozen for the best texture and convenience.
