
 Pin it
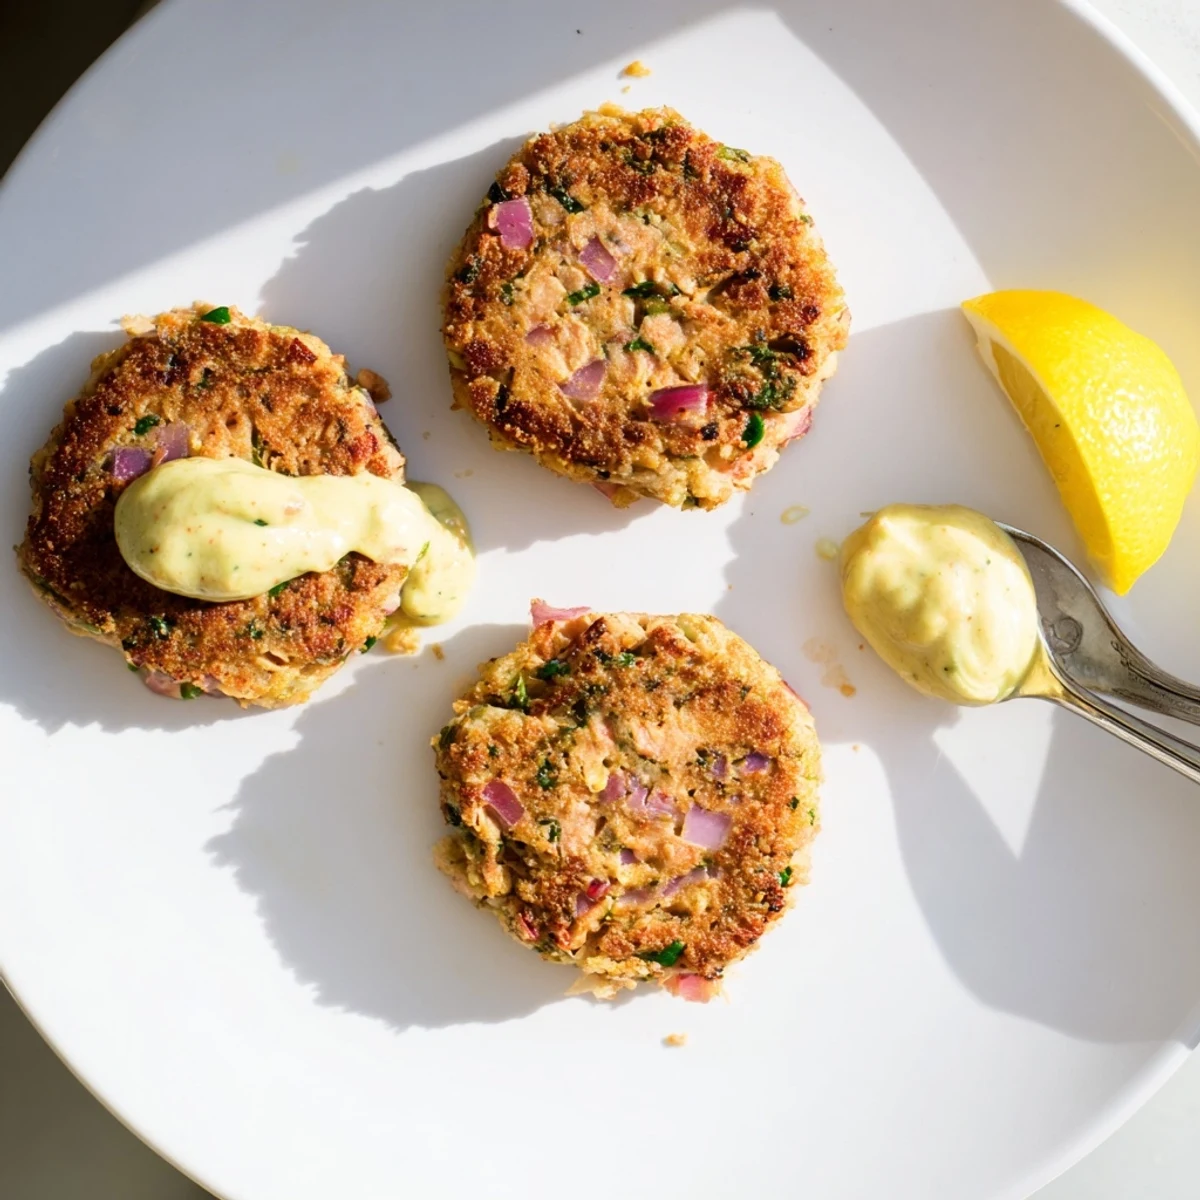
 These crisp, golden salmon cakes feature wild Alaska salmon flaked and combined with panko breadcrumbs, fresh lemon zest, aromatic garlic, and a touch of Dijon mustard for depth of flavor.
Each cake is pan-fried to a perfect golden brown and served alongside a creamy, housemade lemon garlic aioli that brings everything together beautifully.
Ready in just 35 minutes from start to finish, they work wonderfully as a satisfying main course or an elegant appetizer for gatherings.
Something about the sound of salmon hitting a hot skillet makes the whole kitchen feel alive, and these lemon garlic cakes deliver that sizzle every single time. My neighbor wandered over last July when she caught the garlic aroma drifting through the screen door, and three batches later we had a standing Tuesday dinner date. The bright punch of fresh lemon zest against rich wild Alaska salmon is the kind of pairing that makes you wonder why you ever bother with complicated recipes. Thirty five minutes from fridge to plate, and most of that is hands off.
I burned the first batch badly because I got distracted telling a story about my dog stealing a whole fillet off the counter the week before. My husband ate them anyway, crumbs and all, which told me the flavor was worth perfecting the technique. Now I make them for nearly every casual dinner party we host.
Ingredients
- 1 lb (450 g) wild Alaska salmon fillets, skin removed: Wild salmon has a firmer texture and deeper flavor than farmed, and it holds together beautifully when flaked. Bake it gently so it stays moist inside the cakes.
- 1 cup (120 g) panko breadcrumbs: Panko creates a lighter, crispier crust than regular breadcrumbs. Do not pack them tightly when measuring or the cakes turn dense.
- 2 large eggs, lightly beaten: Eggs bind everything together without making the mixture gummy. Let them come to room temperature for more even mixing.
- 2 tbsp fresh parsley, chopped: Fresh parsley adds color and a clean herbal note that balances the richness. Flat leaf parsley has more flavor than the curly variety.
- Zest of 1 lemon: The zest carries all the bright aromatic oils without adding acidity that can break down the fish. Use a microplane for the finest texture.
- 2 tbsp lemon juice: Fresh squeezed only, since the bottled version tastes flat and metallic next to fresh salmon.
- 2 garlic cloves, minced: Fresh garlic is nonnegotiable here. One clove goes into the cakes and one into the aioli, building layered flavor throughout.
- 1/4 cup (30 g) finely diced red onion: Red onion adds a subtle crunch and sweetness. Dice it as small as you can so no one gets a big raw bite.
- 1 tbsp Dijon mustard: Mustard acts as both flavor booster and binder. It emulsifies the mixture and adds a gentle heat.
- 1/2 tsp salt and 1/4 tsp black pepper: Season conservatively since the salmon and mustard already carry salt and depth. You can adjust after mixing.
- 2 tbsp olive oil (for frying): Olive oil gives the cakes a golden crust with a fruity finish. A thin even layer is all you need in a good nonstick skillet.
- Aioli ingredients (1/2 cup mayonnaise, 1 garlic clove, 2 tsp lemon juice, 1 tsp Dijon mustard, salt and pepper): Whisk these together while the salmon bakes and let them sit so the garlic mellows and flavors meld.
Instructions
- Bake the salmon gently:
- Preheat your oven to 350 degrees and line a baking sheet with parchment. Season the fillets lightly with salt and pepper, then bake for 12 to 15 minutes until the fish just flakes but still looks moist in the center.
- Flake and mix the cakes:
- Let the salmon cool enough to handle, then use a fork to break it into large chunky pieces in a big bowl. Add the breadcrumbs, eggs, parsley, lemon zest, lemon juice, garlic, red onion, mustard, salt, and pepper, folding gently so you keep those beautiful flakes intact.
- Shape with damp hands:
- Wet your hands slightly to prevent sticking, then form the mixture into 8 small cakes or 4 larger patties, pressing just firmly enough that they hold together without being compressed.
- Fry until golden:
- Heat olive oil in a large nonstick skillet over medium heat and cook the cakes 3 to 4 minutes per side until deeply golden and heated through. Let them drain briefly on paper towels so the bottoms stay crisp.
- Whisk the aioli:
- Stir together the mayonnaise, minced garlic, lemon juice, Dijon, salt, and pepper in a small bowl until smooth. Taste and adjust the lemon or salt before serving.
- Plate and enjoy:
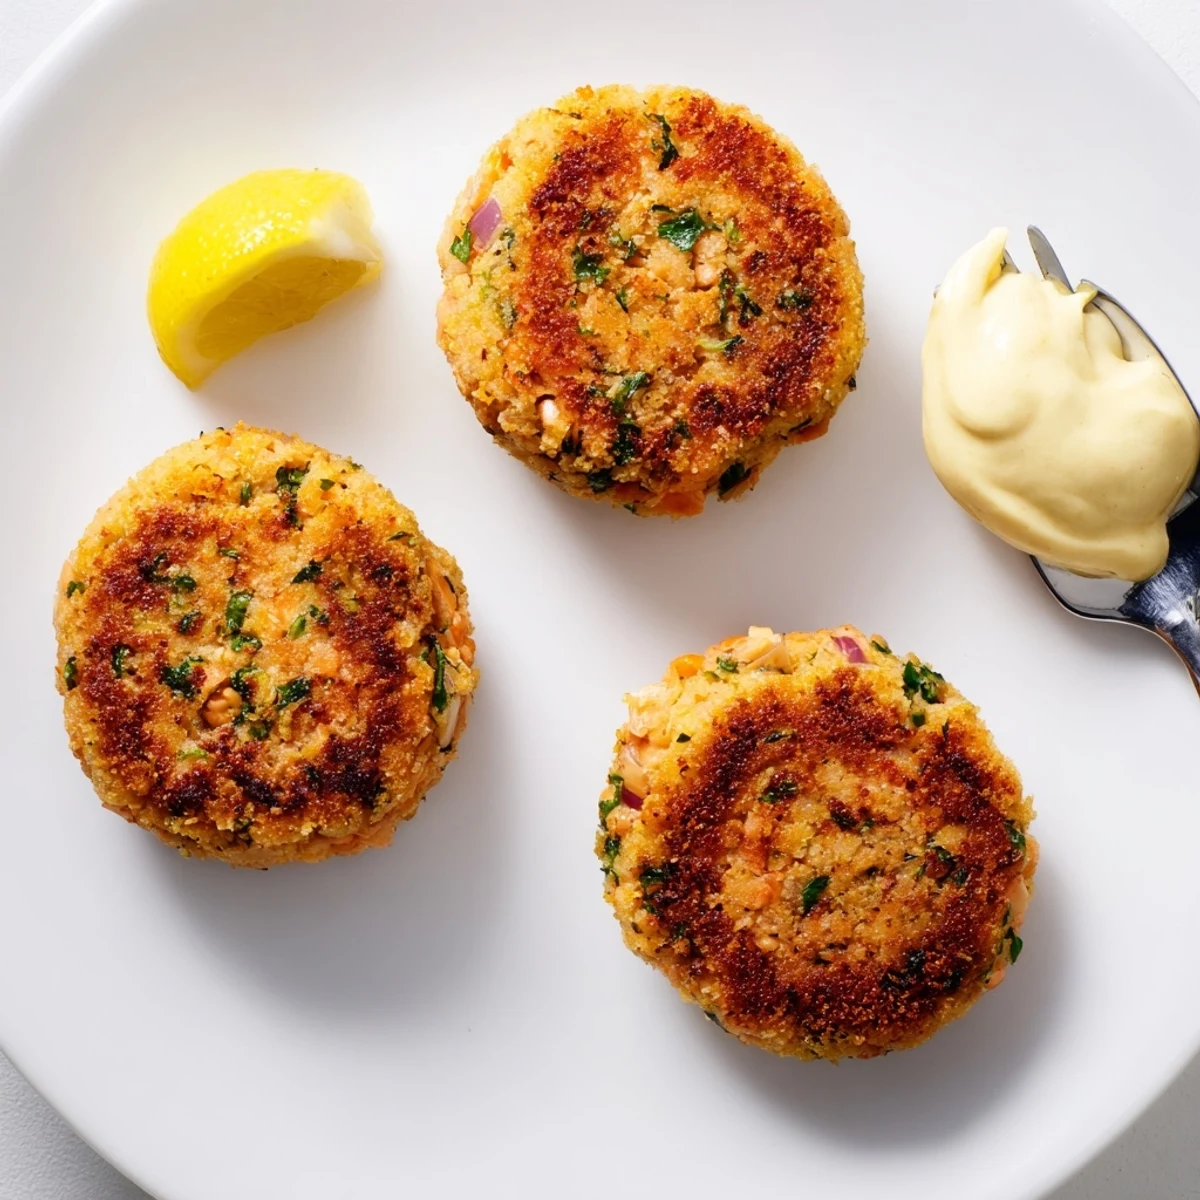
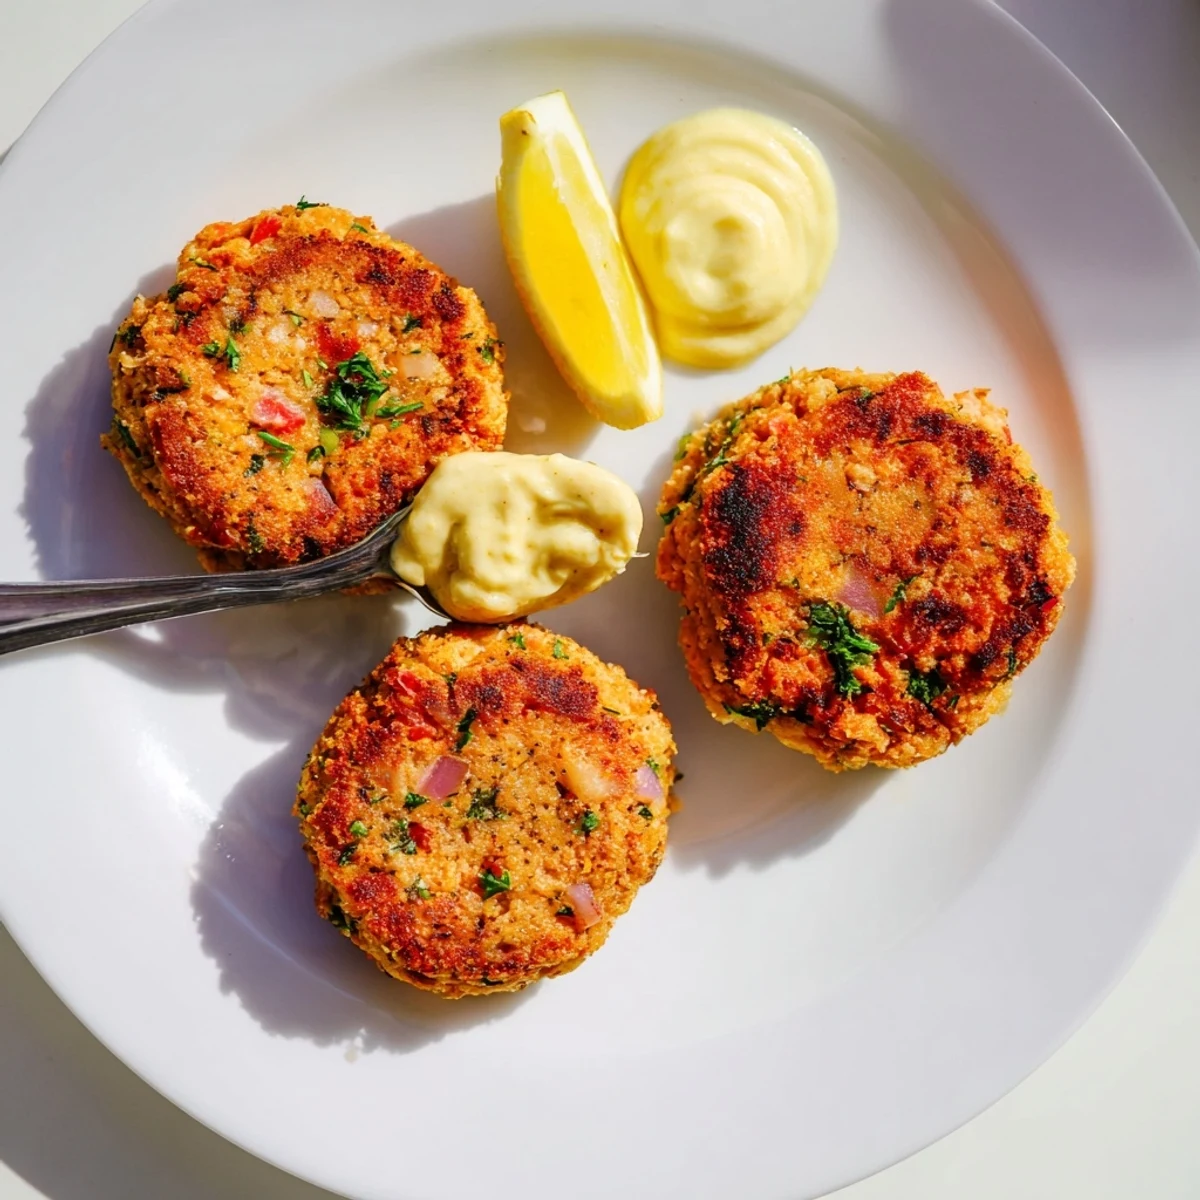
- Arrange the warm cakes on a platter with a generous dollop of aioli and lemon wedges alongside. Serve immediately because that first crunchy bite is everything.
 Pin it
 The night I finally got these right, my husband stood at the counter eating them straight off the paper towels before I could even plate them. That messy, joyful moment is exactly what home cooking should feel like.
Serving Suggestions That Actually Work
A simple arugula salad with shaved parmesan and a squeeze of lemon makes the perfect bitter contrast to the rich cakes. Roasted asparagus or green beans tossed with olive oil also work beautifully when you want something warm on the side.
Making Them Ahead
You can form the cakes and refrigerate them uncovered for up to eight hours before frying, which actually helps them firm up and hold together better. The aioli keeps in a sealed container for three days, so double the batch for sandwiches later in the week.
Smart Swaps and Variations
Gluten free panko works seamlessly if that is a concern, and fresh dill or chives can replace the parsley for a completely different personality. These little cakes are forgiving and adaptable, which is what makes them such a reliable standby.
- For dairy free, confirm your mayonnaise contains no dairy derivatives, especially if serving someone with an allergy.
- A crisp Sauvignon Blanc or unoaked Chardonnay beside these cakes turns a Tuesday into something worth savoring.
- Always double check labels on store bought mayo and breadcrumbs for hidden allergens.
 Pin it
 Keep these in your back pocket for nights when you want something special without the fuss. They have never once let me down.
Recipe FAQ
- → Can I use canned salmon instead of fresh Alaska salmon?
-
Yes, canned wild salmon works well as a time-saving alternative. Drain it thoroughly and remove any bones before mixing. Fresh baked salmon will yield a flakier, more tender texture, but canned salmon still produces delicious, crispy cakes.
- → How do I keep my salmon cakes from falling apart?
-
The key is using enough binder — eggs and breadcrumbs hold everything together. After mixing, refrigerate the patties for 15–20 minutes before frying. This firms them up significantly. Also, avoid over-flaking the salmon; larger pieces provide better structure.
- → What can I substitute for breadcrumbs to make these gluten-free?
-
Gluten-free panko breadcrumbs work as a direct one-to-one swap. You can also use crushed rice crackers, almond flour, or crushed cornflakes. Each option slightly changes the texture, so experiment to find your preferred crunch level.
- → Can I bake these salmon cakes instead of pan-frying?
-
Absolutely. Arrange the formed patties on a parchment-lined baking sheet, brush or spray lightly with olive oil, and bake at 400°F (200°C) for about 12–15 minutes, flipping halfway through. They'll be slightly less crispy but still golden and delicious.
- → How long do leftovers last and can I freeze them?
-
Cooked salmon cakes keep in an airtight container in the refrigerator for up to 3 days. Reheat gently in a skillet to restore crispness. For freezing, arrange uncooked patties on a tray until solid, then transfer to a freezer bag for up to 3 months. Cook from frozen, adding a few extra minutes.
- → What sides pair well with salmon cakes and aioli?
-
A simple arugula or mixed greens salad with lemon vinaigrette complements the richness beautifully. Roasted asparagus, steamed green beans, or garlic mashed potatoes also work wonderfully. For a lighter approach, serve them over a bed of coleslaw with the aioli drizzled on top.