 Pin it
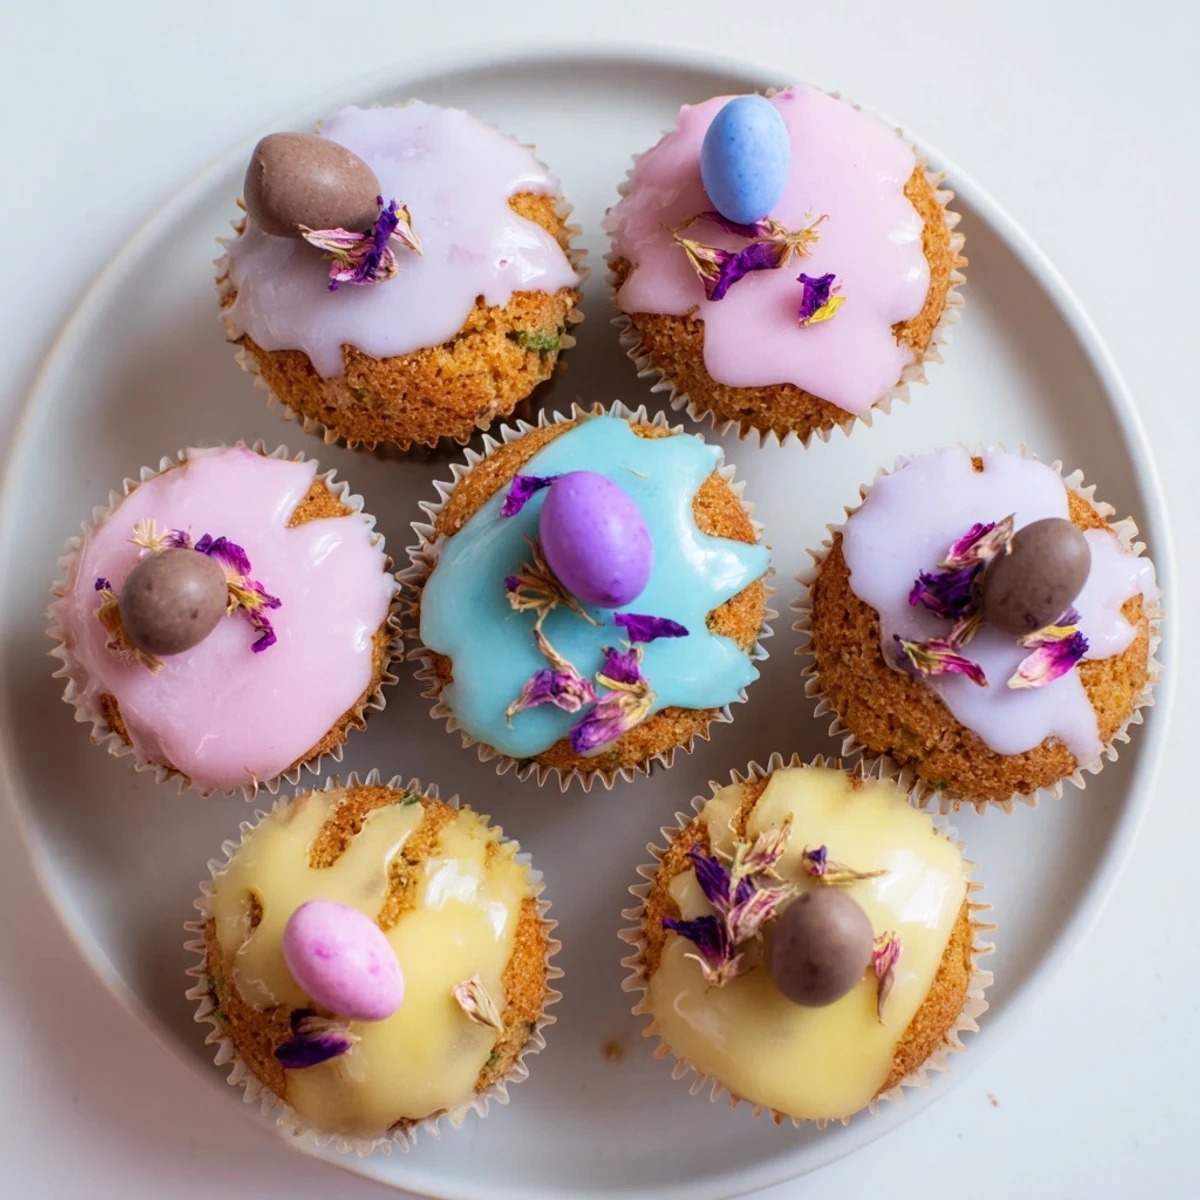
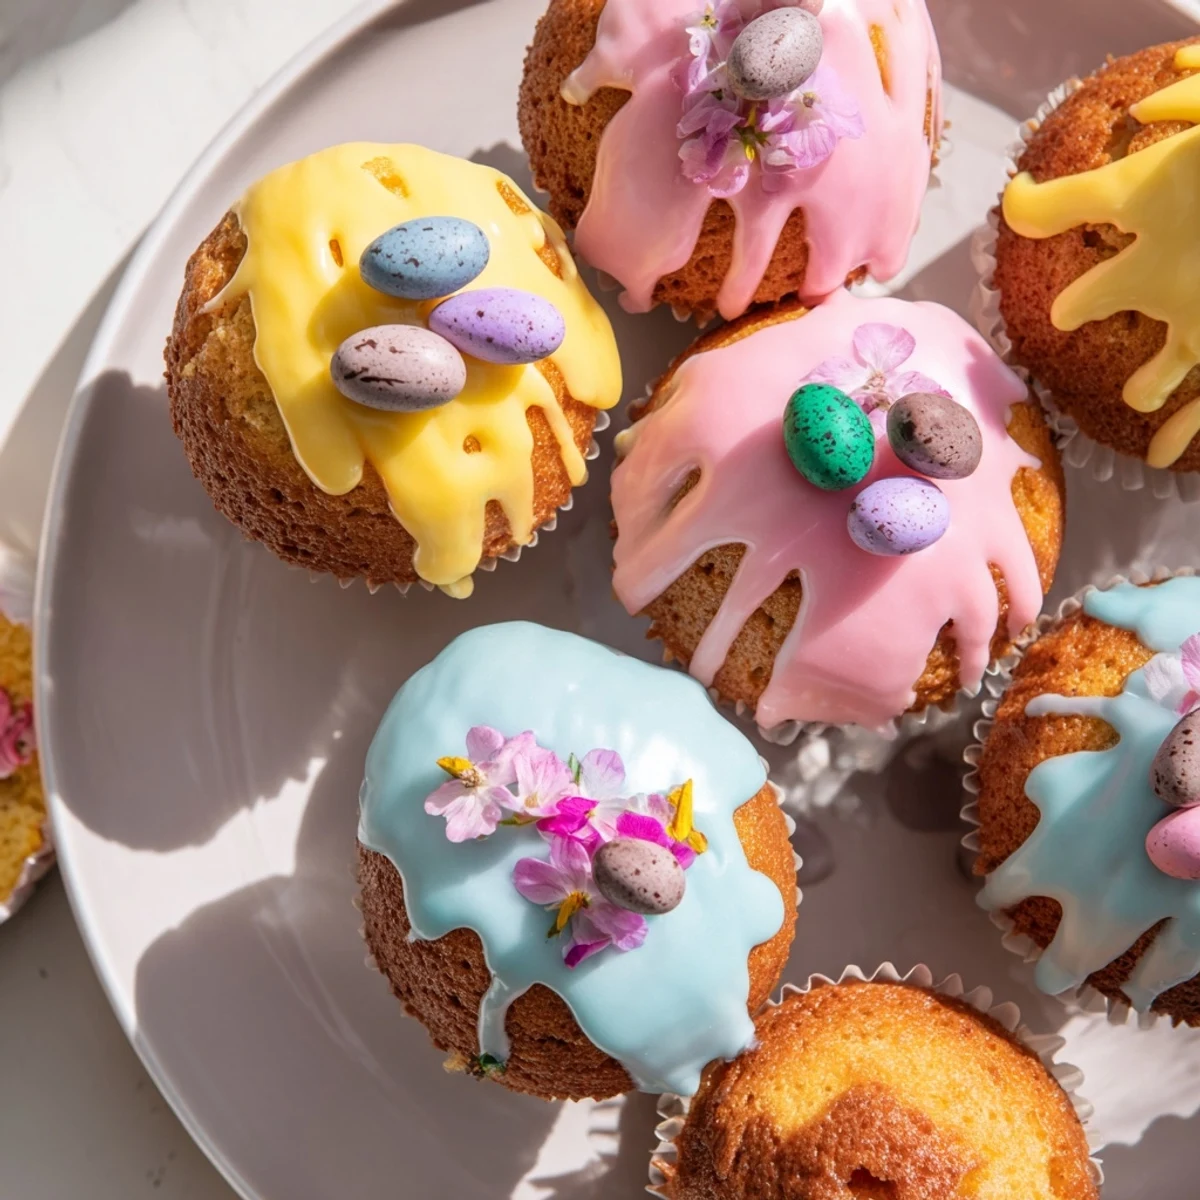
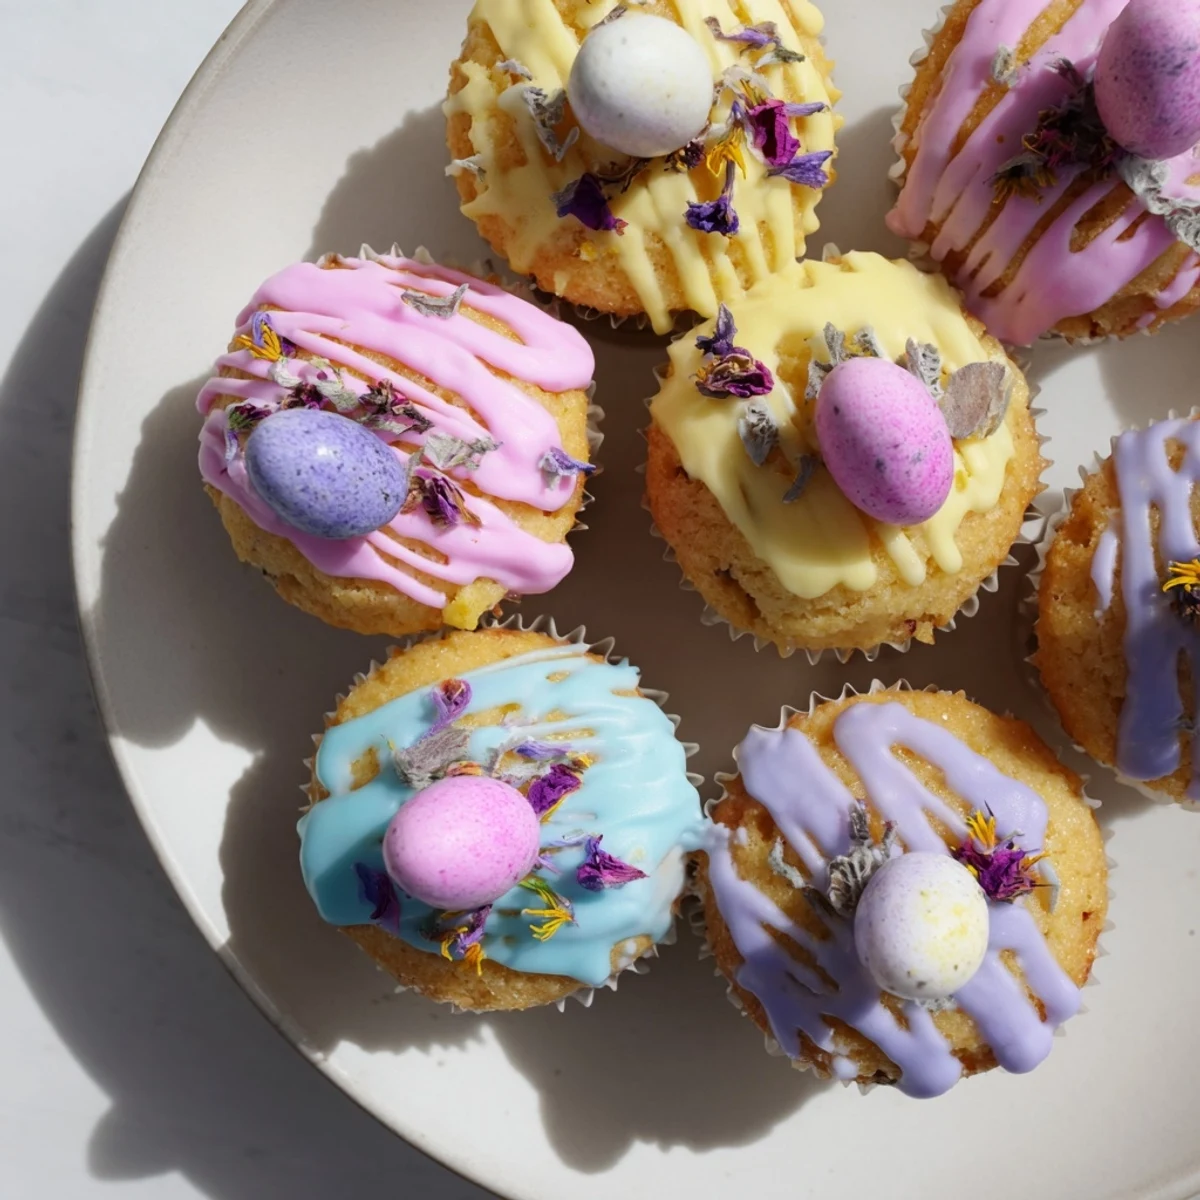
 These delightful mini cakes feature light, fluffy sponge bases topped with smooth pastel icing and festive decorations. Perfect for spring gatherings, each individually-sized treat offers a tender crumb and sweet vanilla flavor. The preparation comes together in under an hour, making them ideal for busy holiday schedules. Customizable with various colors and toppings, these charming desserts capture the essence of Easter celebration.
Last spring, my daughter came home from school talking about Easter traditions, and somehow we ended up spending the whole Sunday afternoon in the kitchen making these tiny cakes. The kitchen counter was covered in pastel bowls of icing, and she may have gotten more frosting on her face than on the cakes. Now it is become our favorite way to welcome the season, something we look forward to long before the first crocus blooms.
My neighbor Louise brought these to our annual Easter brunch three years ago, and I still remember how quickly they disappeared from the dessert table. She laughed and said the secret was using room temperature ingredients and never overworking the batter. Every batch I make now carries that same wisdom, and the request to bring them has become a running joke among our friends.
Ingredients
- All-purpose flour: The structure that holds everything together, measured carefully for the best rise
- Baking powder: What gives these little cakes their fluffy, tender crumb
- Salt: A pinch that balances the sweetness and brings out flavors
- Unsalted butter: Use this softened to room temperature for proper aeration and texture
- Granulated sugar: Sweetens while creating the perfect tender crumb structure
- Eggs: Must be at room temperature to incorporate properly into the batter
- Vanilla extract: The warm, aromatic background that makes everything taste homemade
- Milk: Adds moisture and helps create that velvety texture we love
- Powdered sugar: Sift this first for the smoothest, most professional looking icing
- Pastel food coloring: Gel colors work best for achieving those soft, Easter egg shades
- Mini chocolate eggs: The crowning glory that makes them absolutely irresistible
Instructions
- Prepare your kitchen:
- Preheat the oven to 350°F and get your muffin tin ready with either grease or paper liners
- Mix the dry ingredients:
- Whisk flour, baking powder, and salt in a medium bowl until everything is evenly combined
- Cream butter and sugar:
- Beat them together until the mixture looks pale and fluffy, which creates the tender texture
- Add eggs and vanilla:
- Add eggs one at a time, beating well after each, then mix in the vanilla until fully incorporated
- Combine everything gently:
- Add half the flour mixture, then milk, then remaining flour, mixing just until you no longer see dry streaks
- Fill and bake:
- Divide batter among muffin cups about two thirds full and bake 18 to 20 minutes until a toothpick comes out clean
- Cool completely:
- Let them rest in the pan 5 minutes, then move to a wire rack to cool entirely before icing
- Make the icing:
- Mix powdered sugar with milk until thick but pourable, then divide into bowls and tint each with pastel coloring
- Decorate with joy:
- Drizzle or spoon colored icing over each cake and immediately add your favorite decorations while the icing is still wet
- Let them set:
- Allow the icing to firm up for about 15 minutes before serving, or refrigerate briefly to speed things along
 Pin it
 These have become such a part of our Easter celebration that my youngest now asks about them weeks in advance. Last year we made extra batches to deliver to neighbors, watching from the window as people opened their boxes and smiled. Sometimes food is just food, but other times it becomes the thread that connects us to people we love.
Making Them Ahead
You can bake the cakes a day ahead and store them in an airtight container at room temperature. Wait to ice them until the day you plan to serve, because the moisture from the frosting can make the cakes soggy if they sit too long. The undecorated cakes also freeze beautifully for up to a month.
Flavor Variations
Folding citrus zest into the batter adds brightness that cuts through the sweet icing. A teaspoon of lemon or orange zest transforms them completely. You can also replace half the vanilla with almond extract for a more sophisticated flavor profile that adults especially love.
Decorating Ideas
The decorating is where these little cakes really shine and where your creativity can take over. Use a spoon to create drizzles, or pour the icing over the tops for a glazed look. Edible flowers add an elegant touch, while sprinkles make them fun for kids.
- Try dipping the tops in icing for a perfectly smooth finish
- Use different piping tips to create decorative drizzle patterns
- Set up a decorating station and let guests create their own designs
 Pin it
 Whether you are making them for a crowd or just to brighten a regular afternoon, these tiny cakes have a way of making everything feel like a celebration. Happy baking, and may your Easter be filled with sweet moments.
Recipe FAQ
- → How long do these stay fresh?
-
Store in an airtight container at room temperature for up to 3 days. The icing may soften slightly over time, but the sponge remains moist and flavorful.
- → Can I make these ahead of time?
-
Bake the sponge cakes up to 2 days in advance and store unfrosted. Ice and decorate on the day of serving for the freshest appearance and best texture.
- → What other decorations work well?
-
Try shredded coconut, crushed malted eggs, edible pearls, or delicate buttercream flowers. Fresh berries like raspberries or blueberries also add beautiful color.
- → Can I freeze these cakes?
-
Freeze unfrosted cakes in a freezer-safe container for up to 3 months. Thaw overnight at room temperature before icing and decorating.
- → How do I get the perfect icing consistency?
-
Add milk gradually until the icing flows slowly from a spoon. It should coat the back of a spoon without running off completely. Adjust with more powdered sugar or milk as needed.
