 Pin it
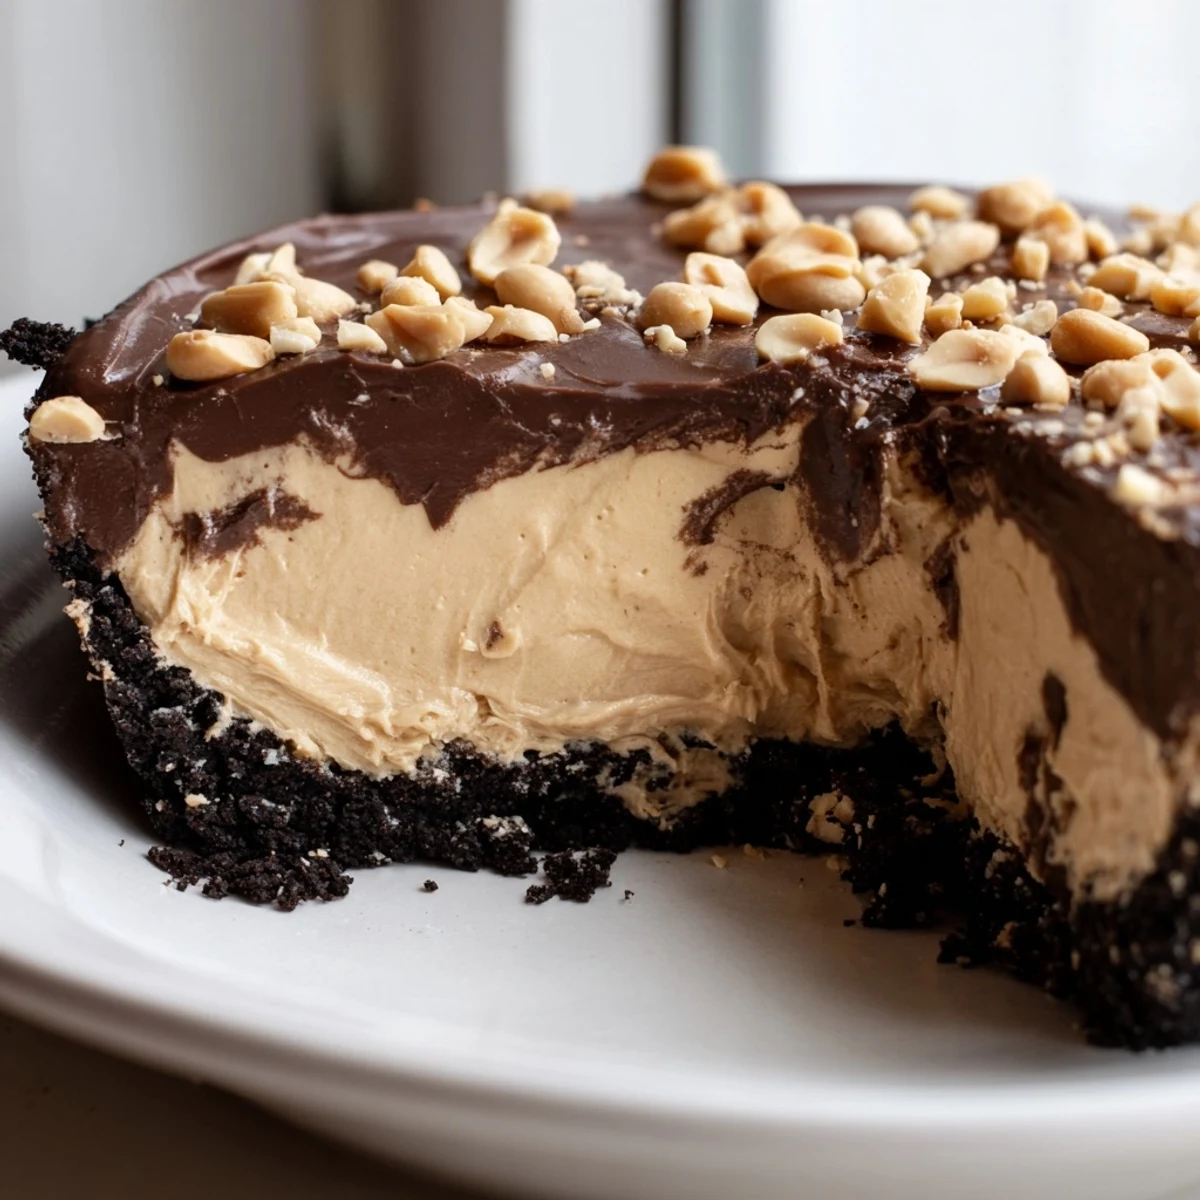
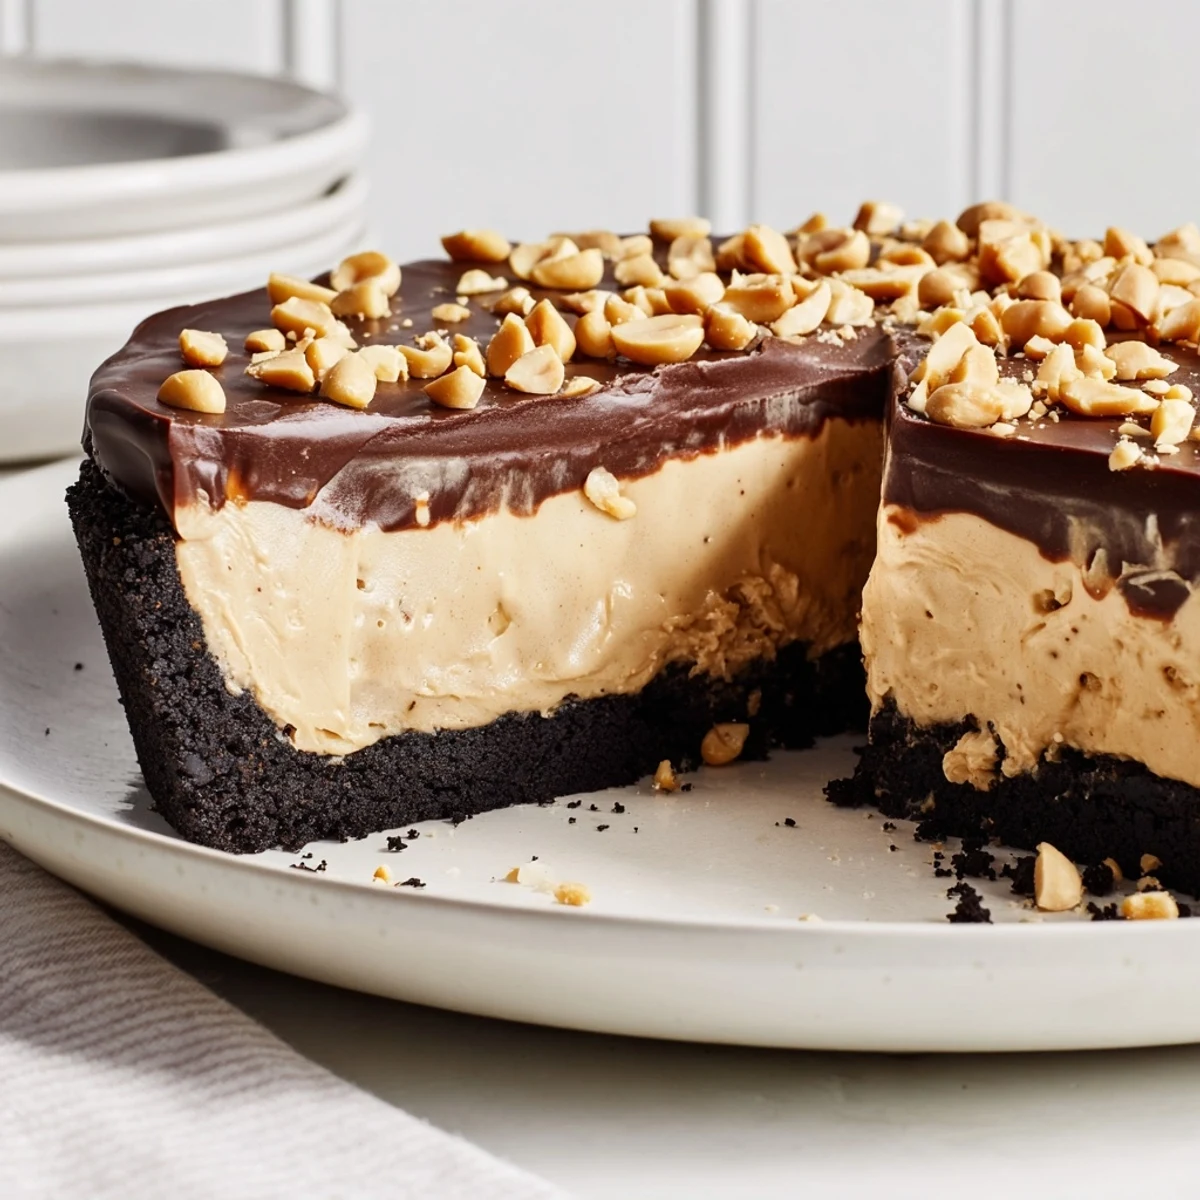
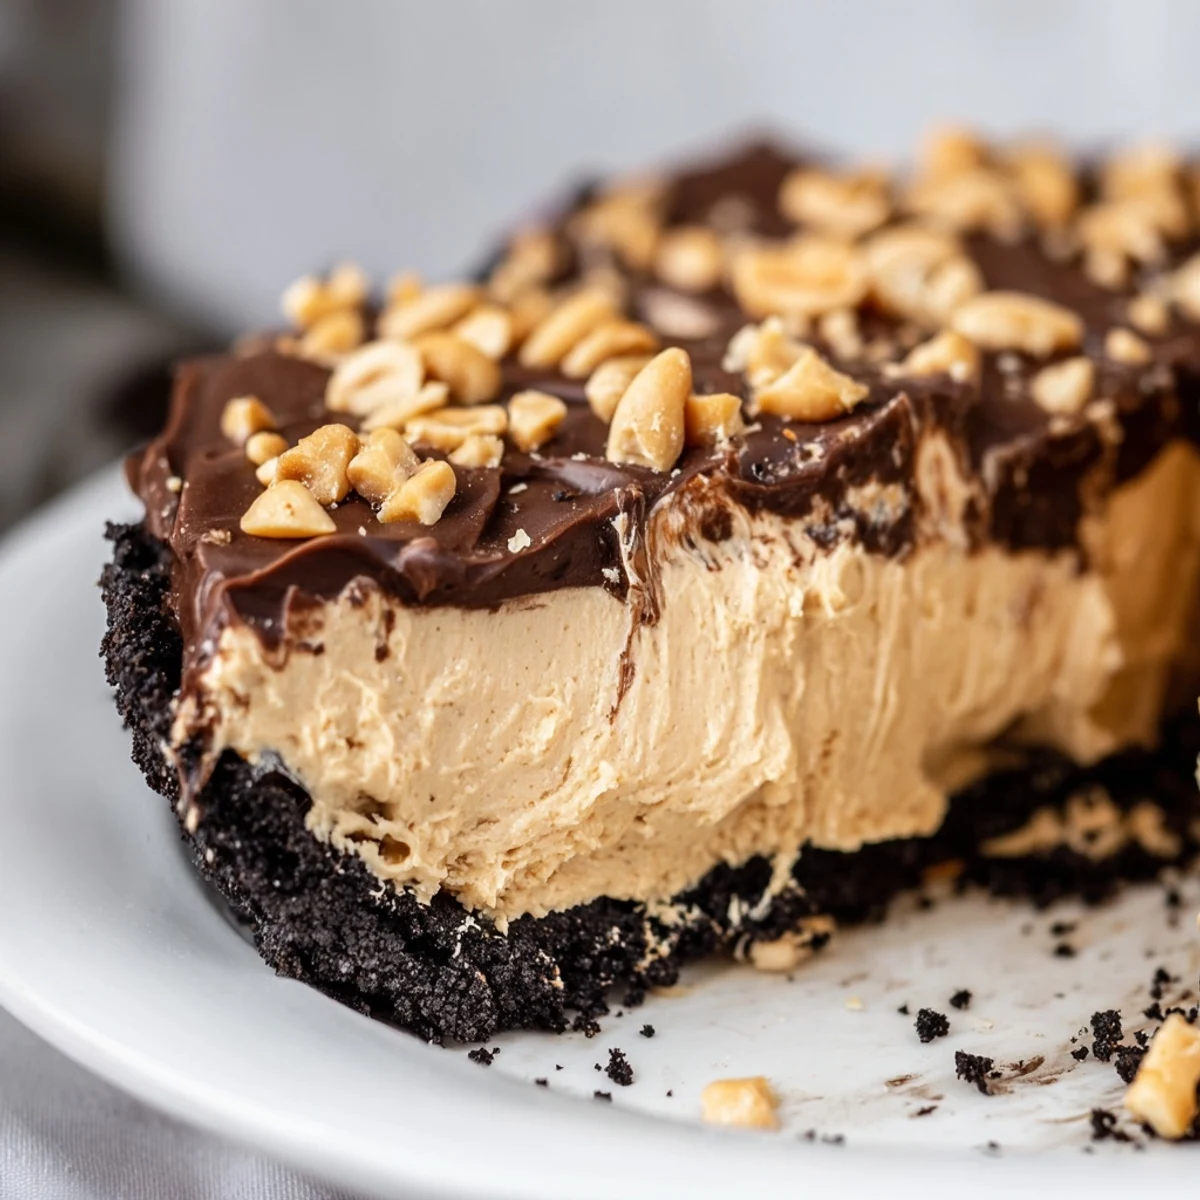
 This indulgent dessert combines velvety smooth peanut butter filling with a crunchy chocolate cookie crust. The whipped cream creates an incredibly light yet rich texture, while the optional chocolate ganache topping adds an extra layer of decadence. Perfect for gatherings or special family treats, this make-ahead dessert needs only 20 minutes of active prep time before chilling to perfection.
The first time I made this peanut butter pie, I was rushing to bring dessert to a last-minute summer potluck. My friend Sarah had just texted that morning saying everyone was craving something rich and creamy, and I remembered my grandmother used to make a version that people would literally hover around until it was gone. I threw it together in twenty minutes, crossed my fingers during the car ride, and watched it disappear faster than anything else on the table.
Last Thanksgiving, I made three of these pies because my extended family has developed something of an obsession. My uncle Bob, who usually skips dessert entirely, went back for seconds and then asked if he could take the last slice home. Now every family gathering includes a quiet understanding that someone needs to bring the peanut butter pie.
Ingredients
- 200 g chocolate sandwich cookies: I have tried every cookie crust variation imaginable, but nothing beats the classic Oreos for that deep chocolate flavor that perfectly balances the peanut butter
- 75 g unsalted butter, melted: Make sure this is properly melted but not hot, or you will melt the cookie filling and lose that perfect crumb texture
- 240 g creamy peanut butter: Use a mainstream brand rather than natural separated peanut butter for the smoothest, most stable filling
- 225 g cream cheese, softened: Room temperature is non-negotiable here or you will end up with tiny lumps that no amount of mixing can fix
- 120 g powdered sugar: This sweetens and stabilizes the filling without making it grainy like regular sugar would
- 240 ml cold heavy cream: The colder your cream, the faster it whips and the more stable your final pie will be
- 1 tsp pure vanilla extract: This little addition deepens all the other flavors in a way you will not understand until you try it with and without
- 60 ml heavy cream for ganache: This creates the most luxurious chocolate topping that sets just enough to slice cleanly
- 60 g semi-sweet chocolate chips: Milk chocolate makes this too sweet, while dark chocolate can overpower the peanut butter
- 2 tbsp chopped salted peanuts: That salty crunch on top is what makes this feel like a professional bakery creation
Instructions
- Build the chocolate crust foundation:
- Crush those cookies into oblivion until they resemble wet sand, then stir in the melted butter until every crumb is coated and the mixture holds together when squeezed. Press the crumbs firmly into your pie dish, using the bottom of a measuring cup to compact it into an even layer that will not crumble when sliced.
- Whip up the peanut butter filling:
- Beat the peanut butter, cream cheese, and powdered sugar until you have something silky smooth that makes you want to eat it straight from the bowl. In another bowl, whip that cold cream with vanilla until you have stiff peaks that stand proud and tall, then gently fold it into the peanut butter mixture until just combined.
- Assemble and crown with chocolate:
- Spread that gorgeous peanut butter cloud into your waiting crust and smooth the top like you are finishing a masterpiece. If you are making the ganache, heat the cream until steaming, pour over the chocolate chips, wait two minutes, then stir until glossy and pour over the filling.
- Let the refrigerator work its magic:
- This needs at least four hours to set properly, though overnight is even better for the cleanest slices and most developed flavor.
 Pin it
 This pie has become my go-to for new neighbors, sick friends, and basically anyone who needs a little comfort in edible form. There is something about that combination of chocolate, peanut butter, and cream that makes people pause after their first bite and genuinely smile.
Making It Your Own
I have started keeping all the ingredients on hand because this pie has saved me so many times when unexpected guests show up or I need to bring something to a gathering last minute. The fact that it needs to chill for four hours actually works in my favor since I can make it in the morning and forget about it until dessert time.
Getting The Perfect Slice
The secret to restaurant-worthy slices is running your knife under hot water and wiping it dry between each cut. This tiny step makes such a difference in presentation and keeps your pie looking gorgeous even after multiple servings have been removed.
Storage And Make-Ahead Magic
This pie actually improves after a day in the refrigerator as the flavors meld together and the texture becomes even more luxurious. The crust stays perfectly crisp while the filling develops an even silkier consistency that makes it hard to stop at just one slice.
- Wrap it well and it will keep for up to five days in the refrigerator
- You can freeze the whole pie for up to two months if wrapped tightly
- Let frozen pie thaw in the refrigerator overnight for the best texture
 Pin it
 There is something deeply satisfying about a dessert that comes together so quickly yet tastes like you spent hours in the kitchen. This pie has become my signature for that exact reason.
Recipe FAQ
- → Can I make this ahead of time?
-
Yes, this dessert actually improves when made ahead. The filling needs at least 4 hours to set properly, and it can be refrigerated for up to 3 days before serving. The crust maintains its texture wonderfully, making it ideal for preparing the day before a gathering.
- → Can I freeze this pie?
-
Absolutely! You can freeze the assembled pie for up to 2 months. Wrap it tightly in plastic wrap and foil. Thaw overnight in the refrigerator before serving. If adding the ganache topping, consider adding it after thawing for the best texture.
- → What type of peanut butter works best?
-
Creamy peanut butter creates the smoothest, most luxurious filling. However, you can substitute crunchy peanut butter if you enjoy texture. Avoid natural peanut butters with separated oil, as they can affect the consistency. Regular commercial creamy peanut butter yields the most reliable results.
- → Do I need to bake the crust?
-
No baking required! The chocolate cookie crust sets perfectly in the refrigerator. The butter binds the crumbs together as they chill, creating a firm, crunchy base that holds up beautifully when sliced. This makes the entire process much quicker and simpler than traditional baked versions.
- → Can I make this gluten-free?
-
Yes, simply substitute the chocolate sandwich cookies with certified gluten-free chocolate cookies. Many brands make excellent gluten-free sandwich cookies that work perfectly for the crust. The filling ingredients are naturally gluten-free, making this an easy dessert to adapt for those with dietary restrictions.
- → How do I know when the pie is set?
-
The pie should feel firm to the touch in the center, similar to cheesecake consistency. A gentle shake should not cause any wobbling in the middle. The minimum chilling time is 4 hours, but overnight chilling ensures the best texture and makes slicing much cleaner and easier.
