 Pin it
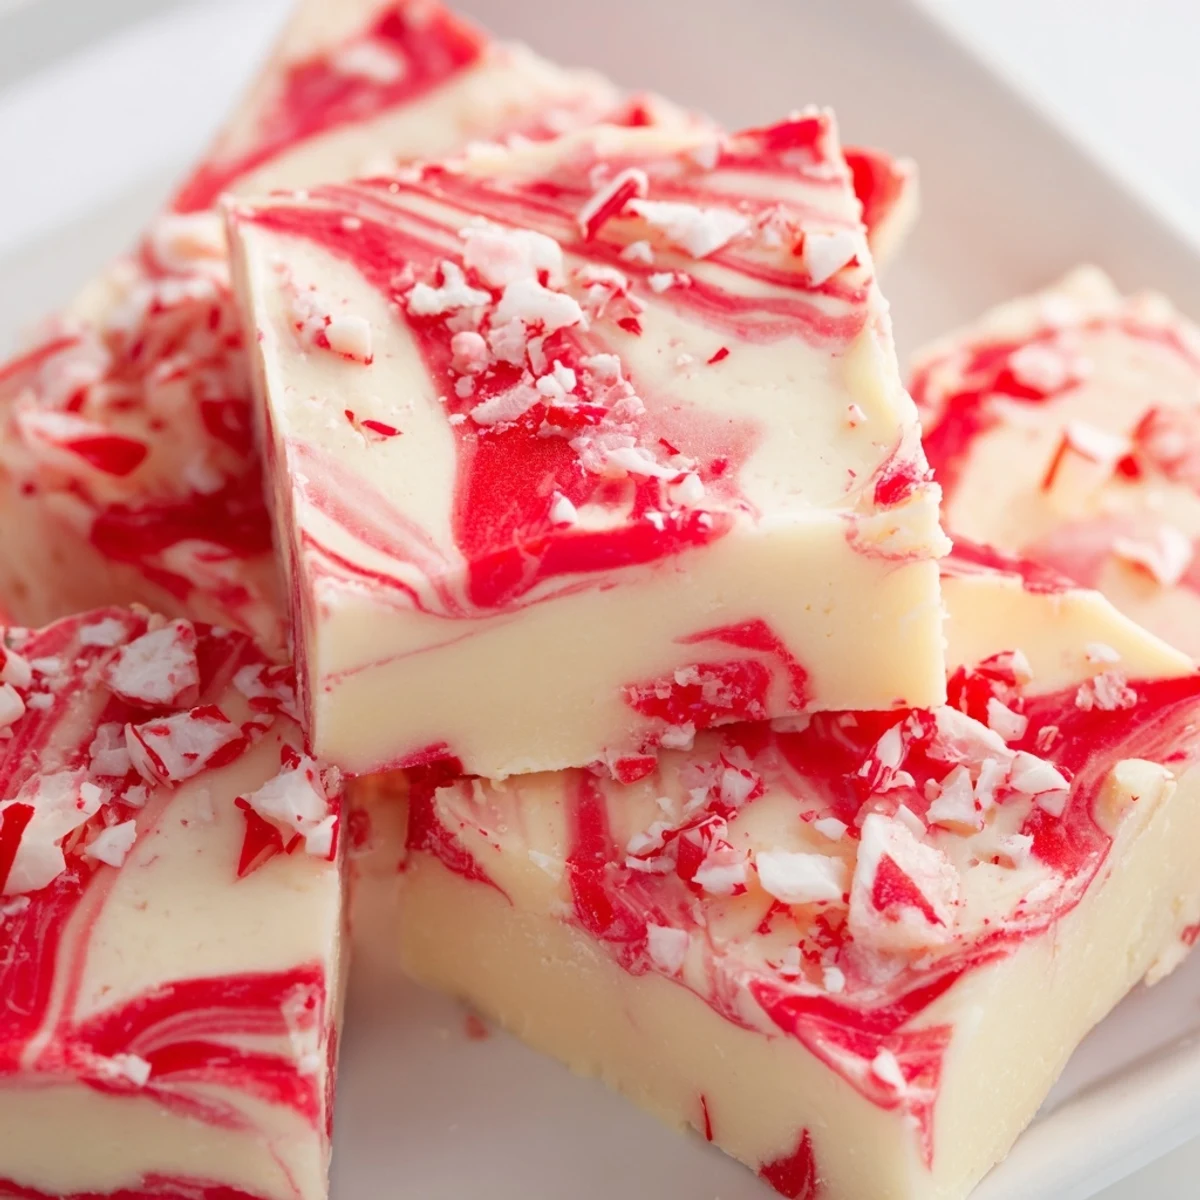
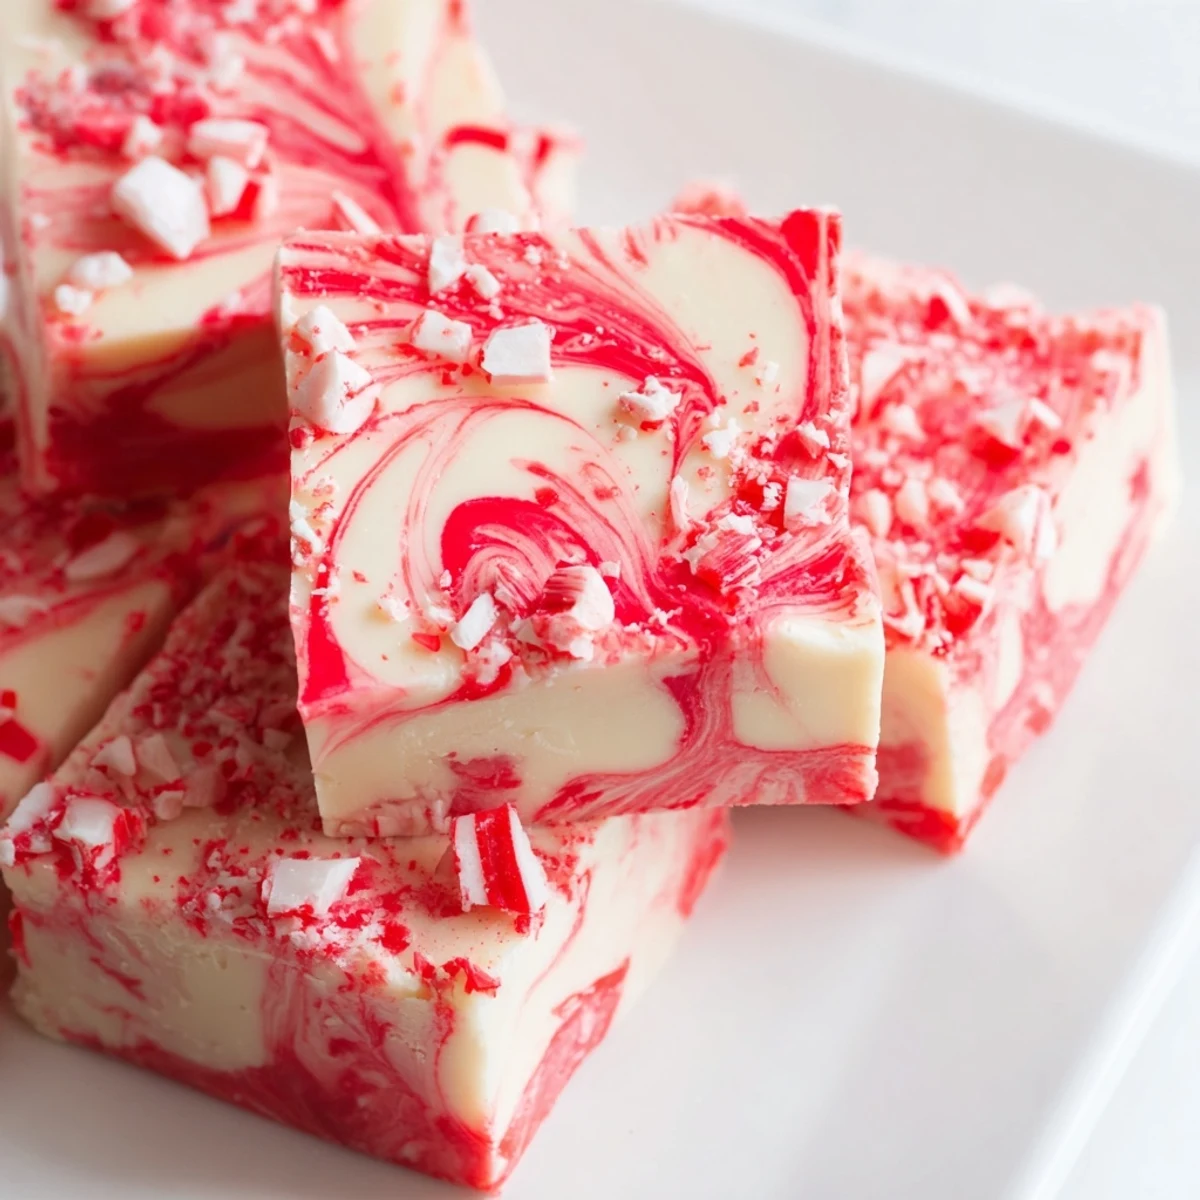
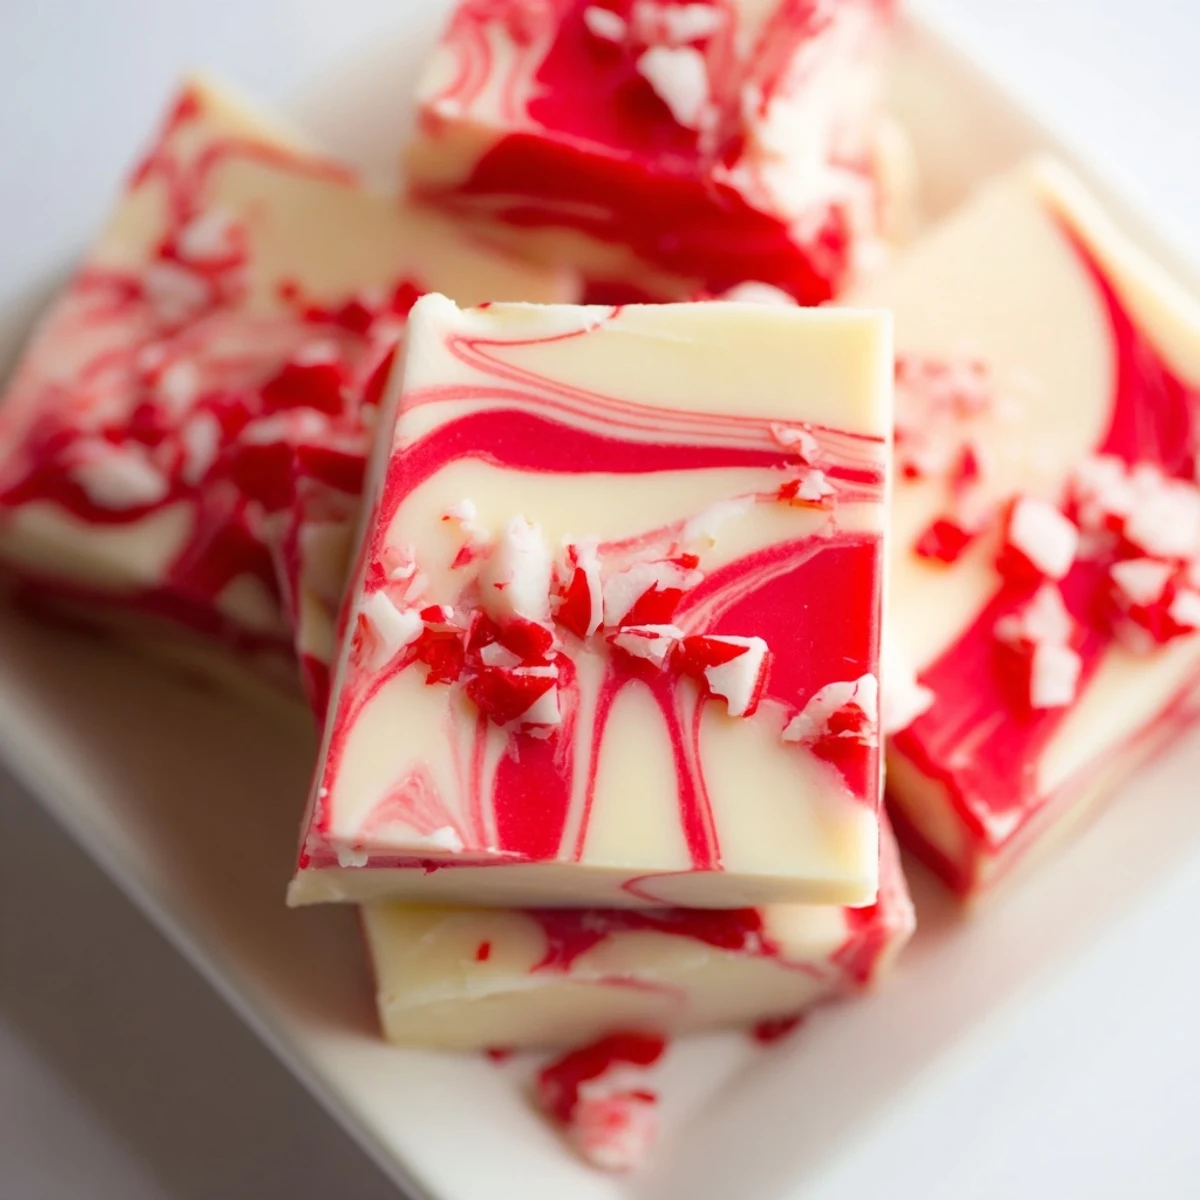
 This indulgent treat combines smooth white chocolate with sweetened condensed milk and butter for an incredibly creamy base. The addition of peppermint extract creates that classic holiday flavor, while red gel coloring adds a beautiful festive swirl throughout. Topped with crunchy crushed candy canes, each piece delivers the perfect balance of sweet, minty, and chocolatey notes.
Ready in just over 2 hours including chilling time, this confection comes together with simple stovetop melting and requires minimal effort. The swirling technique creates stunning marbled patterns that look impressive on any dessert platter. Store in the refrigerator for up to two weeks, making it ideal for preparing ahead of festive gatherings or gift-giving during the holiday season.
The first time I attempted peppermint fudge, I accidentally used liquid food coloring instead of gel, and my beautiful white chocolate turned a sad pale pink. But that mistake taught me everything about patience and following recipes exactly when chemistry is involved. Now this swirl fudge has become my December signature, requested by everyone who tasted that first imperfect batch.
Last year my neighbor Sarah left a tin of this on my doorstep with a note that said I ruined all other fudge for her forever. She later confessed she ate three pieces standing at her kitchen counter before even taking off her coat. That is exactly the kind of instant joy this recipe brings.
Ingredients
- White chocolate chips: Real white chocolate makes all the difference here, avoid white chips that are actually just colored confectionery
- Sweetened condensed milk: This is the secret to that perfectly smooth, melt in your mouth texture
- Unsalted butter: Just two tablespoons adds richness without making the fudge too soft
- Peppermint extract: Start with half teaspoon, you can always add more but you cannot take it back
- Red gel food coloring: Gel coloring is essential here because liquid coloring will seize your chocolate mixture
- Crushed peppermint candies: Crush these right before using so they stay fresh and crunchy
Instructions
- Prep your pan:
- Line an 8x8-inch baking pan with parchment paper, letting the edges hang over like little handles for easy lifting later
- Melt the base:
- Combine white chocolate chips, sweetened condensed milk, and butter in a medium saucepan over very low heat, stirring constantly until everything melts into glossy smoothness
- Add the peppermint:
- Remove from heat immediately and stir in the peppermint extract, taking in that first wave of minty chocolate aroma
- Create the layers:
- Pour about three quarters of the white mixture into your prepared pan and spread it evenly with an offset spatula
- Make the swirl:
- Add red gel coloring to the remaining chocolate mixture, stirring until fully colored, then drop spoonfuls over the white layer
- Marble the magic:
- Run a knife or skewer through the fudge in gentle swirling motions, being careful not to overmix and muddy the colors
- Finish with crunch:
- Sprinkle crushed peppermint candies over the top, pressing them gently into the surface so they adhere
- Set and serve:
- Refrigerate for at least two hours until completely firm, then lift out using the parchment paper and cut into squares
 Pin it
 My daughter insists this fudge tastes exactly like Christmas morning feels. She is probably right, since the combination of cool peppermint and creamy white chocolate captures that holiday magic in every bite.
Getting the Perfect Swirl
The trick to a beautiful marble pattern is restraint. Only drag your knife through the fudge three or four times maximum, and change direction with each pass. Overworking the swirl turns your distinct red and white layers into pinkish fudge that still tastes wonderful but loses that stunning visual impact.
Storage Secrets
This fudge keeps beautifully in the refrigerator for two weeks, though it rarely lasts that long in my house. Layer pieces between wax paper in an airtight container to prevent sticking, and bring to room temperature for about ten minutes before serving for the best texture.
Flavor Variations
While the classic peppermint version is hard to beat, you can swap in orange extract with a drop of orange gel coloring for a creamsicle version. Or keep it all white and fold in crushed Oreos for cookies and cream fudge that disappears just as quickly.
- Use peppermint oil instead of extract for a more intense flavor, but cut the amount in half
- Try dark chocolate chips instead of white for a sophisticated mocha version
- Press extra crushed candy canes into the fudge immediately after swirling for more crunch
 Pin it
 There is something deeply satisfying about pulling that perfect block of swirled fudge from the refrigerator, knowing you created something beautiful and delicious with your own hands.
Recipe FAQ
- → How long does peppermint fudge need to set?
-
Refrigerate for at least 2 hours until fully set before cutting into squares. The fudge becomes firm and easy to slice once chilled completely.
- → Can I use milk chocolate instead of white chocolate?
-
Yes, milk or dark chocolate work well as substitutes. Keep in mind the flavor profile changes, and the swirl effect may be less visible with darker chocolate bases.
- → How should I store leftover fudge?
-
Keep in an airtight container in the refrigerator for up to 2 weeks. The cool temperature maintains the creamy texture and prevents the pieces from becoming too soft.
- → What creates the marbled swirl effect?
-
Drop spoonfuls of red-colored mixture over the white base, then gently drag a knife or skewer through both layers. The swirling motion blends the colors without fully mixing them.
- → Can I make this fudge ahead for holidays?
-
Absolutely—prepare up to two weeks in advance and store refrigerated. The flavors often develop and intensify after a day or two, making it even more delicious for serving.
- → What's the difference between peppermint extract and oil?
-
Peppermint oil is more concentrated than extract. If substituting, use half the amount called for to avoid an overpowering minty flavor that can taste medicinal.
