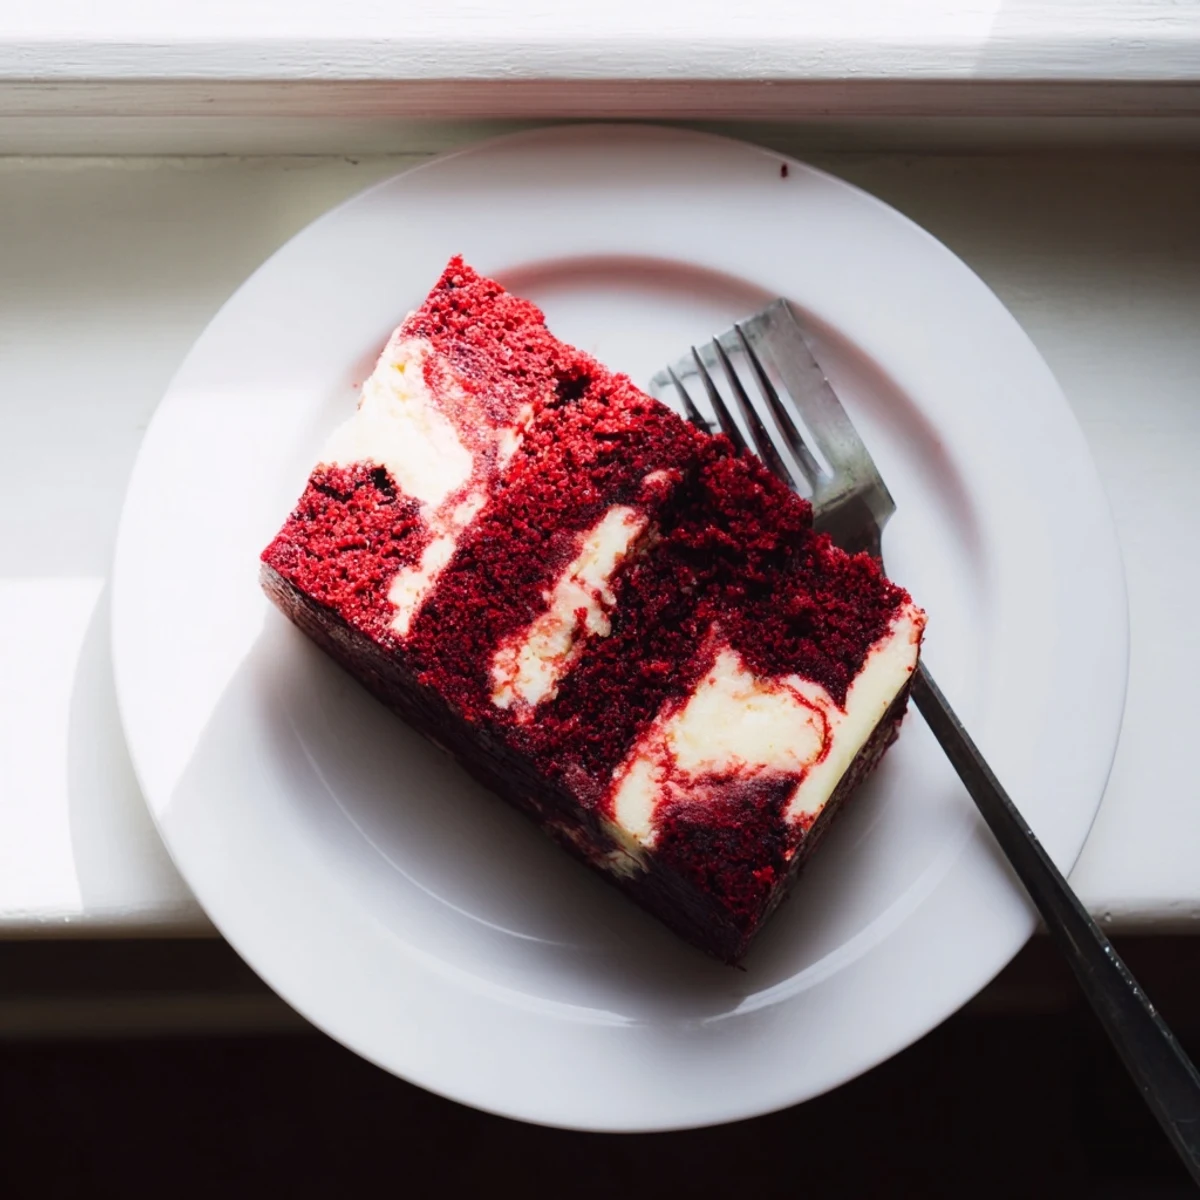
 Pin it
 This stunning dessert combines the classic appeal of red velvet with the rich tanginess of cheesecake. The velvet cake layer stays incredibly moist thanks to buttermilk and oil, while the cheesecake swirl adds creamy contrast and visual appeal. The marbling technique creates beautiful patterns throughout, making it an impressive choice for birthdays, holidays, or any special gathering.
The balance of cocoa's subtle depth with cream cheese's tangy richness creates sophisticated flavor layers. Gel food coloring delivers the signature vibrant red hue that makes this dessert a showstopper on any dessert table.
The moment this cake came out of the oven, I knew Id found something special. That dramatic swirl of creamy cheesecake cutting through the ruby red velvet made my kitchen smell like a bakery crossed with a dream. I made it on a rainy Tuesday just because, and ended up delivering half the pan to my neighbor who was having a rough week. Sometimes the best recipes are the ones that surprise you completely.
My sister in law actually requested this for her birthday instead of her usual chocolate cake. Watching peoples faces when they cut into that marbled pattern never gets old. One friend said it was the most beautiful dessert shed ever seen, and then proceeded to eat three pieces. Thats when you know a recipe has staying power.
Ingredients
- 2 cups all-purpose flour: The foundation that gives this cake its tender crumb
- 1 ½ cups granulated sugar: Provides sweetness and helps create that moist texture we love
- 1 tsp baking powder and ½ tsp baking soda: The lift that makes each slice perfectly light
- 1 tbsp unsweetened cocoa powder: Just enough to give red velvet its signature subtle depth
- ½ tsp salt: Balances sweetness and enhances all the flavors
- 1 cup buttermilk: The secret ingredient that makes this cake incredibly moist
- ½ cup vegetable oil: Keeps the cake tender for days
- 2 large eggs: Structure and richness combined
- 2 tsp vanilla extract: Pure vanilla makes everything taste better
- 1 tsp white vinegar: Reacts with the buttermilk for that classic red velvet tang
- 2 tbsp red food coloring: Creates that stunning ruby hue that makes this cake unforgettable
- 8 oz cream cheese: Use full fat and softened completely for the smoothest swirl
- ⅓ cup granulated sugar: Sweetens the cheesecake just enough to complement the cake
- 1 large egg: Gives the cheesecake layer its structure
- 1 tsp vanilla extract: Because vanilla belongs everywhere in this recipe
Instructions
- Get your oven ready:
- Preheat to 350°F and grease a 9x13 inch pan, lining it with parchment paper so nothing sticks
- Whisk the dry ingredients together:
- In a large bowl, combine flour, sugar, baking powder, baking soda, cocoa powder, and salt until everything is evenly distributed
- Mix the wet ingredients:
- In another bowl, whisk buttermilk, oil, eggs, vanilla, vinegar, and red food coloring until the color is uniform
- Combine the two:
- Pour the wet ingredients into the dry and mix just until combined, being careful not to overmix
- Spread the batter:
- Pour the red velvet mixture into your prepared pan and use a spatula to create an even layer
- Make the cheesecake swirl:
- Beat cream cheese until smooth, then add sugar, egg, and vanilla, mixing until completely creamy
- Create the marble effect:
- Drop spoonfuls of cheesecake batter over the red velvet, then swirl with a knife or skewer gently
- Bake to perfection:
- Bake for 45 to 50 minutes until a toothpick comes out clean or with just a bit of cheesecake on it
- Cool completely:
- Let the cake cool in the pan on a wire rack before slicing into it
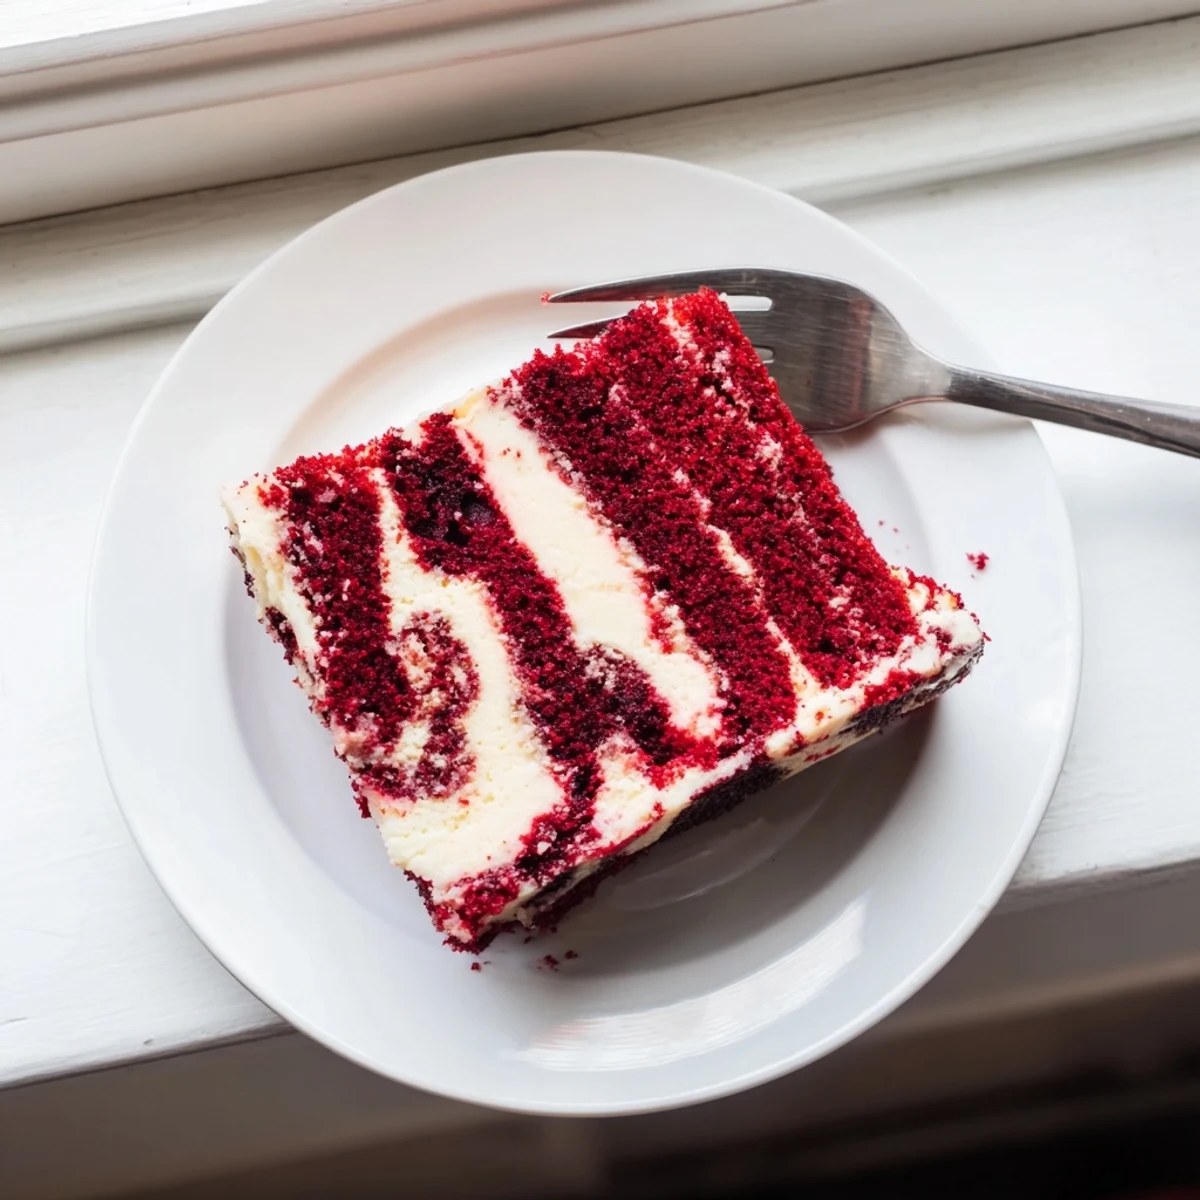 Pin it
 This recipe has become my go to for every celebration. There is something about cutting into that swirled pattern that makes people feel special, like you put extra heart into it. My daughter actually asked for it at her last sleepover, and all her friends went quiet for a full minute after the first bite. That is the highest compliment a dessert can get.
Making The Perfect Swirl
I have learned that the swirling technique matters more than I initially thought. Drop your cheesecake batter in rows across the red velvet base, then run your knife through in one continuous motion, maybe making a simple figure eight pattern. Do not go back and forth too much or you will lose those distinct marbled sections that make this cake so gorgeous.
Storage And Serving
This cake actually tastes better after it has had time to rest in the refrigerator. The flavors meld together and the cheesecake layer becomes even creamier. I love serving it slightly chilled, but letting it sit at room temperature for about 30 minutes before serving makes it even more tender.
Customization Ideas
Sometimes I add a simple cream cheese glaze over the top for extra indulgence, especially for birthdays. You could also fold chocolate chips into the red velvet batter or add a touch of lemon zest to the cheesecake layer. These little touches make the recipe your own while keeping everything that makes it special.
- A dusting of powdered sugar right before serving adds an elegant finish
- Gel food coloring gives you that vibrant restaurant quality red
- Bring all ingredients to room temperature before starting for the smoothest batter
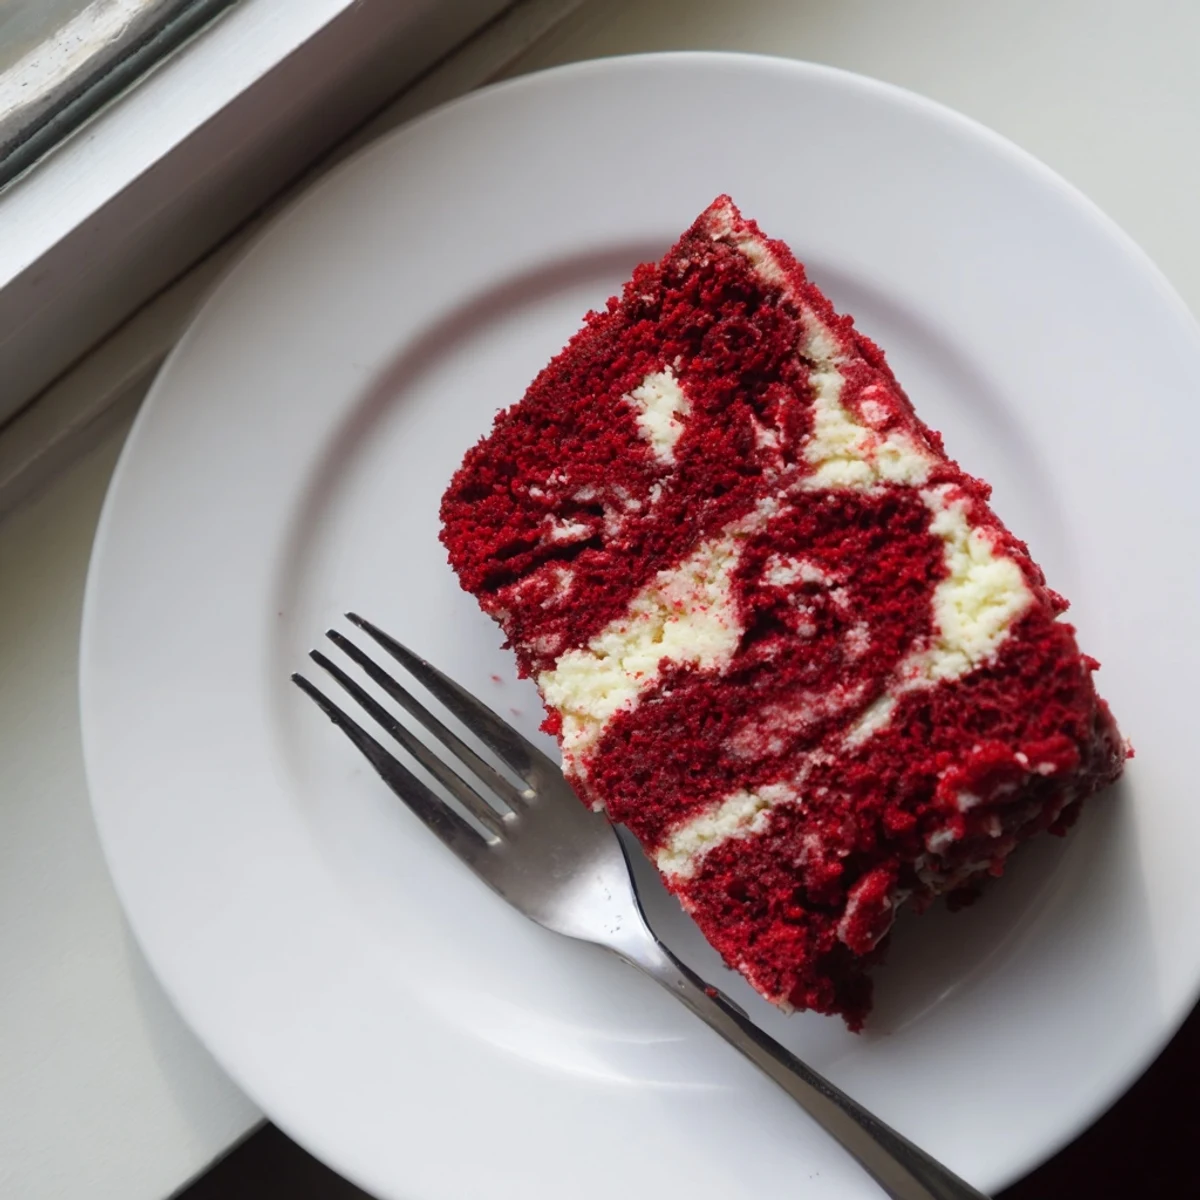 Pin it
 Every time I make this red velvet cheesecake swirl cake, I am reminded of why baking brings so much joy to a home. It is not just about the dessert, it is about the memories created around the table.
Recipe FAQ
- → Can I make this ahead of time?
-
Absolutely. This actually tastes better after chilling overnight as the flavors meld together. Store covered in the refrigerator for up to 4 days.
- → Why is my red velvet not red enough?
-
Use gel food coloring instead of liquid for more vibrant color. Gel provides concentrated pigment without adding excess liquid to the batter.
- → How do I get the perfect swirl?
-
Dollop cheesecake mixture randomly over the batter, then gently run a knife through in circular or zigzag motions. Don't over-swirl or the marble effect will become muddy.
- → Can I freeze this cake?
-
Yes, wrap individual slices tightly in plastic and freeze for up to 3 months. Thaw overnight in the refrigerator before serving.
- → What's the best way to tell when it's done?
-
Insert a toothpick into the center—it may have some cheesecake residue but should not have wet batter clinging to it. The edges should pull away slightly from the pan.
- → Can I use cream cheese frosting instead?
-
Yes, let the cake cool completely, then spread a traditional cream cheese frosting over the top for extra decadence. Chilling the cake first helps the frosting set.
