 Pin it
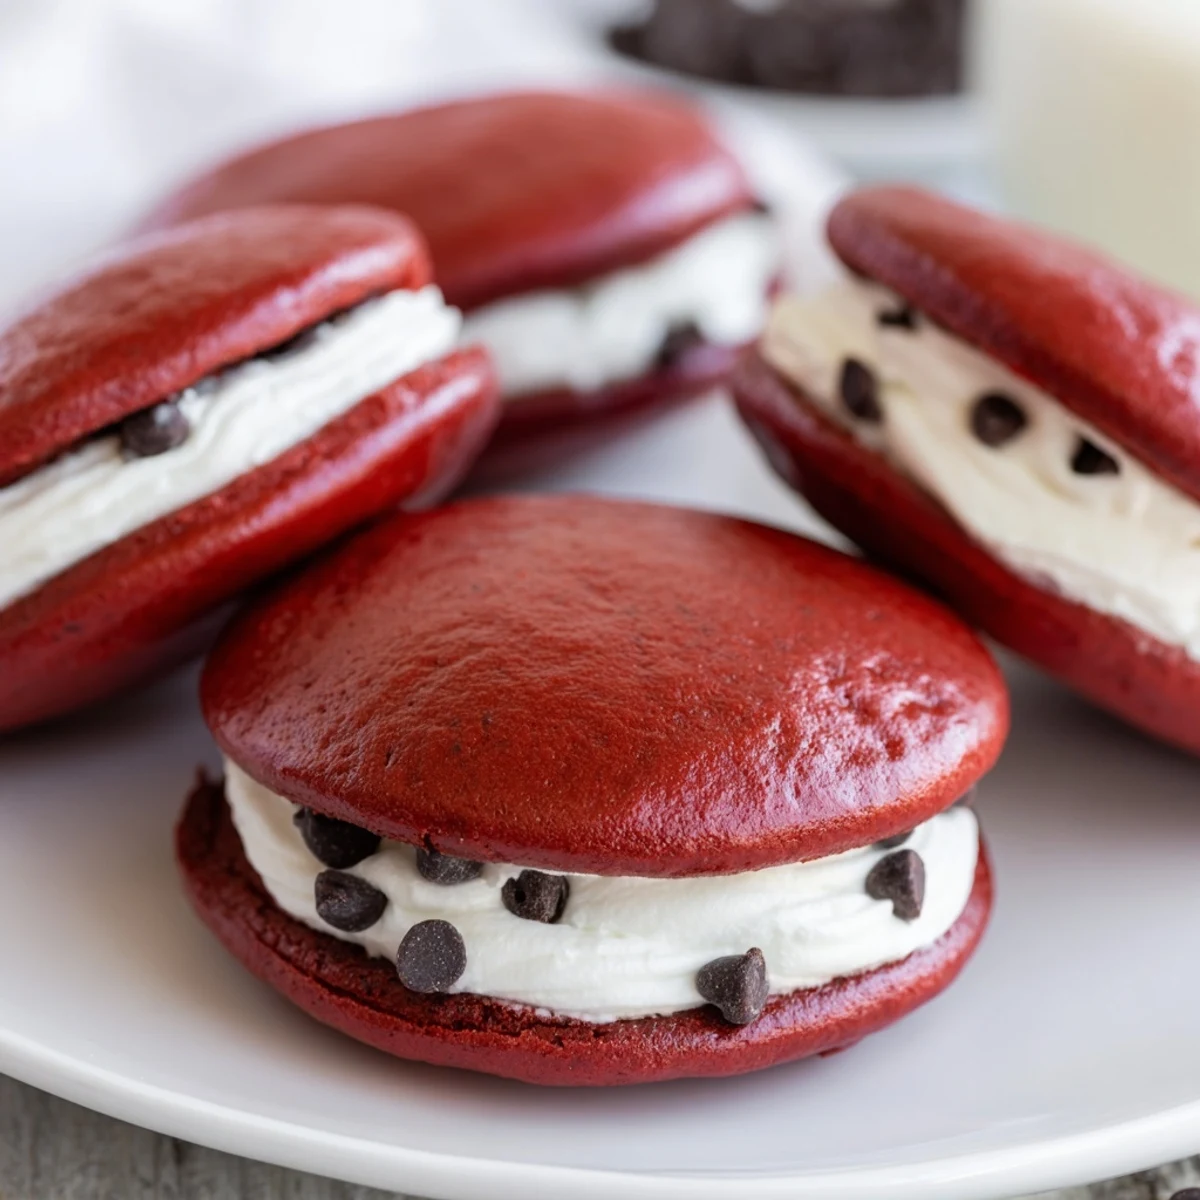
 These soft red velvet cocoa cakes are baked to perfection and paired with a light, airy marshmallow cream filling. The rich, tender texture of the cakes complements the sweet, fluffy filling to create a delightful sandwich-style sweet. Simple ingredients like cocoa, buttermilk, and red coloring ensure vibrant color and flavor, while the smooth marshmallow mixture adds a creamy contrast. Perfect baked in under 45 minutes and ideal for sharing or gifting.
My sister texted me at 11pm one Tuesday, completely desperate to recreate these red velvet whoopie pies she'd had at a bakery in Boston. I stayed up experimenting with ratios until my kitchen looked like a crime scene, but when that first batch came out of the oven, perfectly domed and ridiculous red, I knew we'd struck gold.
Last Valentine's Day, I made three dozen of these for my daughter's class party. The teacher called me that afternoon laughing because the kids were literally walking around with marshmallow cream on their faces, refusing to wipe it off because it tasted too good.
Ingredients
- 2 cups all-purpose flour: The foundation that gives these little cakes their structure without becoming tough
- 2 tbsp unsweetened cocoa powder: Just enough to deepen the flavor and hint at chocolate without overpowering the classic red velvet taste
- 1 tsp baking powder and 1/2 tsp baking soda: This combination creates those signature puffy domes that make whoopie pies so irresistible
- 1/2 cup unsalted butter, softened: Room temperature butter is non-negotiable here—it incorporates air and creates that tender crumb
- 1 cup granulated sugar: Sweetens and helps create that beautiful crackly exterior
- 1 large egg: Binds everything together and adds richness
- 1 tsp vanilla extract: Pure vanilla makes a noticeable difference in the final flavor
- 1 cup buttermilk: The secret ingredient that makes red velvet so incredibly moist and tender
- 1 tbsp red food coloring: Gel coloring gives you that vibrant restaurant-quality red with less liquid
- 1/2 cup unsalted butter for filling: Again, softened to room temperature for that cloud-like texture
- 1 1/2 cups powdered sugar: Sift it to avoid any lumps in your silky smooth filling
- 1 jar marshmallow creme: The star of the filling—don't skimp on quality here
- 1 tsp vanilla extract and pinch of salt: Balances all that sweetness with depth
Instructions
- Get your oven ready:
- Preheat to 350°F and line two baking sheets with parchment paper—this prevents sticking and makes cleanup effortless.
- Whisk the dry ingredients:
- In a medium bowl, combine flour, cocoa powder, baking powder, baking soda, and salt until everything is evenly distributed.
- Cream your butter and sugar:
- Beat them together for a full 3 minutes until the mixture looks pale and fluffy—this creates air pockets for lighter cakes.
- Add the egg and vanilla:
- Beat until completely incorporated, scraping down the sides to ensure everything is well combined.
- Make it red:
- Pour in that food coloring and mix until the batter is uniformly crimson without any streaks.
- Alternate wet and dry:
- Add your flour mixture and buttermilk in three additions, starting and ending with the dry ingredients—stop mixing as soon as the flour disappears.
- Scoop your cakes:
- Use a cookie scoop or tablespoon to drop 24 mounds onto your prepared sheets, leaving 2 inches between each for spreading.
- Bake to perfection:
- Bake for 10 to 12 minutes until the cakes bounce back when you gently touch them—overbaking makes them dry.
- Make the marshmallow magic:
- Beat the butter until creamy, add powdered sugar until fluffy, then fold in marshmallow creme, vanilla, and salt until smooth and airy.
- Assemble your masterpieces:
- Spread or pipe a generous tablespoon of filling onto half the cakes, then top with the remaining cakes to create sandwiches.
 Pin it
 My neighbor Karen swears these are the reason her teenage son finally started coming to family dinner nights. Now he asks for them specifically, and I've started doubling the recipe just to keep up.
Making Them Ahead
You can bake the cakes a day in advance and store them in an airtight container at room temperature. The filling also keeps well in the refrigerator for up to 3 days—just let it come to room temperature before assembling for the smoothest spreading experience.
Getting That Perfect Red
Gel food coloring is absolutely worth the extra effort—it delivers that intense crimson color with way less liquid, which means you won't throw off your batter's consistency. If you only have liquid coloring, start with half the amount and add more drop by drop until you reach your desired shade.
Serving Ideas
These are stunning on a dessert platter, but they're equally perfect tucked into lunch boxes or wrapped as gifts. The red velvet color makes them especially fitting for Valentine's Day, Christmas, or any celebration where a splash of color feels festive.
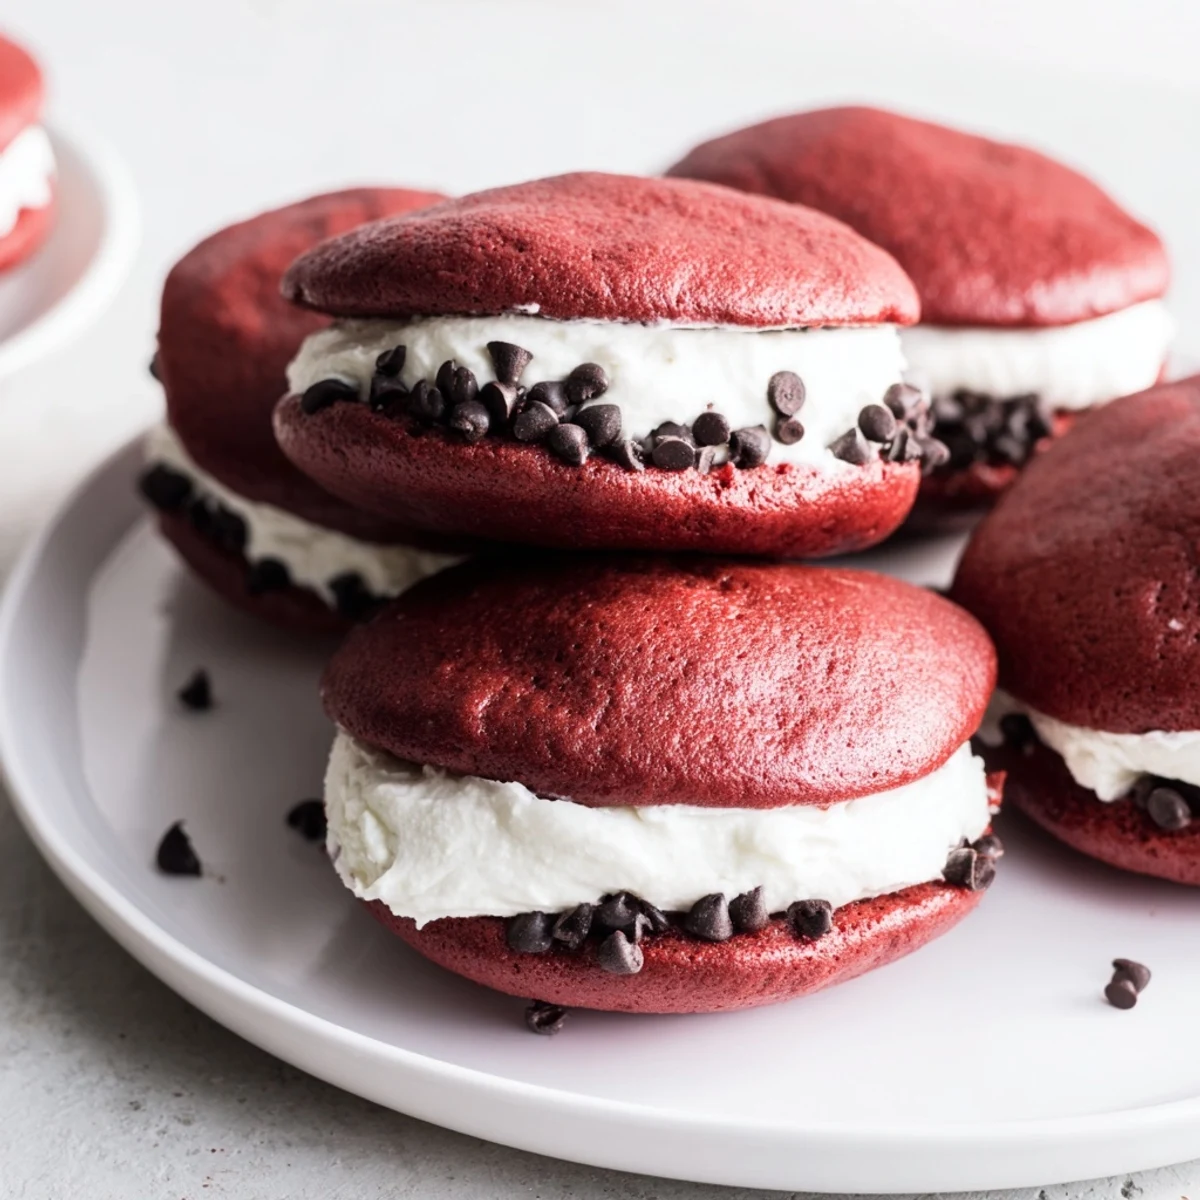
- Roll the edges in mini chocolate chips for extra texture and chocolate flavor
- Try rolling in colorful sprinkles for birthday parties or holiday gatherings
- Serve with a glass of cold milk—the perfect classic pairing
 Pin it
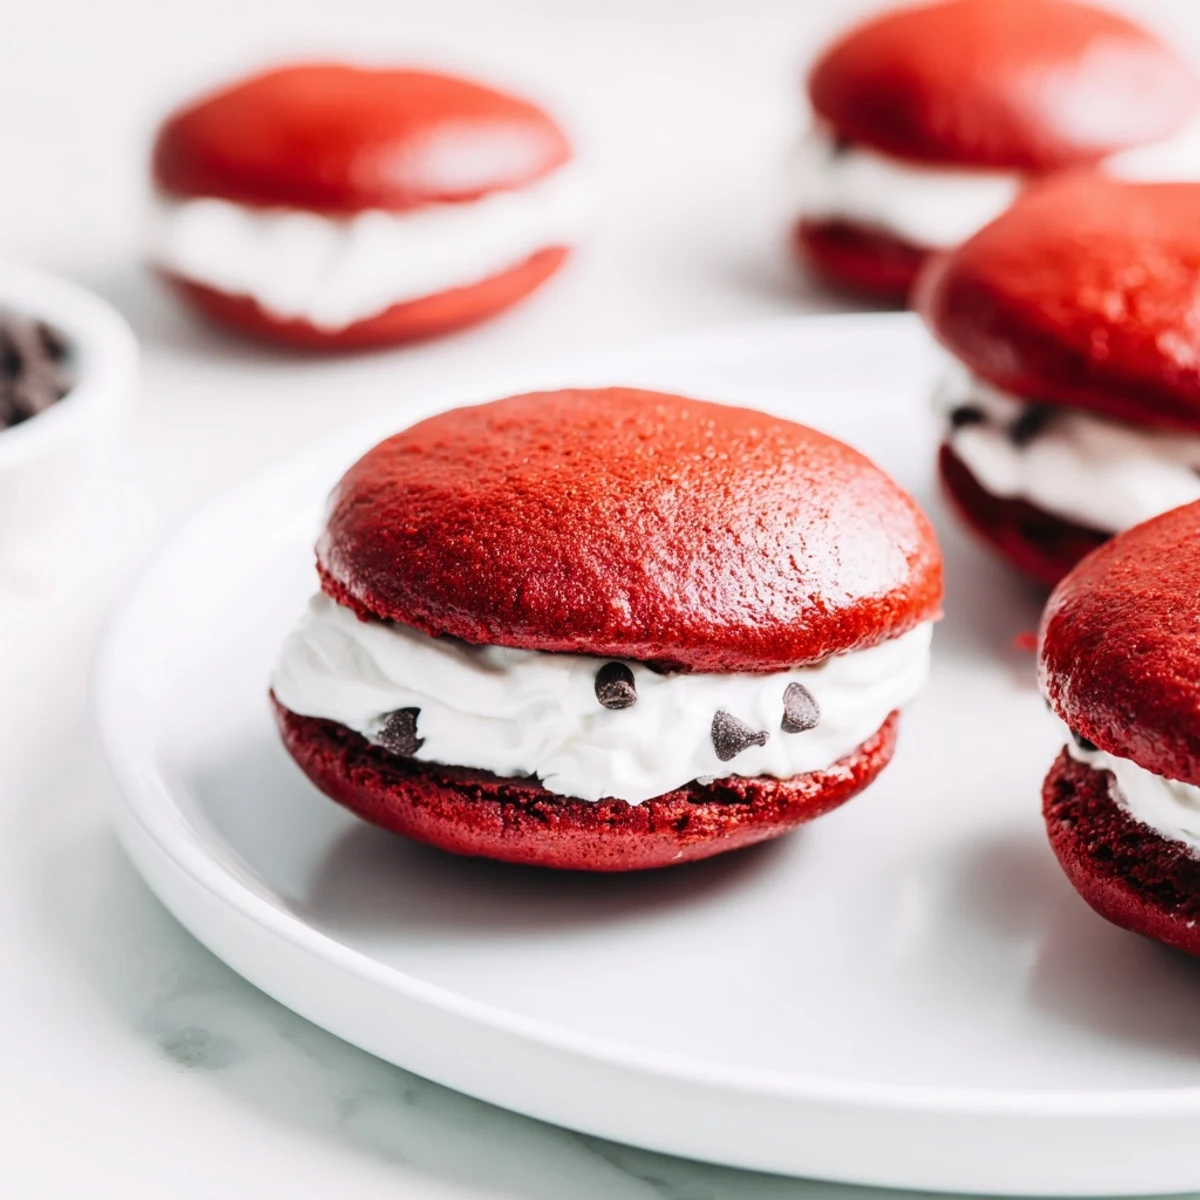
 There's something joyful about biting into these little red sandwiches, the marshmallow cream squishing out the sides. Pure happiness in handheld form.
Recipe FAQ
- → What makes the cakes soft and tender?
-
The combination of buttermilk, cocoa powder, and creamed butter with sugar creates a moist, tender crumb in the red velvet cakes.
- → Can I substitute an ingredient in the filling?
-
If marshmallow creme is unavailable, you can use homemade marshmallow fluff or whipped cream with a hint of vanilla for a similar texture.
- → How do I achieve the vibrant red color?
-
Gel food coloring gives a more intense red hue compared to liquid; start with one tablespoon and adjust if needed.
- → How should I store these treats?
-
Store assembled whoopie pies in an airtight container in the refrigerator for up to three days to maintain freshness.
- → Can I add texture or decoration to the edges?
-
Rolling the edges in mini chocolate chips or colorful sprinkles adds a fun texture and visual appeal.
