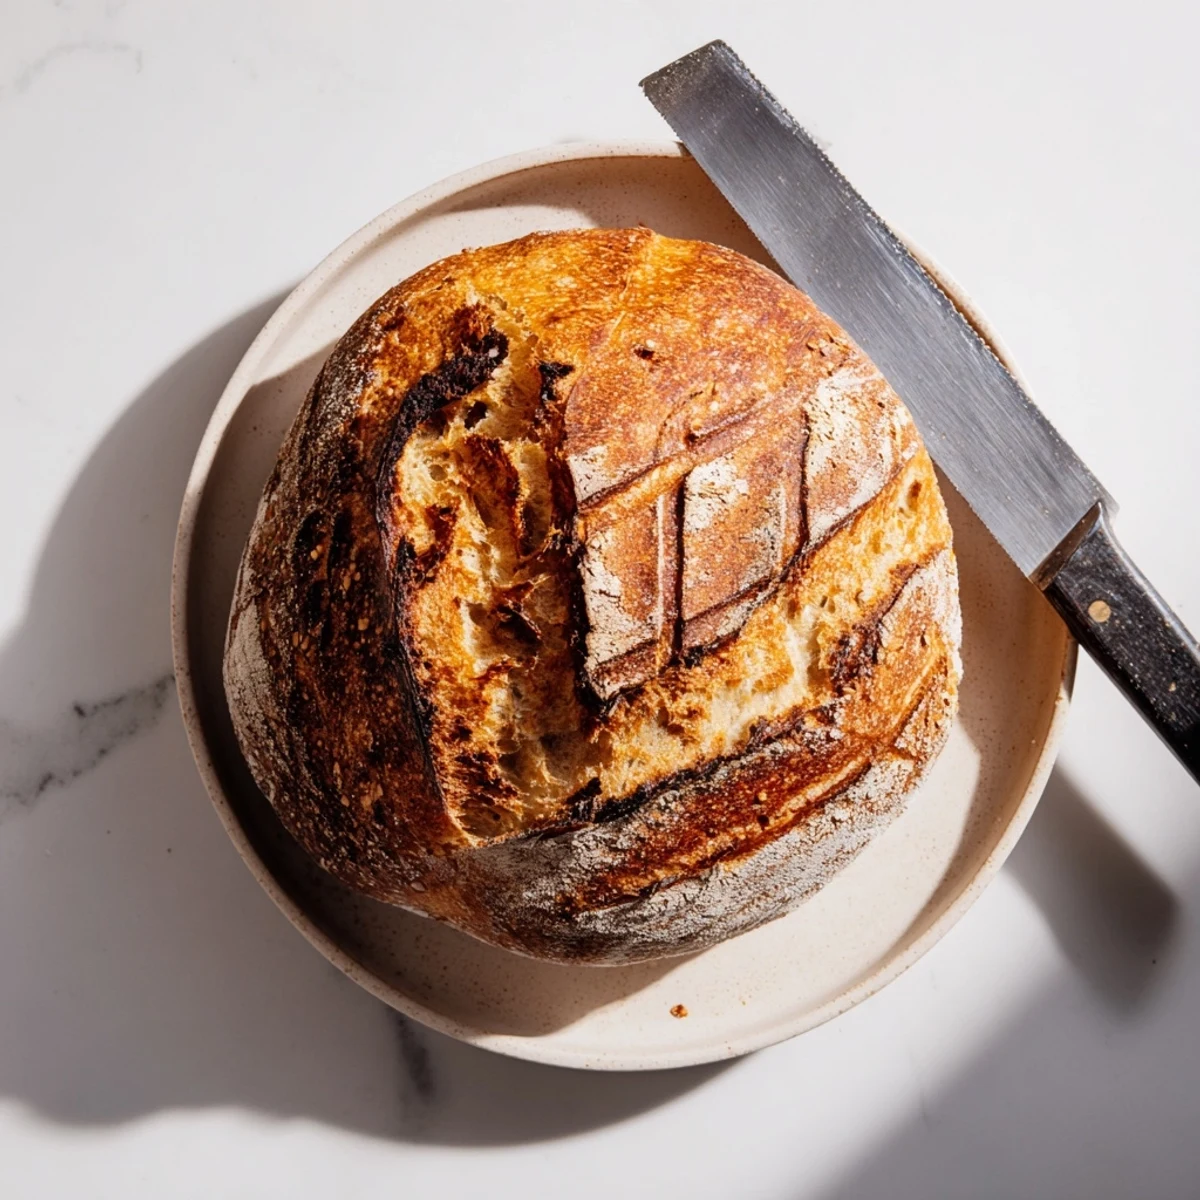
 Pin it
 Craft an authentic artisan loaf using wild yeast starter and time-honored techniques. The extended fermentation develops complex tanginess while creating a caramelized, crackling crust that protects the tender, open crumb inside.
Master the essential process of autolyse, stretching, folding, and cold proofing to achieve professional bakery results. The high-heat Dutch oven method creates steam for optimal oven spring, producing that signature crisp exterior.
There is something almost magical about pulling a crusty, golden loaf from the oven and hearing that distinctive crackle as the bread cools. My kitchen becomes a flour-dusted sanctuary during the long fermentation process, the sourdough starter bubbling away like a living thing on the counter. The patience required feels like meditation, a slow rhythm in our rushed lives. That first slice, still warm from the oven, smeared with salted butter, makes every waiting hour worth it.
I first attempted sourdough during a snowy weekend when cabin fever had set in and the grocery stores were running low on fresh bread. My starter, affectionately named Bob, had been sitting neglected in the back of the fridge for months. That first loaf was dense and slightly underproofed, but the flavor was unlike anything I had ever tasted. Friends started requesting loaves, and suddenly I was the person everyone called when they wanted to learn about fermentation, hydration percentages, and the mysterious art of scoring.
Ingredients
- Bread Flour: The higher protein content creates the strong gluten network needed for that beautiful open crumb structure
- Water: Room temperature water helps the yeast activate properly without shocking the starter
- Sourdough Starter: This living culture is the heart of your bread, so keep it active and well-fed for the best rise
- Fine Sea Salt: Enhances flavor and strengthens the gluten structure, but do not add it directly to the starter
Instructions
- Mix and Rest:
- Combine flour and water in a large bowl until shaggy streaks remain, then cover and let the flour hydrate for one hour. This resting period, called autolyse, makes the dough easier to work with later.
- Add Starter and Salt:
- Pinch the starter into the dough, add salt, and squeeze everything together until fully incorporated. The dough will start to feel smoother and more cohesive as you work it.
- Stretch and Fold:
- Perform four sets of stretch and folds every thirty minutes, grabbing one edge of the dough and pulling it up and over the center. Rotate the bowl and repeat until all sides have been stretched.
- Bulk Fermentation:
- Cover the bowl and let the dough rise at room temperature for four to six hours until it has noticeably increased in size. Look for bubbles on the surface and a jiggly texture.
- Shape:
- Turn the dough onto a lightly floured surface and fold the edges toward the center to create tension. Flip the dough over and use your bench scraper to rotate it into a tight round.
- Cold Proof:
- Place the dough seam-side up in a floured proofing basket, cover, and refrigerate for eight to twelve hours. This slow fermentation develops incredible flavor.
- Preheat:
- Place your Dutch oven in the oven and heat to 450°F for at least thirty minutes. A screaming hot pot is essential for that oven spring.
- Score and Bake:
- Invert the dough onto parchment, score with a confident swift motion, and transfer into the hot Dutch oven. Bake covered for twenty minutes, then uncover for another twenty.
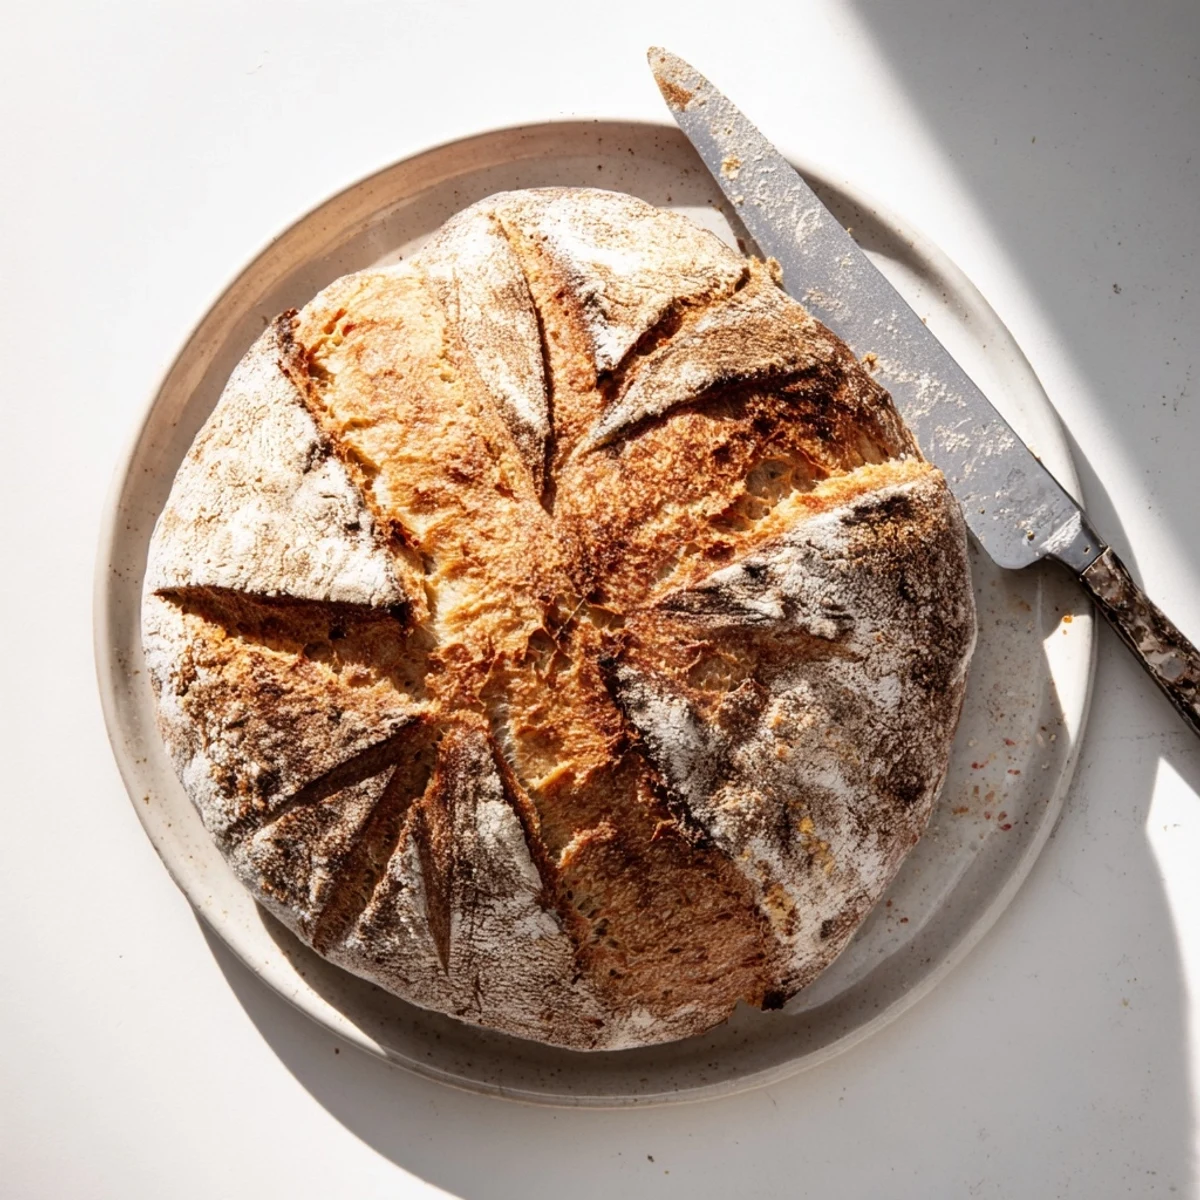 Pin it
 This sourdough became a weekend ritual that my family now anticipates with excitement. My daughter has started asking to help with the stretch and folds, her small hands covered in flour, learning that good things cannot be rushed. We have established a Sunday bread tradition that brings everyone to the table, talking and laughing while the loaf cools on the rack.
Understanding Fermentation
The wild yeast in your starter works more slowly than commercial yeast, which is precisely what gives sourdough its characteristic tang and complex flavor profile. Pay attention to temperature, since warmer kitchens speed up fermentation while cooler spaces slow everything down. Learning to read your dough, observing how it changes in texture and volume, teaches you more than any recipe ever could.
Creating Steam
The Dutch oven method traps steam during the initial baking phase, keeping the crust soft and allowing the bread to expand dramatically before it sets. If you do not have a Dutch oven, a cast iron skillet with an overturned metal bowl works surprisingly well. That trapped steam is what creates the professional-looking loaves with gorgeous blistering and impressive oven spring.
Storing Your Sourdough
Fresh sourdough is best consumed within twenty-four hours, but proper storage can extend its life considerably. Store the loaf cut-side down on a wooden board or in a paper bag to maintain that crisp crust without becoming tough.
- Never store sourdough in plastic unless you plan to freeze it
- Revive a slightly stale loaf by sprinkling with water and reheating at 350°F for ten minutes
- Day-old sourdough makes exceptional toast and grilled cheese sandwiches
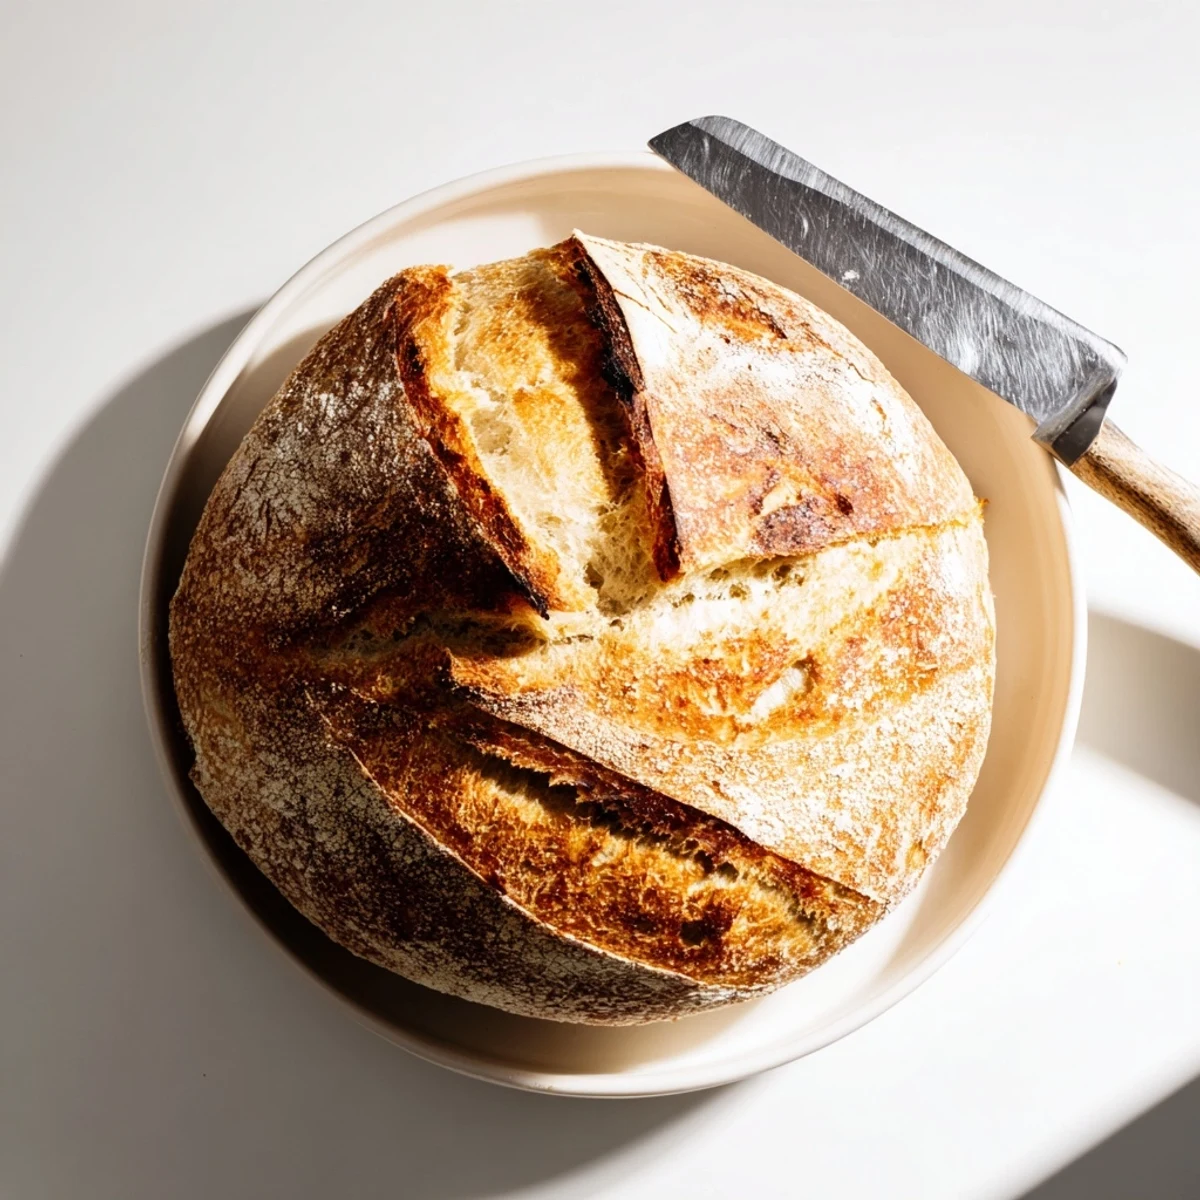 Pin it
 There is profound satisfaction in creating something so fundamental from just flour, water, and salt. Happy baking, and may your crust always be crisp and your crumb perfectly open.
Recipe FAQ
- → What makes sourdough different from regular bread?
-
Wild yeast fermentation creates lactic acid, producing tangy flavor and extending freshness naturally while breaking down gluten for easier digestion.
- → How do I know when my starter is active?
-
Your starter should double in size 4-8 hours after feeding, display bubbles throughout, and pass the float test when a small spoonful rises in water.
- → Can I skip the cold fermentation?
-
You can proof at room temperature for 2-3 hours, but refrigerating develops deeper flavor, improves texture, and makes scoring easier while offering flexible baking timing.
- → Why is my crust soft instead of crispy?
-
Ensure your oven reaches full temperature and avoid opening during baking. The Dutch oven creates necessary steam—removing the lid for the final 20 minutes allows proper crisping.
- → How should I store the finished loaf?
-
Wrap in cloth or store in a paper bag at room temperature for 2-3 days. Avoid plastic which softens the crust. Freeze sliced portions in freezer bags for longer storage.
