 Pin it
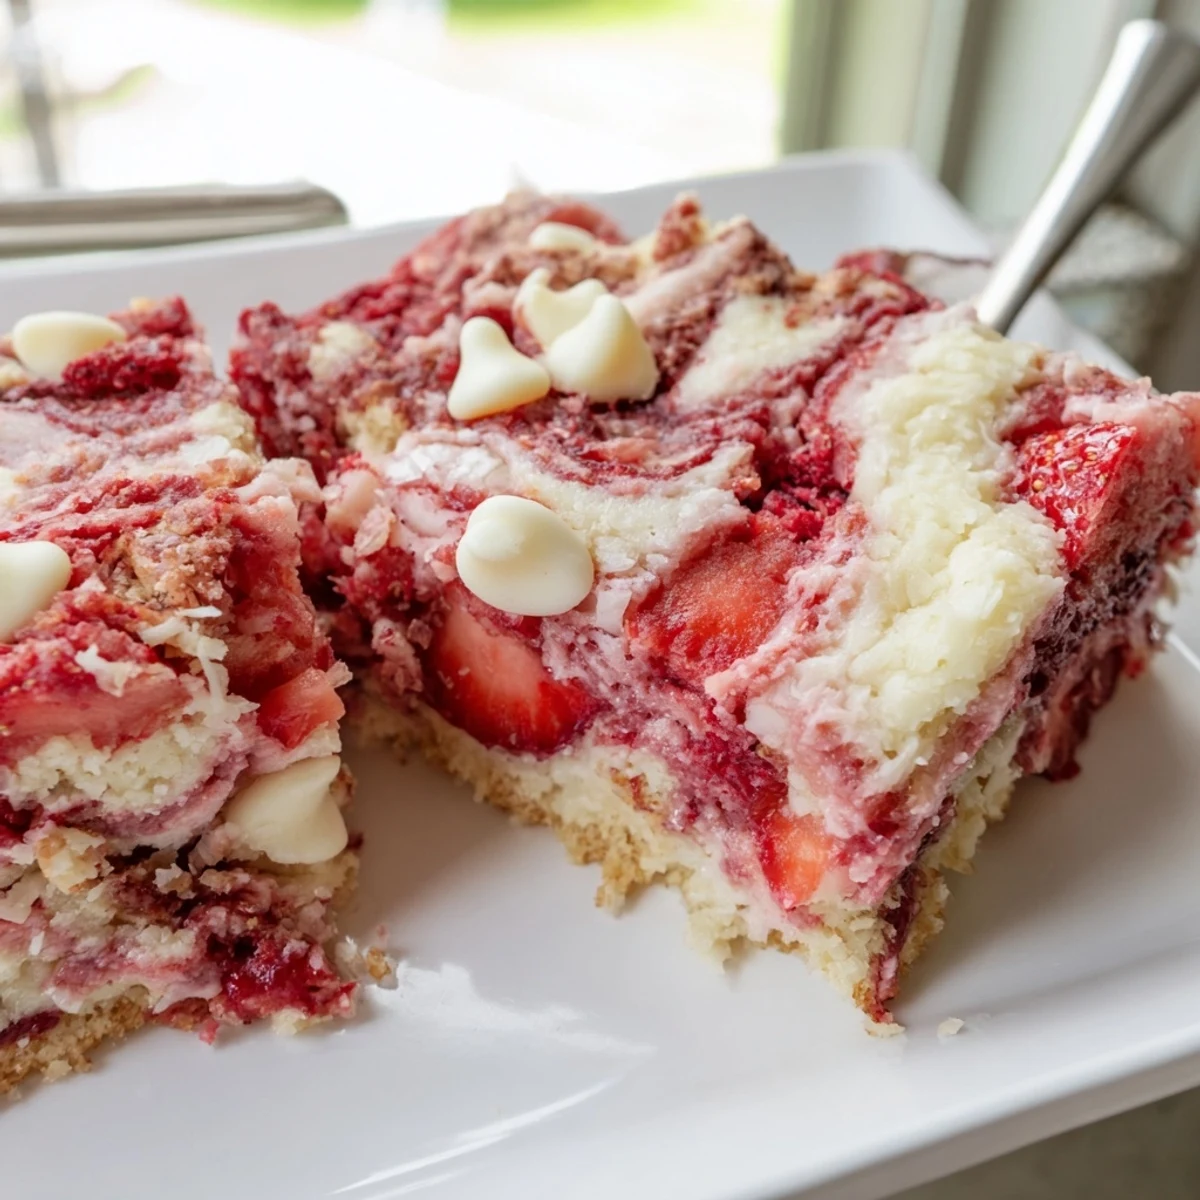
 Indulge in this rich strawberry cake that combines boxed mix convenience with homemade flair. Layers of fresh strawberries, sweetened coconut, and white chocolate chips get swirled into a velvety cream cheese mixture, creating that signature cracked earthquake appearance as it bakes. The result is a wonderfully gooey, marbled dessert where sweet fruit meets tangy cream cheese in every bite.
Perfect for potlucks, family gatherings, or whenever you need a crowd-pleasing treat, this cake comes together quickly and serves twelve generous portions. Serve it warm with vanilla ice cream for the ultimate dessert experience.
The first time I saw an earthquake cake, I genuinely thought something had gone wrong in the oven. Those dramatic cracks and crevices looked like a baking disaster, but my friend just laughed and sliced me a piece. One bite of that strawberry stained cream cheese swirled through tender cake, and I understood the beautiful chaos. Now I make this whenever I need a dessert that looks impressive but secretly comes together in under an hour.
I brought this to a summer potluck last year, and within twenty minutes, three different people had asked for the recipe. There is something magical about watching peoples faces when they cut into that marbled center and realize what is waiting inside. My neighbor now calls me every June begging me to make it for her birthday instead of a traditional cake.
Ingredients
- Strawberry cake mix: Using a high quality mix gives you the perfect strawberry foundation while saving time for the fun parts
- Large eggs: Room temperature eggs incorporate better into the batter for a more uniform texture
- Vegetable oil: Oil keeps this cake incredibly moist even after the cream cheese swirl creates those signature cracks
- Cream cheese: Make sure it is completely softened so your swirl layer is smooth and creamy without any lumps
- Unsalted butter: Softened butter blends perfectly with the cream cheese to create that luscious layer
- Powdered sugar: This sweetens the cream cheese mixture and helps it hold its shape as it bakes
- Fresh strawberries: Fresh chopped strawberries add juicy pockets and bright flavor throughout the cake
- Sweetened shredded coconut: The coconut gets toasty in the oven and adds the most wonderful texture contrast
- White chocolate chips: These melt into creamy pools that balance the tart strawberries perfectly
Instructions
- Preheat and prep your pan:
- Set your oven to 350°F (175°C) and grease a 9x13 inch baking pan thoroughly, getting into all the corners so nothing sticks.
- Make the strawberry batter:
- In a large bowl, combine the strawberry cake mix, eggs, oil, and water. Mix until everything is smooth and well blended.
- Spread the base layer:
- Pour the cake batter evenly into your prepared pan, using a spatula to spread it into the corners.
- Add the fruit and toppings:
- Sprinkle the chopped strawberries, shredded coconut, and white chocolate chips evenly over the surface of the batter.
- Create the cream cheese swirl:
- In a separate bowl, beat the cream cheese and butter together until completely smooth. Gradually add the powdered sugar and keep beating until the mixture is creamy and well combined.
- Drop and swirl:
- Drop large spoonfuls of the cream cheese mixture randomly over the top of the cake. Using a knife, gently swirl the cream cheese into the batter to create a marbled effect. Do not overmix or you will lose those beautiful cracks.
- Bake until perfect:
- Bake for 45 minutes, checking that the edges are set while the center remains just slightly wobbly.
- Patience pays off:
- Cool for at least 30 minutes before serving so the cream cheese layer has time to set up properly.
 Pin it
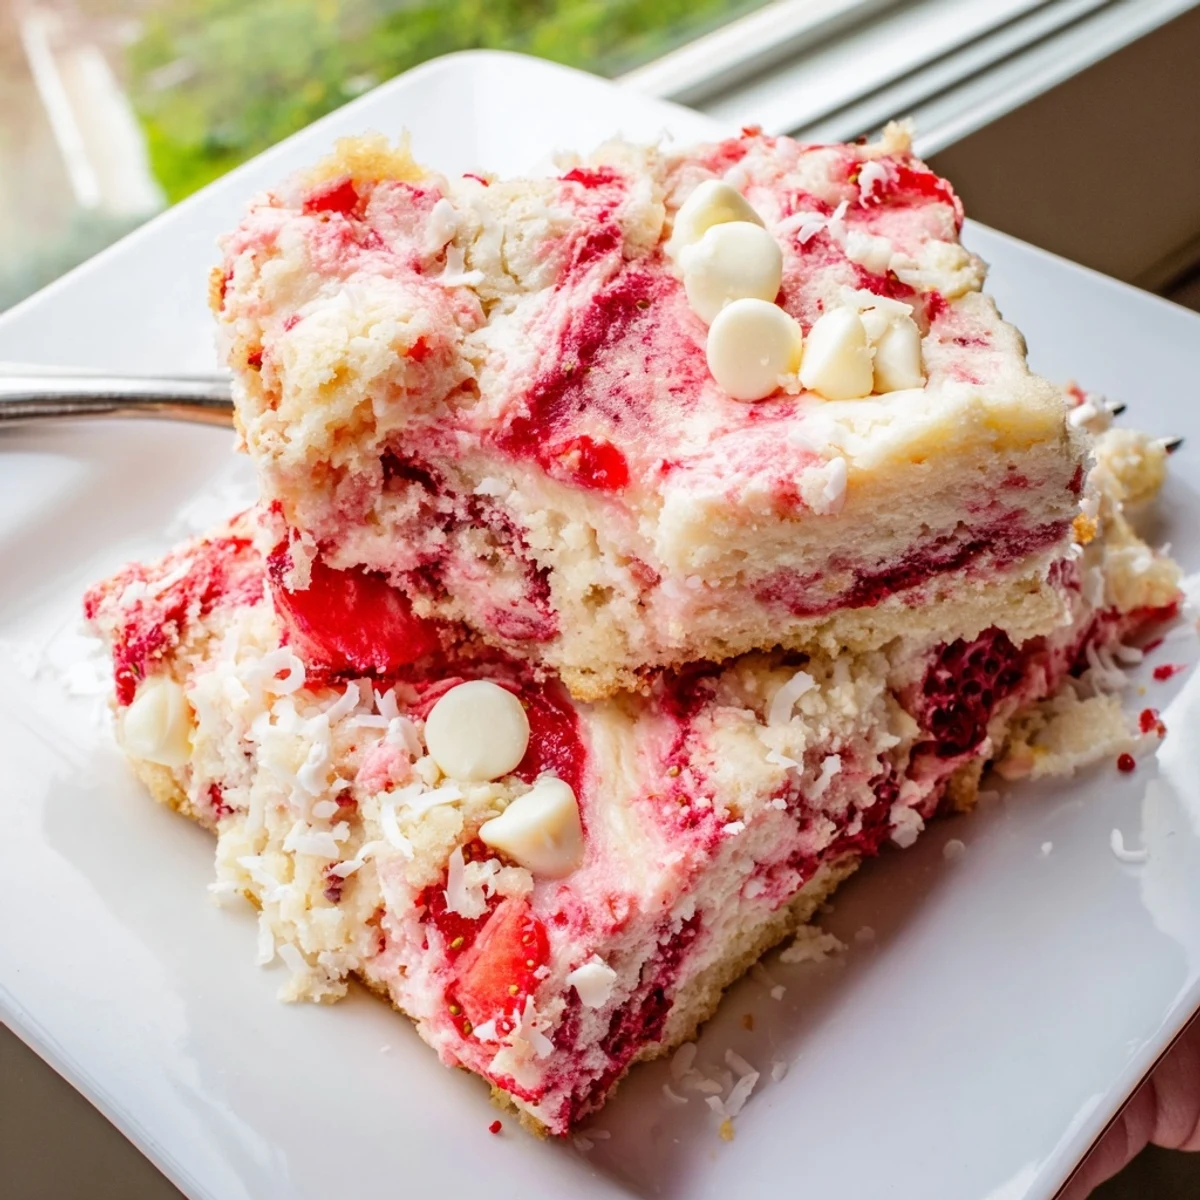
 Last Christmas, my normally picky eater nephew took one look at this cake and declared it the best thing he had ever tasted. Watching him go back for thirds while getting cream cheese all over his face made the holiday completely perfect. Sometimes the messiest desserts create the cleanest happiest memories.
Serving Suggestions
This cake tastes absolutely incredible served slightly warm, when the white chocolate chips are still soft and gooey. A scoop of good vanilla ice cream melting into the strawberry crevices transforms each slice into dessert heaven.
Storage Tips
Keep any leftovers covered in the refrigerator, where the flavors actually develop even more overnight. The texture becomes denser and fudgier the next day, which some people in my house argue is even better than fresh baked.
Make It Your Own
Once you master the basic technique, this cake welcomes all sorts of delicious variations. The earthquake method works with practically any cake mix and fruit combination you can imagine.
- Try adding dollops of strawberry jam before swirling for an extra punch of berry flavor
- Swap white chocolate chips for milk or dark chocolate if that is what you have on hand
- A sprinkle of chopped pecans or walnuts adds wonderful crunch throughout the layers
 Pin it
 This strawberry earthquake cake has become my go to for every occasion that calls for something spectacular. Hope it brings as much joy to your kitchen as it has to mine.
Recipe FAQ
- → Why is it called an earthquake cake?
-
The name comes from the distinctive cracked, marbled appearance that develops during baking. As the cream cheese mixture sinks into the cake batter and the ingredients settle, it creates fissures and crevices reminiscent of earthquake fault lines.
- → Can I use fresh strawberries instead of frozen?
-
Absolutely! Fresh chopped strawberries work beautifully in this cake. They provide better texture and flavor compared to frozen, which can release excess moisture and affect the final consistency.
- → How should I store this cake?
-
Keep the cake refrigerated in an airtight container due to the cream cheese layer. It will stay fresh for 3-4 days. Bring to room temperature or warm slightly before serving for the best taste and texture.
- → Can I make this cake from scratch instead of using a mix?
-
Yes, you can substitute the boxed mix with your favorite homemade strawberry cake batter. Just ensure it yields a similar amount to properly fill the 9x13-inch pan and support the weight of the cream cheese layer.
- → Why is my center still wobbly after 45 minutes?
-
A slightly wobbly center is actually correct! The cream cheese layer remains soft and creamy even after baking, creating that luscious, gooey texture. As long as the edges are set, remove it from the oven and let it cool completely before serving.
