 Pin it
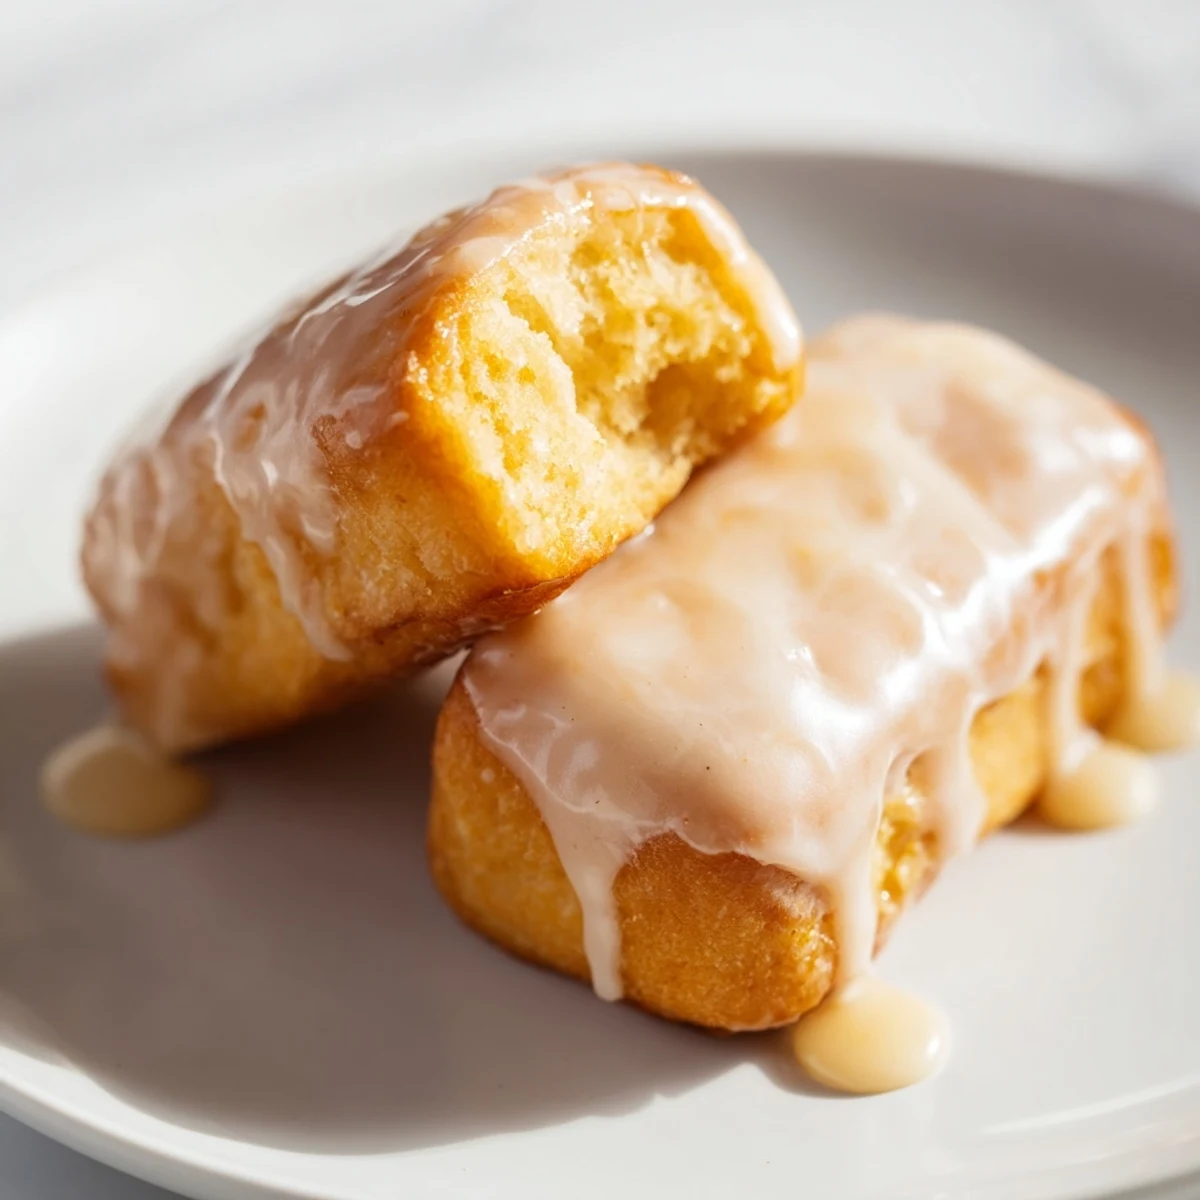
 These maple donut bars offer the perfect combination of soft, pillowy texture with the rich sweetness of real maple syrup. The yeast-raised dough creates bakery-quality treats that are both indulgent and satisfying. Each bar gets a generous coating of maple glaze that adds depth and sweetness to every bite.
The preparation involves creating a soft dough that rises beautifully, then cutting into bars and frying until golden brown. The glaze comes together quickly with powdered sugar, maple syrup, and vanilla, creating a glossy finish that sets perfectly on the warm bars.
The first time I made maple donut bars, it was a snowy Sunday morning and my kitchen smelled like a sugar shack. My youngest kept sneaking warm pieces off the cooling rack, leaving sticky fingerprints everywhere. Now whenever there is a snow day forecast, someone asks if we are having those maple bars again.
Last autumn my neighbor brought over fresh maple syrup from her family farm in Vermont, and I knew exactly what I wanted to make with it. We stood around the stove watching the bars turn golden, dipping them warm and eating them right there. Something about sharing food fresh from the fryer turns strangers into neighbors pretty quickly.
Ingredients
- All-purpose flour: Bread flour would make these too dense, so stick with all-purpose for that pillowy bakery texture
- Active dry yeast: Make sure your water and milk are warm like bath water, around 105 to 110 degrees, or the yeast will not wake up properly
- Whole milk: The fat content really matters here for tenderness, so avoid using skim milk or the bars will turn out tough
- Unsalted butter: Melt it completely before adding so it incorporates evenly throughout the dough without leaving pockets of pure butter
- Room temperature eggs: Cold eggs can shock the warm yeast mixture, so set them out about 30 minutes before you start mixing
- Vegetable oil: Canola or grapeseed oil works best because they have a neutral flavor and high smoke point for frying
- Pure maple syrup: The real stuff is nonnegotiable here, imitation pancake syrup will give you a strange artificial aftertaste
- Powdered sugar: Sifting it first prevents lumps in your glaze, and no one wants chunky frosting on a smooth donut
Instructions
- Wake up the yeast:
- Combine the warmed milk and water in your mixing bowl, then sprinkle the yeast on top and let it hang out for about 5 minutes until it looks foamy and alive
- Build the base:
- Add the sugar, melted butter, eggs, and salt to the yeast mixture, mixing on low speed until everything is incorporated and the mixture looks smooth and slightly glossy
- Bring in the flour:
- Gradually add the flour while mixing, letting the dough come together until it pulls away from the sides of the bowl and feels soft and tacky but not sticky
- Knead with intention:
- Knead the dough for 5 to 7 minutes until it feels smooth and elastic, bouncing back when you press it with your finger
- First rise:
- Place the dough in a greased bowl, cover it with a warm towel, and let it rise in a draft free spot for about an hour or two until it has doubled in size
- Roll and cut:
- Punch down the risen dough gently and roll it out on a floured surface until it is about half an inch thick, then cut into rectangles about 4 by 1.5 inches
- Second rise:
- Arrange the bars on parchment lined baking sheets, cover them loosely, and let them puff up for another 30 to 40 minutes until they look pillowy and light
- Heat the oil:
- Warm about two inches of oil in a heavy pot until it reaches 350 degrees, using a thermometer to be sure because oil that is too cool makes greasy donuts
- Fry to perfection:
- Carefully drop a few bars at a time into the hot oil, frying for 1 to 2 minutes on each side until they are a deep golden brown and sound hollow when tapped
- Drain and cool slightly:
- Transfer the fried bars to a wire rack set over paper towels, letting them cool just enough so the glaze does not slide right off
- Make the maple magic:
- Whisk together the sifted powdered sugar, maple syrup, milk, vanilla, and pinch of salt until completely smooth and glossy
- Glaze generously:
- Dip the tops of the still slightly warm bars into the glaze, letting the excess drip off before setting them back on the rack to firm up
 Pin it
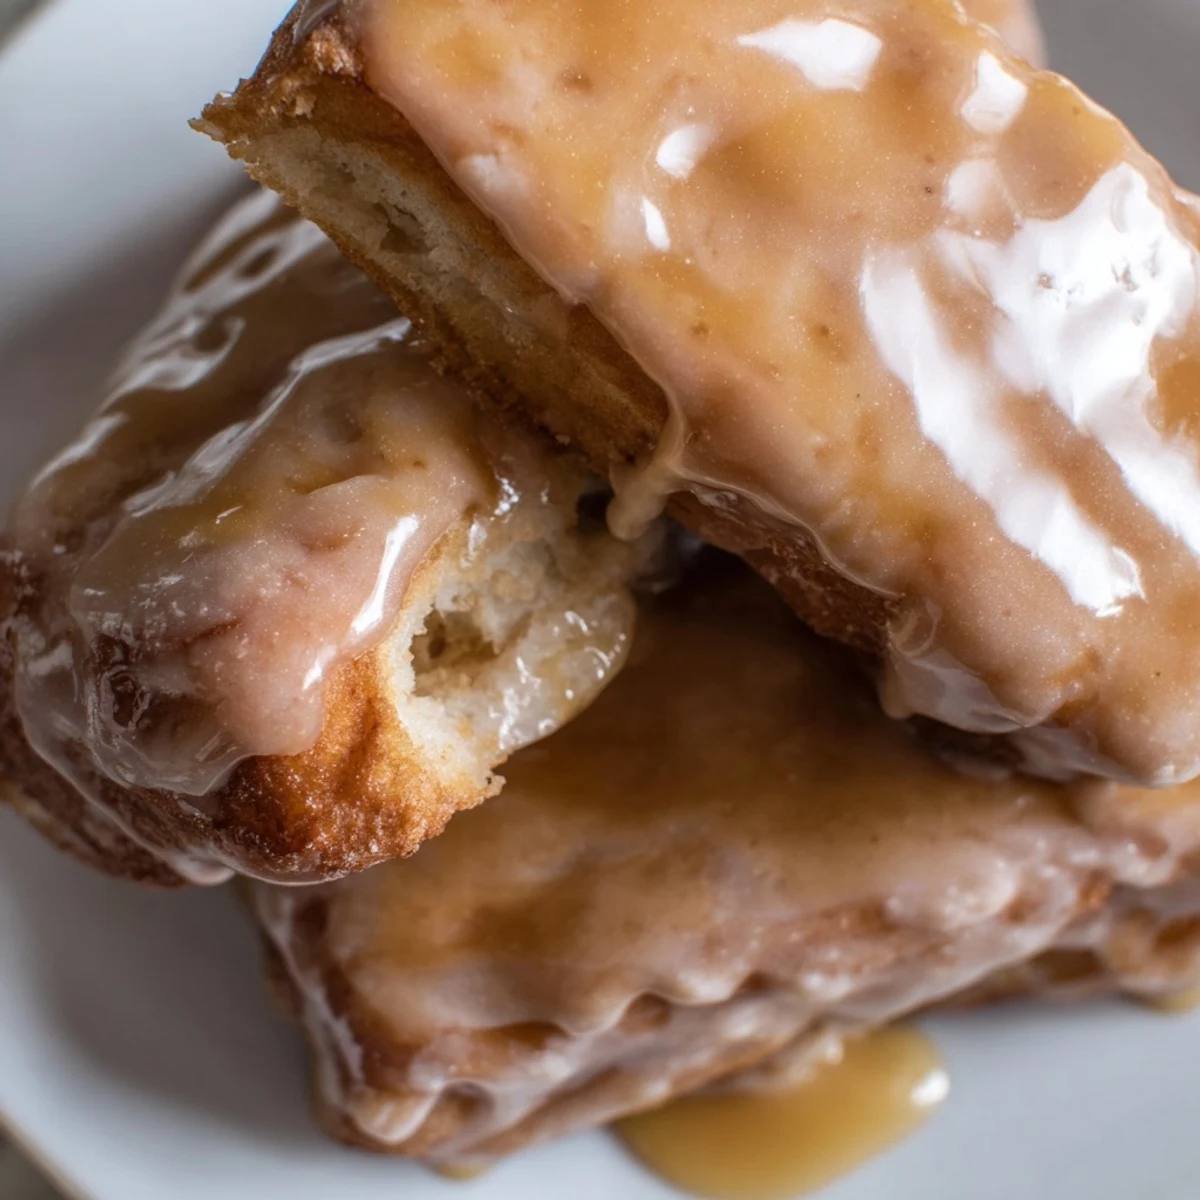
 My aunt kept a tin of these on her counter every Sunday morning, and we would stop by after church still wearing our nice clothes. She would hand us each a bar wrapped in a napkin, and we would sit on her front steps eating them with maple syrup sticky on our fingers. Those Sunday visits became something everyone looked forward to all week long.
Frying Temperature Secrets
I cannot tell you how many batches I ruined before I bought a proper kitchen thermometer. The oil needs to stay right around 350 degrees, anything cooler gives you sad greasy bars that taste like disappointment itself. Now I keep the thermometer clipped to the side of the pot and adjust the heat constantly between batches to maintain that perfect frying zone.
Shaping Without Stress
My first attempts at cutting uniform bars looked like a toddler had gone at the dough with a dull butter knife. A sharp pizza cutter or bench scraper changed everything, gliding through the dough without squishing it down. Do not worry if every rectangle is not identical, the homemade charm comes from their slightly imperfect shapes anyway.
Storage Solutions
These really are best the day they are made, when the glaze is still slightly tacky and the inside feels like a cloud. However, I have learned that freezing unfried dough balls works surprisingly well, letting you fry up fresh maple bars whenever the craving strikes. Just thaw them overnight in the refrigerator and let them rise again before frying.
- Place a piece of parchment paper between layers if you need to stack them for storage
- A quick 10 second zap in the microwave brings day old bars back to life beautifully
- The glaze firms up completely after about an hour, making them easier to pack up for sharing
 Pin it
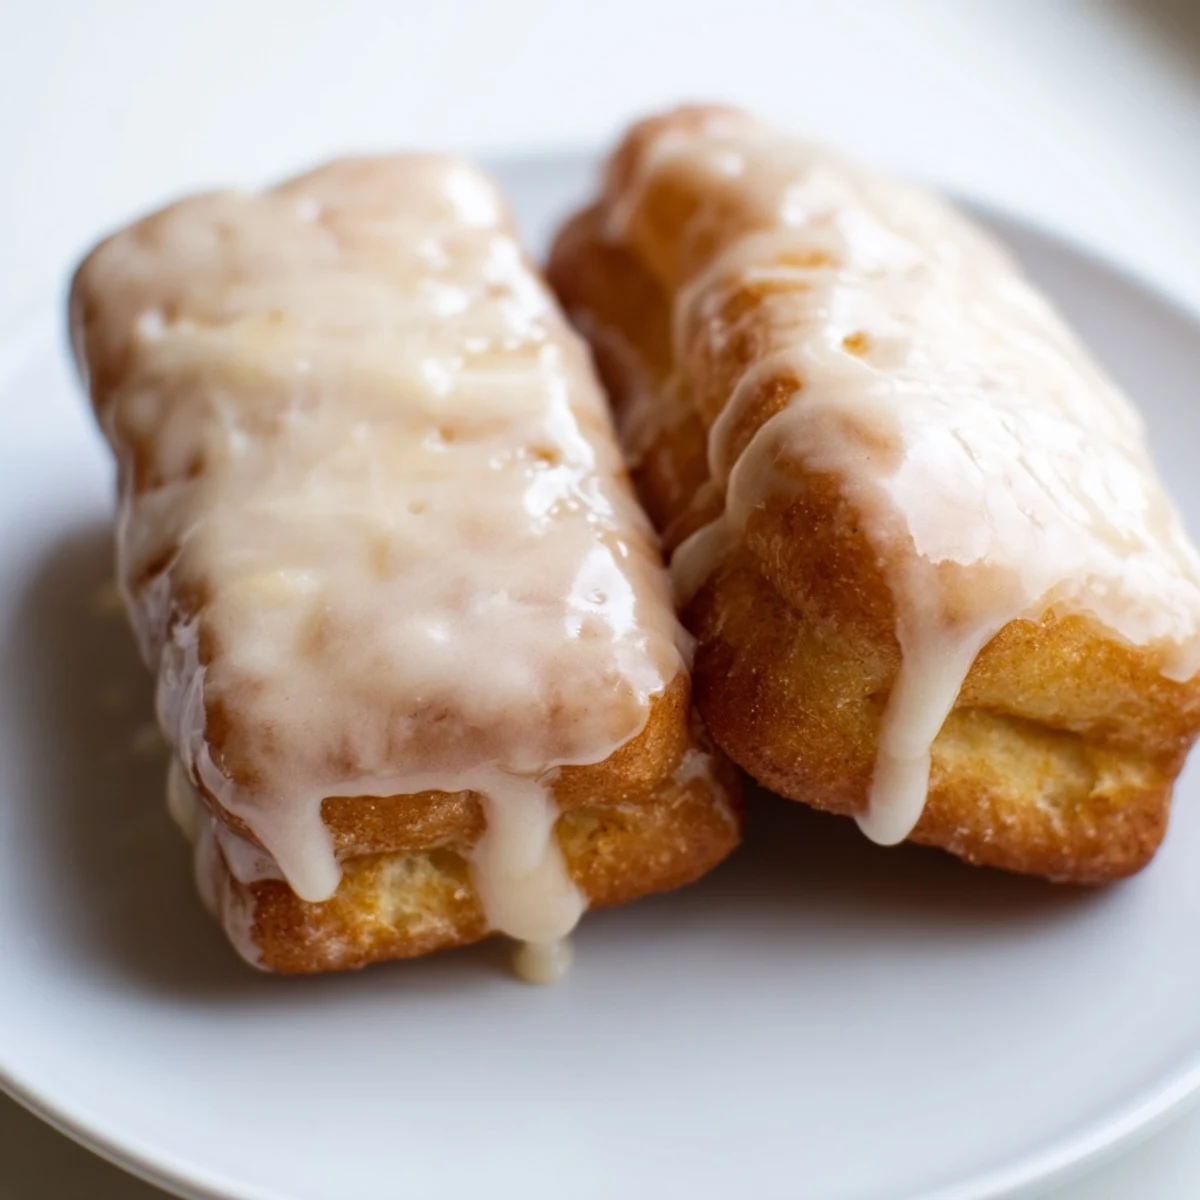
 There is something magical about standing over a pot of bubbling oil while snow falls outside the window, knowing you are about to create something that will make everyone smile.
Recipe FAQ
- → Can I bake these donut bars instead of frying?
-
Yes, you can bake the donut bars instead of frying. Preheat your oven to 375°F (190°C) and bake for 12-15 minutes until golden brown. The texture will be slightly different but still delicious, and you can still glaze them while warm.
- → How do I achieve the best rise in the dough?
-
For optimal rising, make sure your milk and water are warmed to the right temperature (not too hot to kill the yeast). Let the dough rise in a warm, draft-free area, and don't rush the rising time - the dough should double in size for best results.
- → What's the best way to store these maple donut bars?
-
Store the glazed donut bars in an airtight container at room temperature for up to 2 days. For longer storage, you can freeze them and reheat when ready to enjoy.
- → Can I make the glaze thicker or thinner?
-
Adjust the glaze consistency by adding more or less milk. For a thicker glaze, use less milk. For a thinner, more pourable glaze, add a bit more milk until you reach your desired consistency.
- → What's the difference between using maple syrup vs maple extract?
-
Maple syrup provides both flavor and sweetness, while maple extract is more concentrated flavor. You can use either in the glaze, or combine them for an extra boost of maple flavor.
