 Pin it
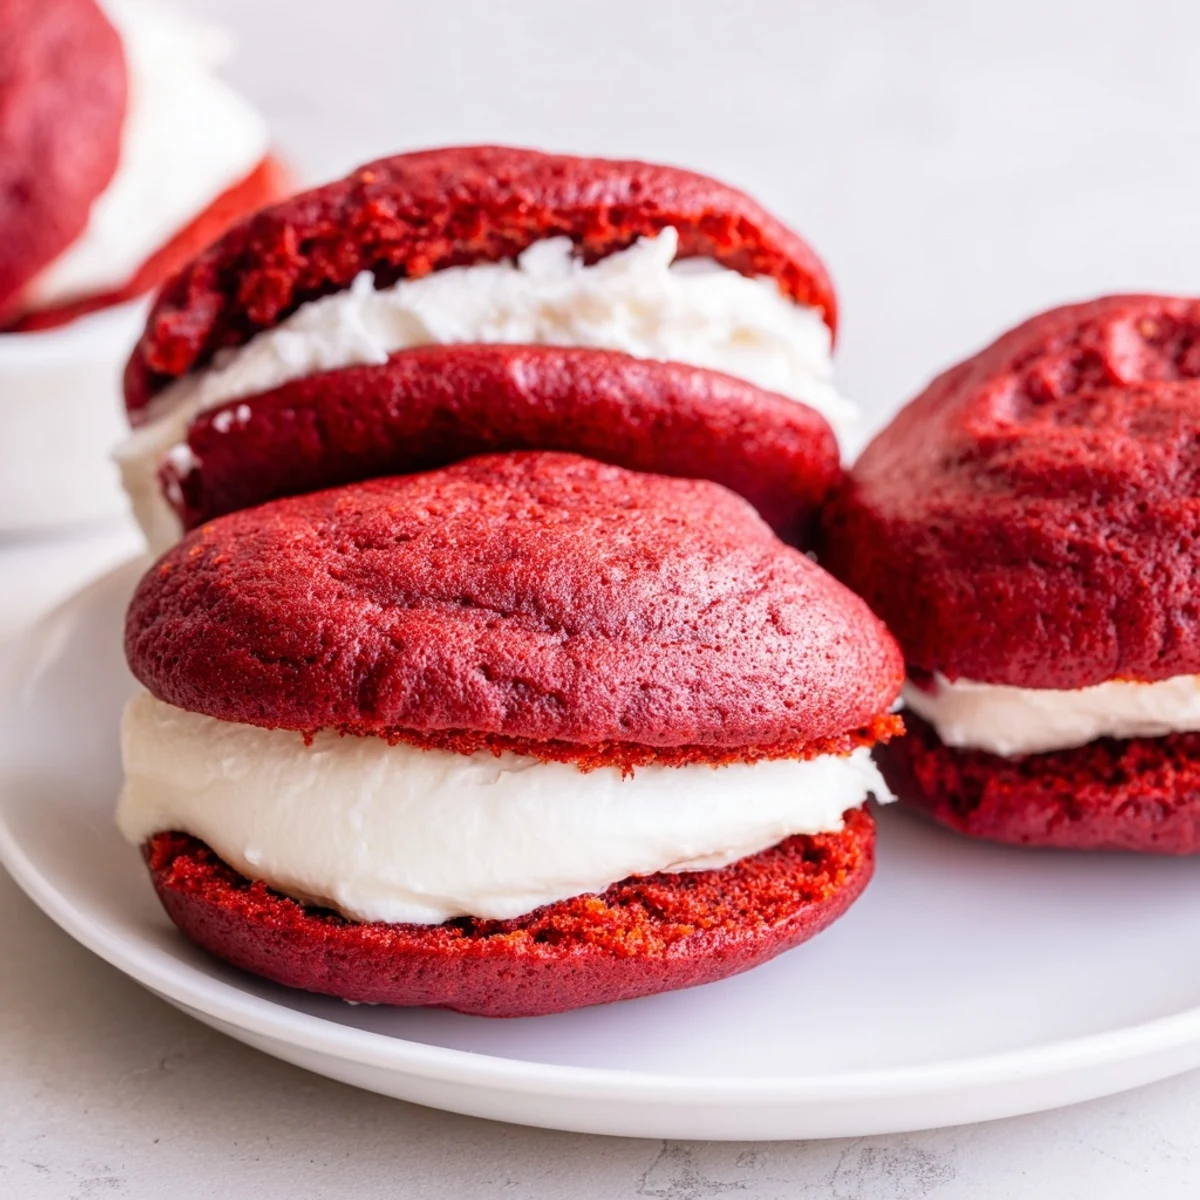
 These soft, cake-like red velvet cookies are baked to a tender crumb and paired with a fluffy marshmallow cream filling, resulting in a nostalgic and satisfying treat. The combination of cocoa and vanilla with a hint of buttermilk creates a rich flavor profile that balances sweetness and texture. Easy to prepare with common baking ingredients, these whoopie pies offer a delightful crowd-pleasing dessert perfect for gatherings or an indulgent snack. Assembly involves pairing cooled cookies and filling them generously with the creamy marshmallow blend, ensuring each bite melts smoothly.
The first time I attempted red velvet whoopie pies, I ended up with bright red hands and a kitchen that looked like a crime scene. I'd underestimated how much food coloring would splatter when the mixer kicked on. But that first bite, the way the marshmallow cream squished out the sides, made every paper towel worth it.
My sister's wedding shower needed a dessert that felt festive but not fussy. These whoopie pies disappeared faster than the three tier cake we'd also ordered. Her mother in law still asks for the recipe every Thanksgiving.
Ingredients
- 2 cups all-purpose flour: The structure that holds everything together, dont skip the measuring
- 2 tablespoons cocoa powder: Just enough to give depth without overpowering the delicate red velvet flavor
- 1 teaspoon baking powder: Helps these little cakes puff into perfect domes
- ½ teaspoon baking soda: Works with the buttermilk for tenderness
- ½ teaspoon salt: Balances the sweetness and wakes up all the flavors
- ½ cup unsalted butter softened: Room temperature is non negotiable for proper creaming
- 1 cup granulated sugar: Creates the cookie texture and helps them spread just right
- 1 large egg: Bind everything together and add richness
- 1 teaspoon vanilla extract: Dont even think about using imitation
- 1 tablespoon red food coloring: Gel gives deeper color with less liquid but either works
- ½ cup buttermilk: The secret ingredient that makes red velvet what it is
- ½ cup unsalted butter softened: For the filling, keep it at room temperature for smooth mixing
- 1 ½ cups powdered sugar sifted: Sifting prevents lumps in your silky marshmallow cream
- 1 jar marshmallow crème: The star of the filling, use the real stuff
- 1 teaspoon vanilla extract: Pure vanilla makes the filling sing
- Pinch of salt: Keeps the marshmallow filling from becoming cloyingly sweet
Instructions
- Get your oven ready:
- Preheat to 350°F and line two baking sheets with parchment paper, this prevents sticking and makes cleanup effortless
- Whisk the dry ingredients:
- In a medium bowl, combine flour, cocoa powder, baking powder, baking soda, and salt until well blended
- Cream the butter and sugar:
- Beat them together for 2 to 3 minutes until light and fluffy, this step creates the tender texture
- Add the egg and vanilla:
- Mix until completely incorporated, scraping down the sides of the bowl
- Make it red:
- Pour in the food coloring and mix until the batter is evenly colored
- Combine wet and dry:
- Alternate adding the flour mixture and buttermilk in three additions, starting and ending with flour, mixing just until combined
- Scoop the batter:
- Drop 24 even mounds onto the prepared sheets, leaving 2 inches between each for spreading
- Bake until set:
- 10 to 12 minutes should do it, theyre done when they spring back lightly when touched
- Cool completely:
- Let them rest on the sheets for 5 minutes then move to a wire rack, patience pays off here
- Make the filling:
- Beat the butter until smooth, gradually add powdered sugar, then mix in marshmallow crème, vanilla, and salt
- Assemble the pies:
- Pair cookies by size, spread filling on one half and sandwich with its match, serve immediately or chill briefly to set
 Pin it
 My daughter insisted on helping with the red food coloring. She squeezed the bottle with such enthusiasm that I found red splatters on the ceiling three days later. Now we mix it in a separate bowl first.
Making Them Ahead
The cookie shells freeze beautifully for up to a month. I bake a double batch on Sunday and keep a stash in the freezer for unexpected school events or midnight cravings.
Filling Variations
Sometimes I swap half the marshmallow crème for softened cream cheese. The tang cuts through the sweetness and makes these feel more grown up. Chocolate hazelnut spread works too, if you're feeling rebellious.
Presentation Tips
A light dusting of powdered sugar on top makes these look bakery professional. Roll the edges in sprinkles for birthday parties, or crushed candy canes in December.
- Use a small cookie scoop for uniform sizing
- Chill the filled pies for 15 minutes before serving for cleaner cuts
- Store in a single layer to prevent sticking
 Pin it
 These whoopie pies have become my go to for bake sales because they travel so well and always sell out first. Something about that red and white combination just makes people happy.
Recipe FAQ
- → What makes the cookies soft and cake-like?
-
The use of buttermilk and the right balance of flour and leavening agents creates a tender, moist crumb resulting in soft, cake-like cookies.
- → How do I achieve the bright red color?
-
Adding red food coloring evenly into the batter imparts the vibrant red hue characteristic of these treats.
- → Can I prepare the filling ahead of time?
-
Yes, the fluffy marshmallow cream filling can be made in advance and stored covered in the refrigerator until assembly.
- → How should I store the assembled treats?
-
Store them in an airtight container at room temperature for up to two days, or refrigerate to extend freshness.
- → Can I add flavors to enhance taste?
-
Adding instant espresso powder to the batter or cream cheese to the filling can deepen the flavor complexity.
