 Pin it
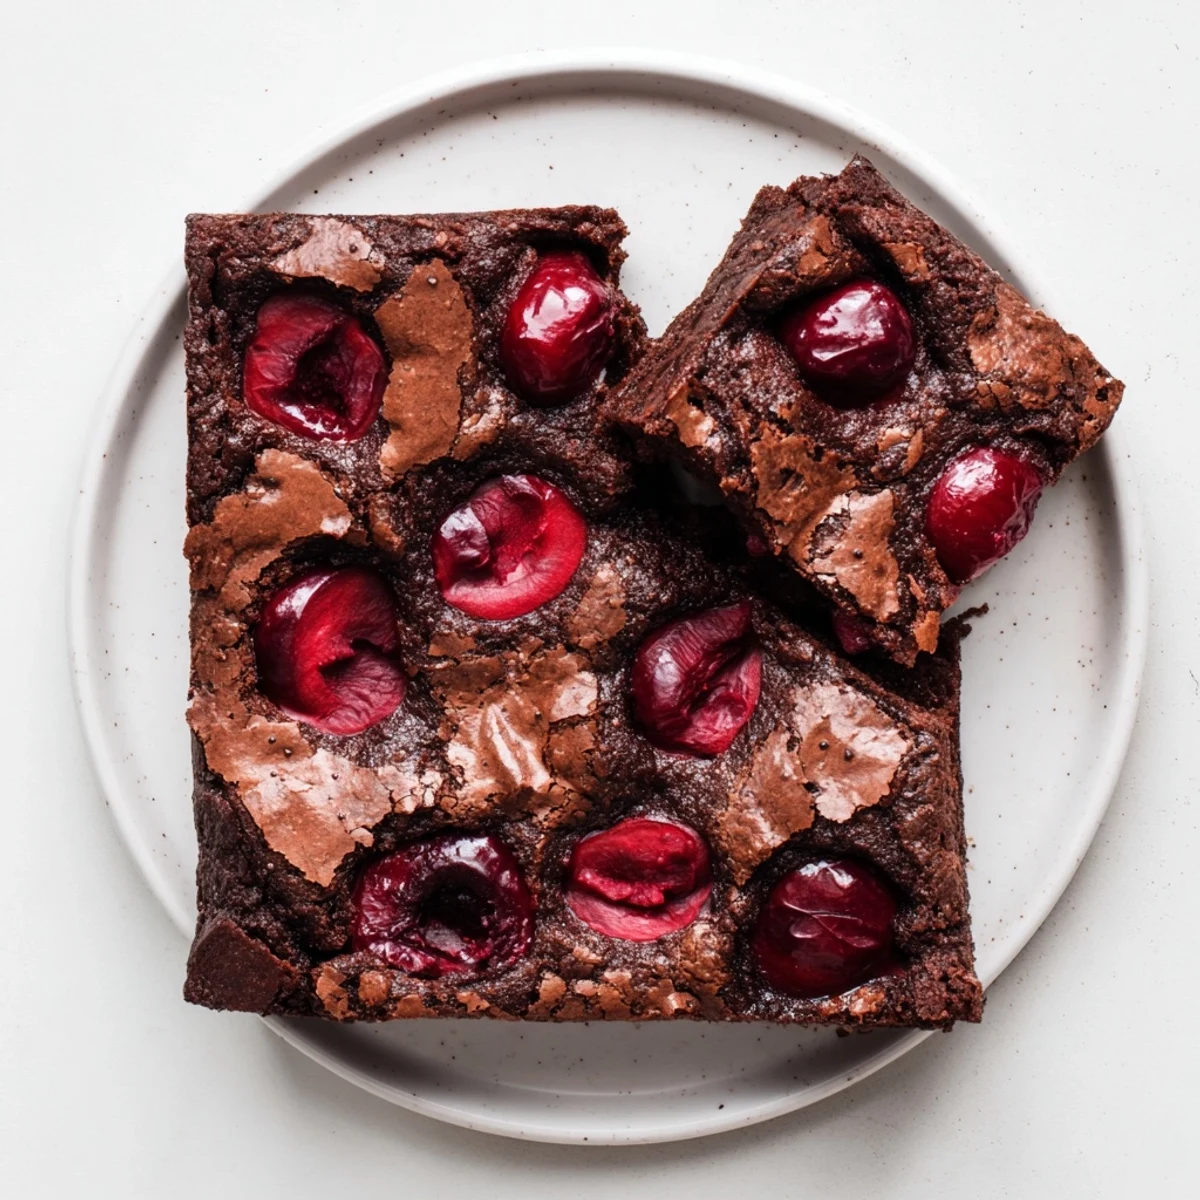
 These indulgent brownies feature a dense, fudgy chocolate base swirled with naturally sweet roasted cherries. The process begins by caramelizing fresh cherries at high temperature until they become juicy and concentrated. This intensifies their natural sweetness and creates a lovely contrast against the dark chocolate batter. The brownie itself relies on melted bittersweet chocolate and butter for that characteristic crackly top and gooey center. Roasted cherries get folded throughout the batter, with extra scattered on top for beautiful presentation. The result balances deep chocolate notes with bursts of tart-sweet fruit flavor, perfect for warm weather gatherings or special occasions.
The smell of bittersweet chocolate melting in a double boiler always pulls me into the kitchen, no matter what else I had planned. Last summer, I found myself with an abundance of fresh cherries from the farmers market and a sudden craving for something that felt both indulgent and somehow tied to the season. These brownies emerged from that perfect collision of ingredients and mood.
I served these at a July dinner party when the temperature outside hadnt dropped below 80 degrees all week. Something about the roasted fruit made them feel lighter than your typical brownie, and my friend Sarah actually asked if I could teach her how to roast cherries specifically for this purpose. Now theyre her go-to dessert whenever she needs to impress.
Ingredients
- Fresh cherries: Roasting concentrates their natural sugars and creates that jammy texture that makes these brownies special
- Bittersweet chocolate: Dont go higher than 70% cacao or the brownies become too intense for the cherries to shine through
- Unsalted butter: Lets you control the salt level, which matters when youre balancing sweet fruit and rich chocolate
- Both granulated and brown sugar: The brown sugar adds moisture and depth while the granulated creates that signature crackly top
- Vanilla extract: Used twice, once with the cherries and once in the batter, because it amplifies both fruit and chocolate flavors
- All-purpose flour and cocoa powder: Just enough to bind everything together without tipping into cake territory
Instructions
- Roast the cherries first:
- Toss the pitted and halved cherries with sugar and vanilla, then spread them on a parchment-lined baking sheet and roast at 400°F until theyre juicy and slightly caramelized, about 12-15 minutes.
- Melt your base:
- Set a heatproof bowl over simmering water and melt the butter with chopped chocolate, stirring until completely smooth and glossy, then set aside to cool slightly.
- Build the batter:
- Whisk both sugars into the chocolate mixture, then beat in the eggs one at a time before adding vanilla and salt.
- Fold in the dry ingredients:
- Sift the flour and cocoa powder over the bowl and fold gently until just combined, being careful not to overmix.
- Combine and bake:
- Fold in most of the roasted cherries, reserving a few for the top, then pour into your prepared pan, scatter with remaining cherries, and bake at 350°F for 25-28 minutes until a toothpick comes out with moist crumbs.
 Pin it
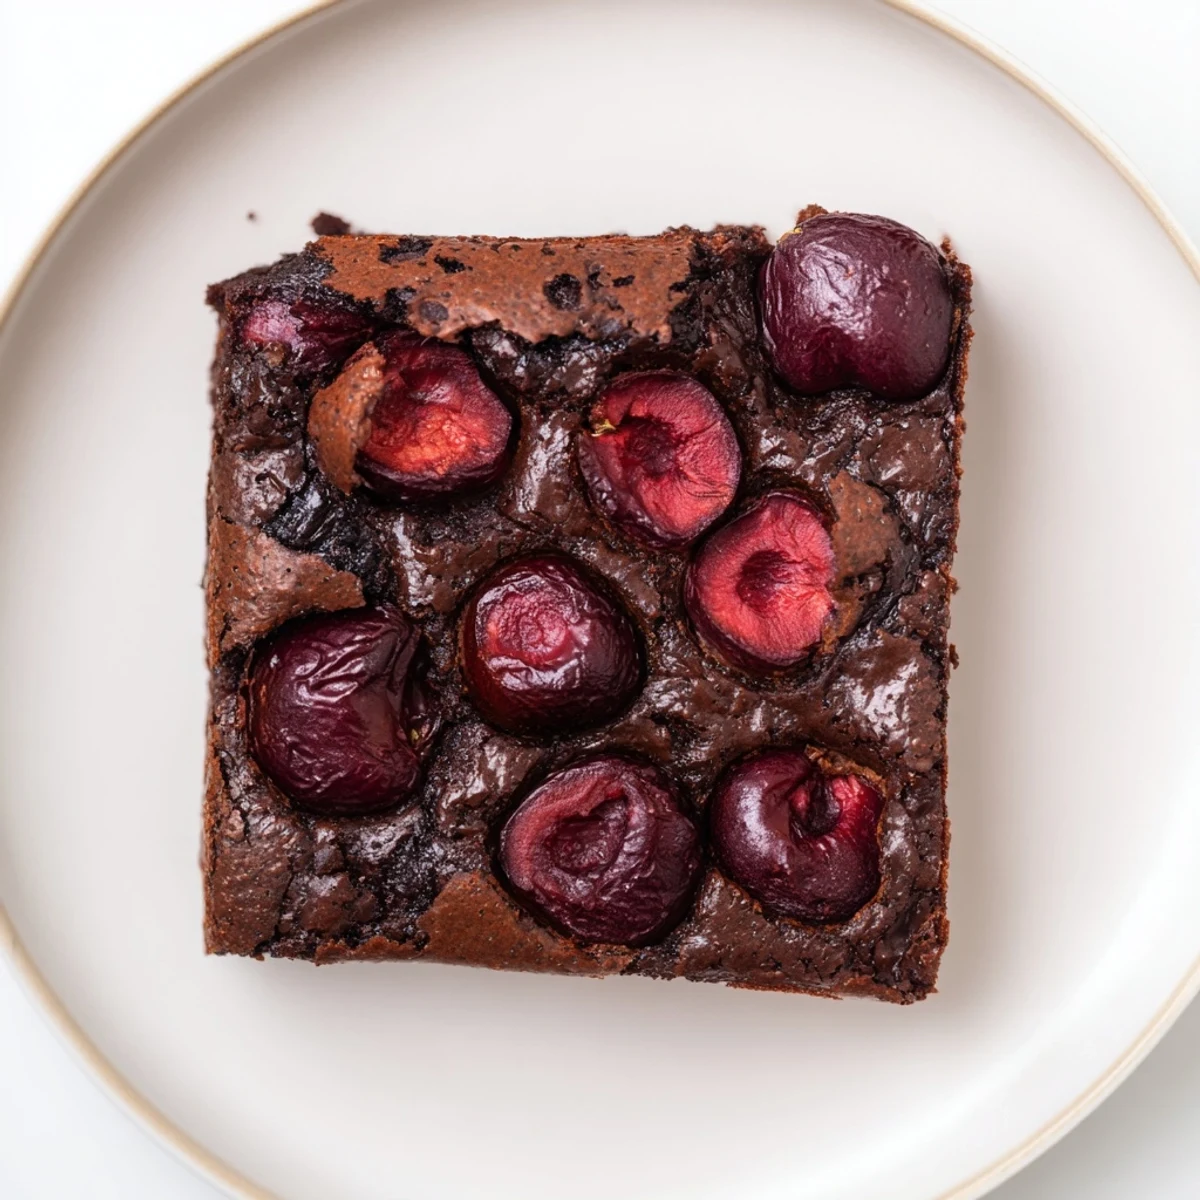
 My niece claimed these were better than the ones from the famous bakery downtown, which might have been an exaggeration but I took it as a compliment. Theres something about the combination of warm chocolate and those concentrated cherry notes that feels nostalgic yet new.
Making Them Ahead
Ive learned that these actually improve after a night in the refrigerator, as the flavors meld and the texture becomes even more fudgy. Just bring them to room temperature before serving for the best experience.
Serving Suggestions
While theyre perfect on their own, a scoop of vanilla bean ice cream creates that hot-cold contrast that makes dessert feel special. A dusting of powdered sugar right before serving adds a nice visual touch without much effort.
Storage and Freezing
Store in an airtight container at room temperature for up to three days, though in my house they rarely last that long. For longer storage, wrap individual squares tightly and freeze for up to three months.
- Thaw frozen brownies overnight in the refrigerator
- A quick 10-second zap in the microwave brings back that fresh-baked texture
- Avoid refrigerating unless absolutely necessary, as they can dry out
 Pin it
 Theres something deeply satisfying about a recipe that transforms simple ingredients into something that feels like a special occasion, even on a random Tuesday.
Recipe FAQ
- → Can I use frozen cherries instead of fresh?
-
Yes, frozen cherries work well in this dessert. Thaw them completely and drain thoroughly before roasting to remove excess moisture. Pat dry with paper towels to prevent sogginess during the roasting process.
- → How do I know when the brownies are done baking?
-
Insert a toothpick into the center of the pan. It should come out with moist crumbs rather than wet batter. The edges should be set but the center may still appear slightly soft. Avoid overbaking to maintain the fudgy texture.
- → Why roast the cherries before adding them?
-
Roasting concentrates the natural sugars in cherries and enhances their flavor. The heat caramelizes the fruit, creating a deeper, sweeter taste that pairs beautifully with dark chocolate. It also removes some moisture to prevent soggy brownies.
- → Can I add nuts to these brownies?
-
Absolutely. Walnuts or pecans complement both chocolate and cherry flavors. Add about 1/2 cup chopped nuts when folding in the roasted cherries. Toast the nuts beforehand for extra crunch and nutty aroma.
- → How should I store these brownies?
-
Keep them in an airtight container at room temperature for up to 3 days. For longer storage, refrigerate for up to a week. They can also be frozen for up to 3 months—wrap individually and thaw at room temperature before serving.
