 Pin it
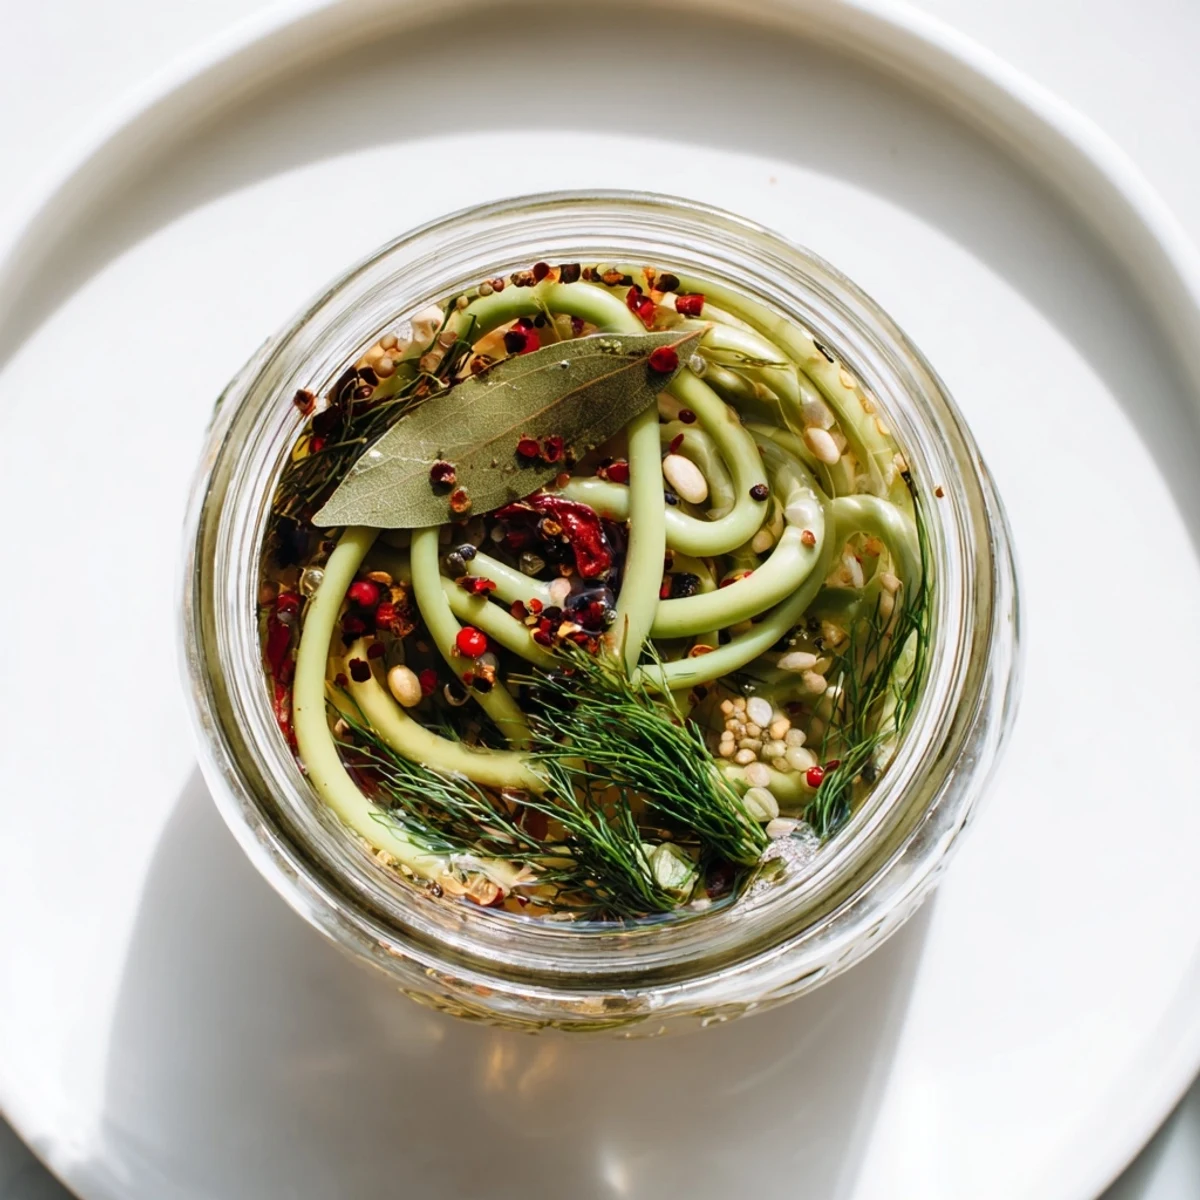
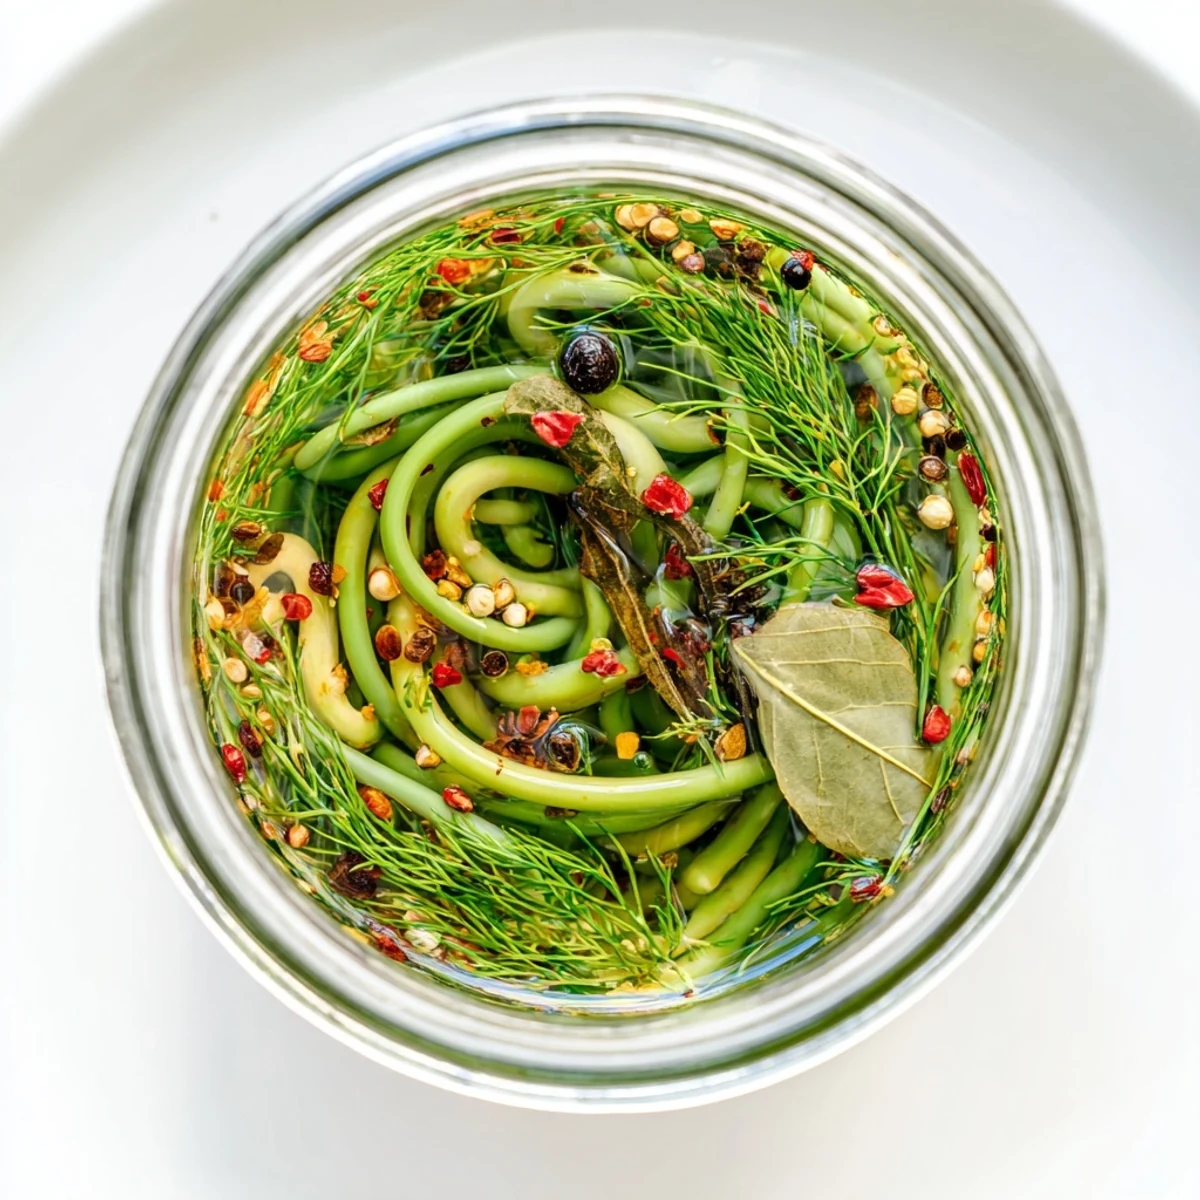
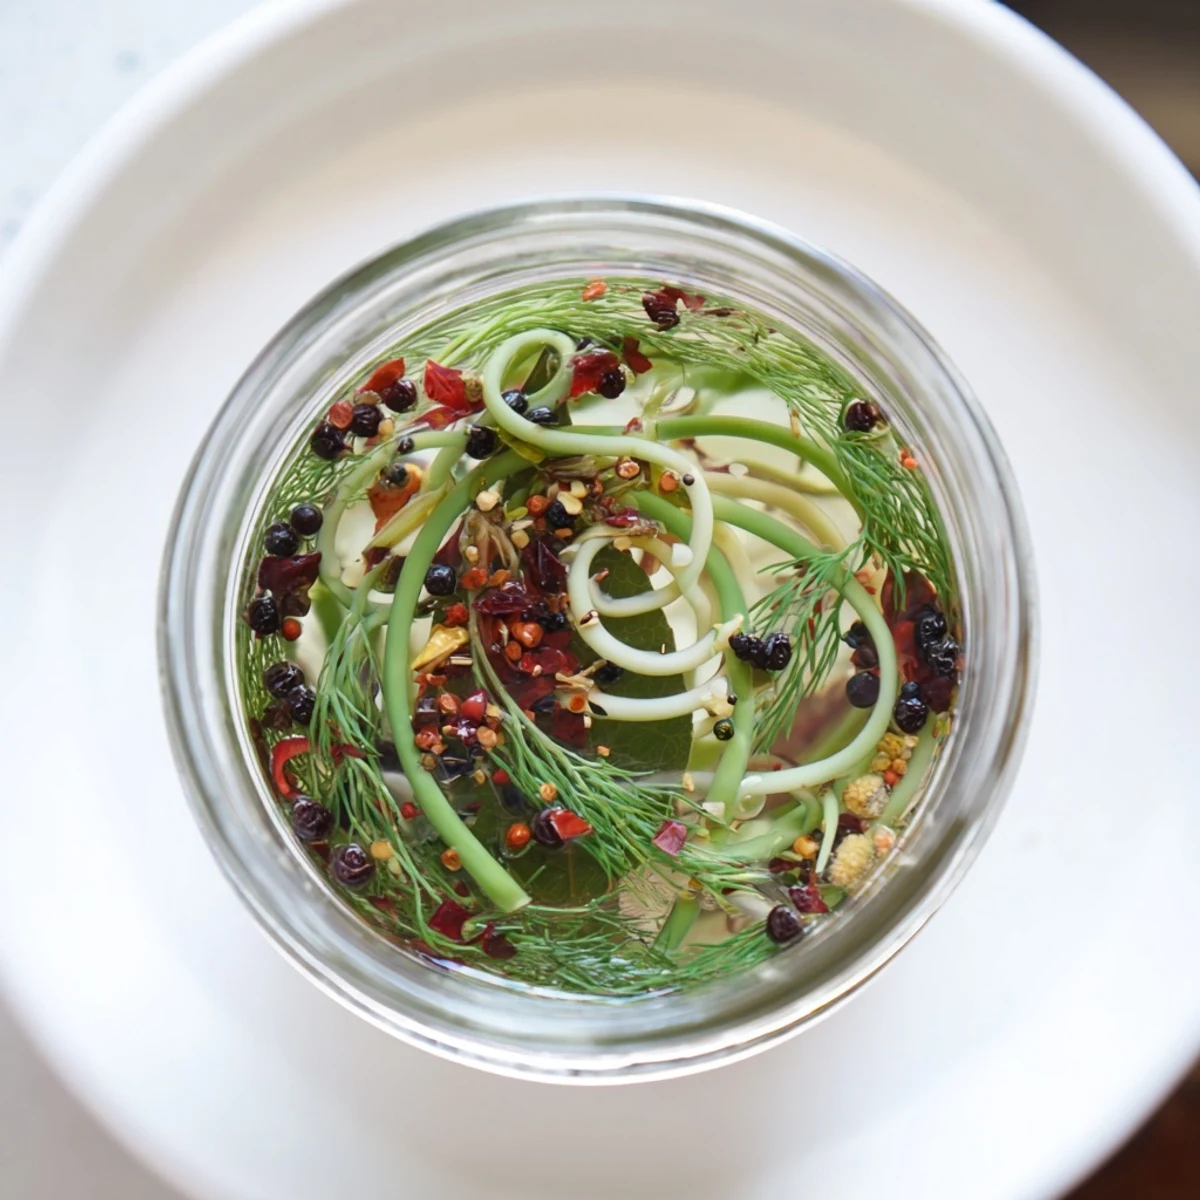
 Create a zesty condiment that captures the essence of fresh garlic scapes through the art of pickling. These crunchy stalks are transformed in a aromatic vinegar brine infused with black peppercorns, mustard seeds, coriander, and a kick of red pepper flakes. The pickling process mellows the sharp garlic flavor while preserving the signature garlicky essence, resulting in tangy, crisp spears that add excitement to any plate. Whether nestled on a charcuterie board, tucked into sandwiches, or enjoyed straight from the jar during a snack attack, these pickled scapes deliver layers of flavor that develop beautifully over time.
My farmer's market vendor handed me a tangled bunch of these curly green shoots and whispered they'd change my relationship with garlic forever. I was skeptical until I jarred my first batch and caught myself sneaking them straight from the refrigerator at midnight. Now I'm that person who hoards garlic scapes in season like they're edible gold.
Last summer I brought a jar to a friend's BBQ and watched them disappear before the burgers even hit the grill. People kept asking what kind of exotic vegetable they were eating. I've started giving them as host gifts instead of wine because the conversations they spark are infinitely more fun.
Ingredients
- 300 g garlic scapes: Look for tightly curled bright green shoots without any yellowing or soft spots
- 250 ml distilled white vinegar: The neutral base lets the scapes shine without competing flavors
- 250 ml water: Dilutes the vinegar just enough so the pickle has bite without being harsh
- 2 tbsp granulated sugar: Balances the acid and helps the brine penetrate the scapes evenly
- 1 tbsp kosher salt: Essential for that classic pickle tang and proper preservation
- 1 tsp black peppercorns: Adds warm background notes that deepen everything
- 1 tsp mustard seeds: Provides a gentle heat and that familiar pickle aroma
- 1 tsp coriander seeds: Brings subtle citrus brightness to the mix
- 1/2 tsp red pepper flakes: Adjust up or down depending on your heat tolerance
- 2 small dried chilies: For visual interest and another layer of warmth
- 2 bay leaves: Adds an earthy herbal foundation to the brine
- 4 sprigs fresh dill: Optional but gives them that classic deli pickle vibe
Instructions
- Get your jars ready:
- Wash everything thoroughly with hot soapy water then sterilize by boiling for 10 minutes or running through a hot dishwasher cycle.
- Prep the scapes:
- Trim the woody ends and cut the curly shoots to fit your jars, bending them gently if needed to pack them in tightly.
- Start packing:
- Divide the scapes, fresh dill sprigs, and dried chilies evenly between your two sterilized jars.
- Add the spices:
- Split the peppercorns, mustard seeds, coriander, red pepper flakes, and bay leaves between both jars.
- Make the brine:
- Combine vinegar, water, sugar, and salt in a saucepan and bring to a boil until the sugar and salt dissolve completely.
- Fill everything up:
- Carefully pour the hot brine over the packed scapes, making sure they're completely submerged with about 1 cm headspace.
- Seal and cool:
- Screw on the lids and let the jars cool to room temperature before refrigerating.
- The waiting game:
- Let them pickle for at least 48 hours though I promise they're worth the wait and only get better after a week.
 Pin it
 I learned the hard way that giving them as gifts means I need to triple my batch. My brother-in-law actually hid my jar behind the pickles in his fridge so his wife wouldn't find it. Now I make extra just to keep the peace in the family.
Perfecting Your Pickle
The first year I made these I packed the jars too loosely and the scapes turned an unappetizing grayish-green. Now I really cram them in there, which keeps them beautifully vibrant and ensures every inch gets infused with the spiced brine. The difference in both appearance and flavor is remarkable.
Playing With Heat
I've started doing one jar with just the red pepper flakes and another with sliced jalapeños for the spice lovers in my life. The brine is forgiving enough that you can dial the heat up or down without throwing off the balance. Last fall I added a smashed garlic clove to each jar and that version disappeared first at Thanksgiving.
Using Up Your Pickled Scapes
Chop them and fold into potato salad or scatter over roasted vegetables for a bright punch. They're incredible smashed into soft goat cheese or cream cheese for an instant bagel upgrade. The brine itself is liquid gold so don't you dare pour it down the drain.
- Try whisking the brine into vinaigrettes for instant complexity
- Add chopped scapes to your next martini or bloody mary
- Use as a garnish for rich braised dishes to cut through the richness
 Pin it
 There's something deeply satisfying about seeing those jars lined up in the fridge, knowing I've captured the best of spring to pull out all year long. Happy pickling, my friends.
Recipe FAQ
- → What do garlic scapes taste like?
-
Garlic scapes have a milder, sweeter flavor compared to garlic cloves, with a fresh green taste similar to scallions or chives. When pickled, they become tangy and develop a pleasant crunch that retains their subtle garlicky essence.
- → How long should I let these pickle before eating?
-
For best flavor, let the scapes pickle for at least 48 hours before opening. The flavors continue to develop over time, reaching peak intensity after about one week of refrigeration.
- → Can I adjust the heat level?
-
Absolutely. Increase the red pepper flakes or add extra dried chilies for more spice. Conversely, reduce or omit the heat elements for a milder version that still delivers delicious tangy flavor.
- → How long will these keep in the refrigerator?
-
Properly refrigerated, these pickled scapes will stay fresh and crunchy for up to one month. Keep the jars sealed and ensure scapes remain submerged in brine for optimal preservation.
- → What dishes pair well with pickled garlic scapes?
-
These tangy spears shine alongside grilled meats and roasted vegetables, add crunch to sandwiches and burgers, elevate cheese and charcuterie boards, or bring brightness to grain bowls and fresh salads.
