 Pin it
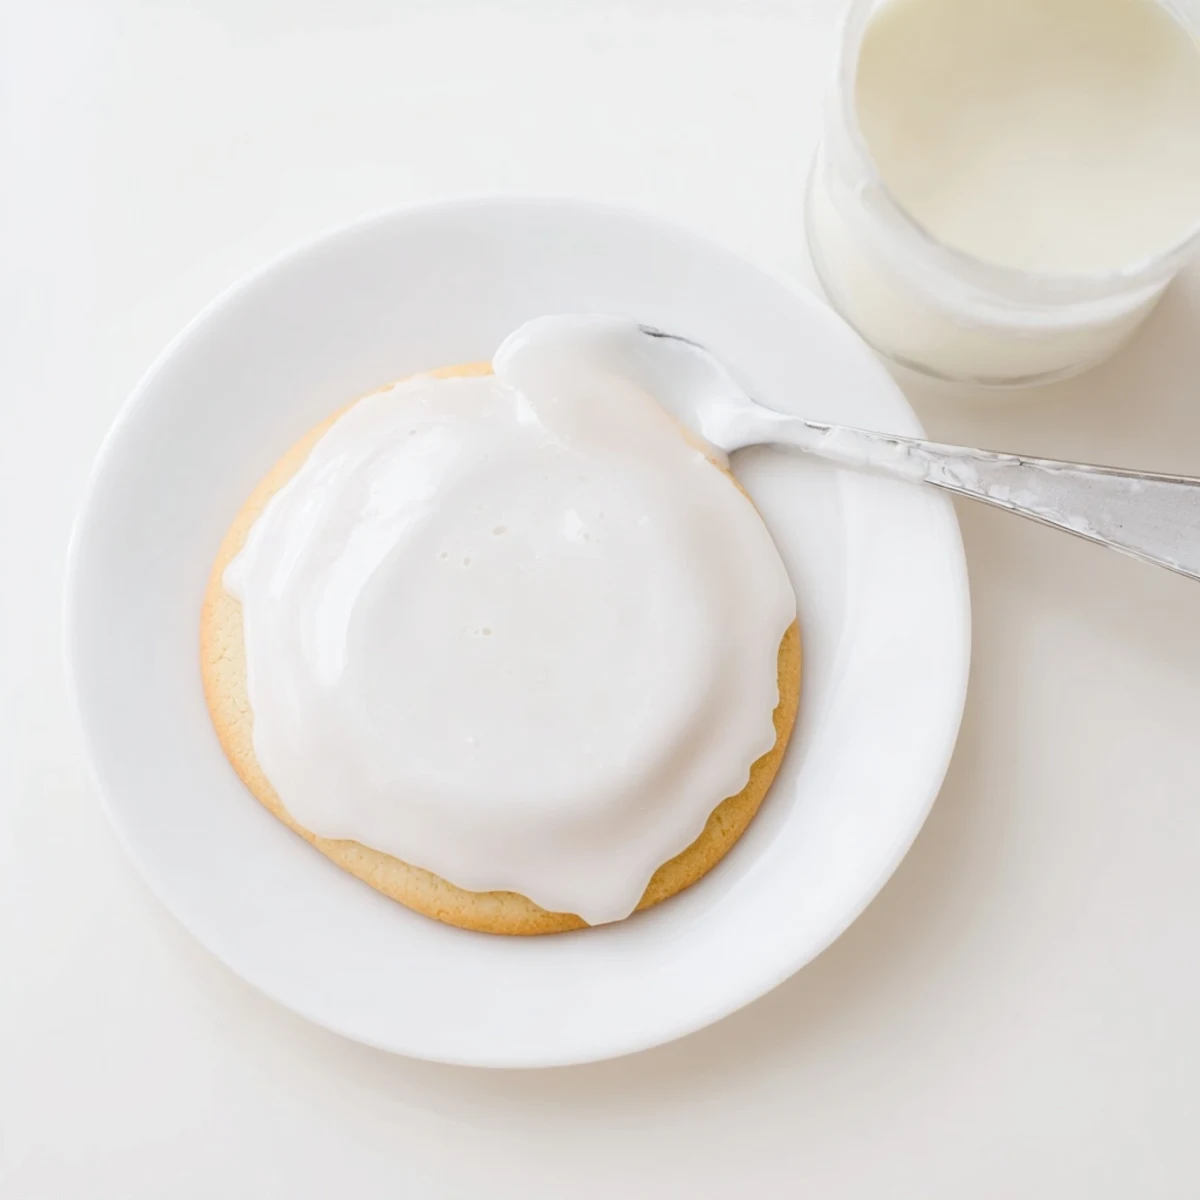
 This glossy sugar cookie icing comes together in just 10 minutes with ingredients you likely have in your pantry. The secret ingredient—light corn syrup—creates that professional, shiny finish that dries firm enough to stack cookies without smudging. You can easily customize the consistency for dipping, spreading, or piping intricate designs, and add gel or liquid food coloring for vibrant decorations. One batch yields about one cup, enough to beautifully decorate 24 cookies.
There was this rainy Sunday when my youngest begged to bake cookies, but we had zero fancy decorating supplies. I threw together this icing from pantry staples, and honestly? It worked better than anything I'd bought at the store. The way it settles into that perfect glossy finish still feels like magic every single time.
Last Christmas, I made three double batches because my niece insisted on rainbow trees and snowflakes for her class party. We covered every available surface with wax paper and drying cookies, creating this sugary assembly line that lasted well past bedtime. Those little faces when they saw their creations the next morning—absolutely worth every sticky spoon and stained fingertip.
Ingredients
- 2 cups powdered sugar: Sifting first prevents those frustrating tiny lumps that ruin smooth icing
- 2–3 tablespoons milk: Start with less and add gradually—thinner is easier to fix than too thick
- 1 tablespoon light corn syrup: This is the secret ingredient that creates that gorgeous professional sheen
- 1/2 teaspoon pure vanilla extract: Dont skip this even for colored icing—it adds depth you'll notice
- Food coloring: Gel gives vibrant colors without thinning your consistency like liquid does
Instructions
- Mix the base:
- Whisk powdered sugar, 2 tablespoons milk, corn syrup and vanilla until completely smooth and glossy like heavy cream
- Check your consistency:
- Lift your whisk and watch how the icing drips—it should flow back into itself and disappear within 10 seconds
- Thin if needed:
- Add milk just 1/2 teaspoon at a time, testing after each addition until you reach that perfect pourable thickness
- Add color:
- Divide into small bowls and stir in food coloring drop by drop, remembering colors deepen slightly as they dry
- Decorate and set:
- Work quickly once you start—dip, spread or pipe onto cooled cookies then let them dry undisturbed for at least 4 hours
 Pin it
 My mom still talks about the Valentine's Day I surprised her with heart cookies iced in her favorite shade of pink. I'd practiced the consistency so many times that weekend, and seeing her carefully arrange them on a plate like they were precious jewels made all those test batches completely worth it.
Getting the Right Consistency
I've learned that this icing is all about patience—add your liquid slowly, mix thoroughly, and test before adding more. The 10-second drip test changed my entire cookie game overnight and eliminated so much frustration.
Color Confidence
Start with less coloring than you think you need, especially with gels which pack serious pigment punch. You can always add more but you can't take it back, and sometimes those slightly softer, muted colors look more sophisticated anyway.
Application Techniques
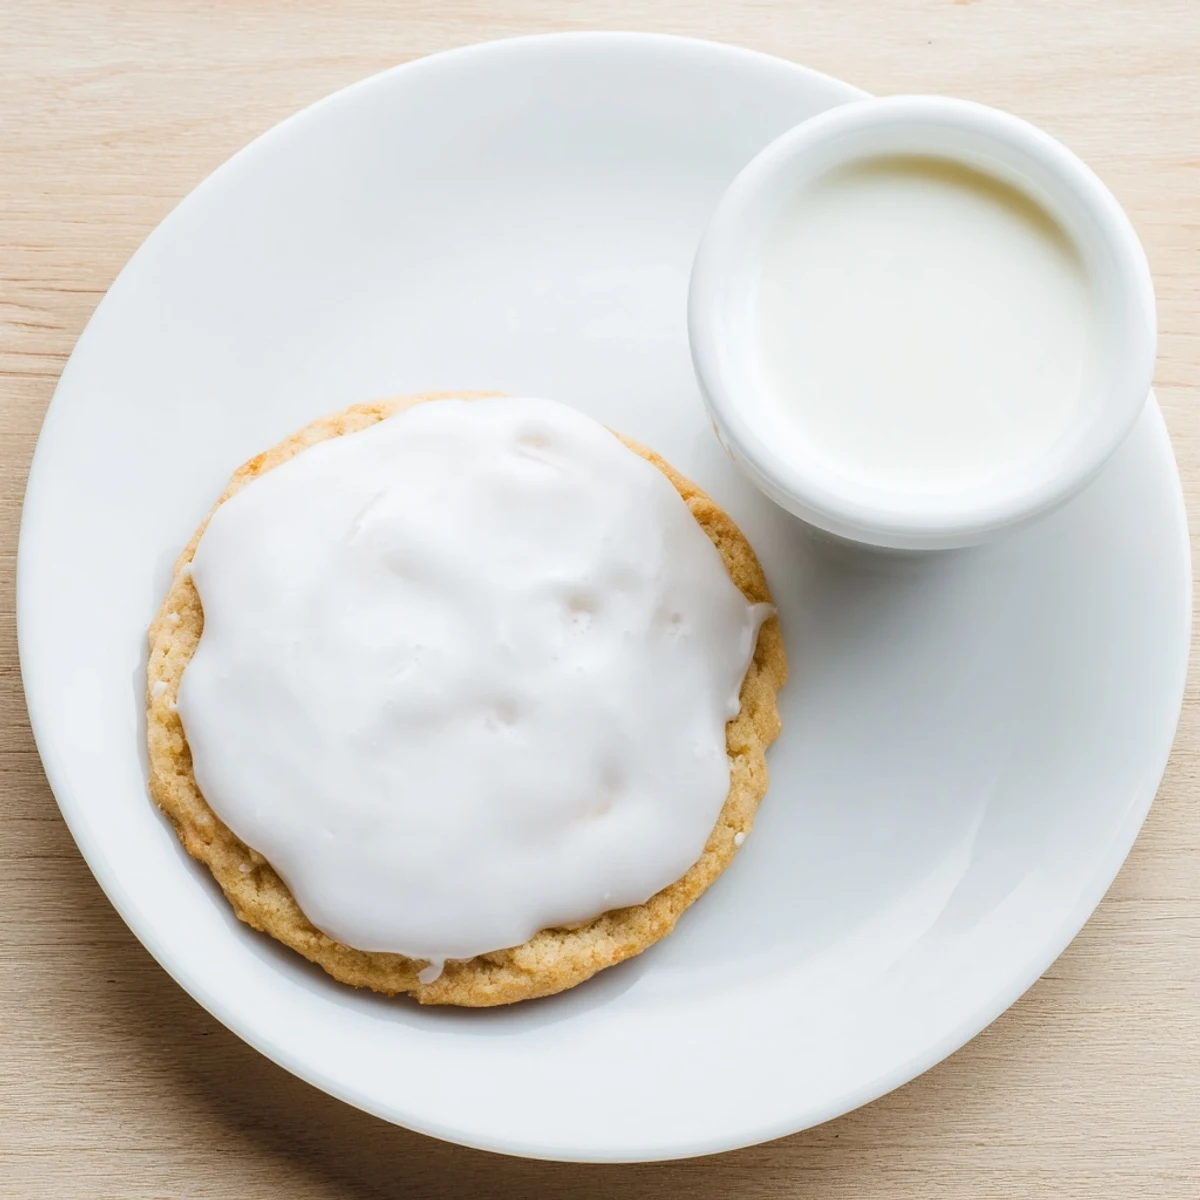
Dipping creates that perfectly smooth glass-like finish and is surprisingly forgiving for beginners. Spreading gives you more control for detailed patterns while piping lets you add those tiny accents that make people ask how you did it.
- Hold cookies at a slight angle when dipping for even coverage
- Use toothpicks to fix small imperfections before drying starts
- Keep a damp paper towel nearby to wipe your workspace between colors
 Pin it
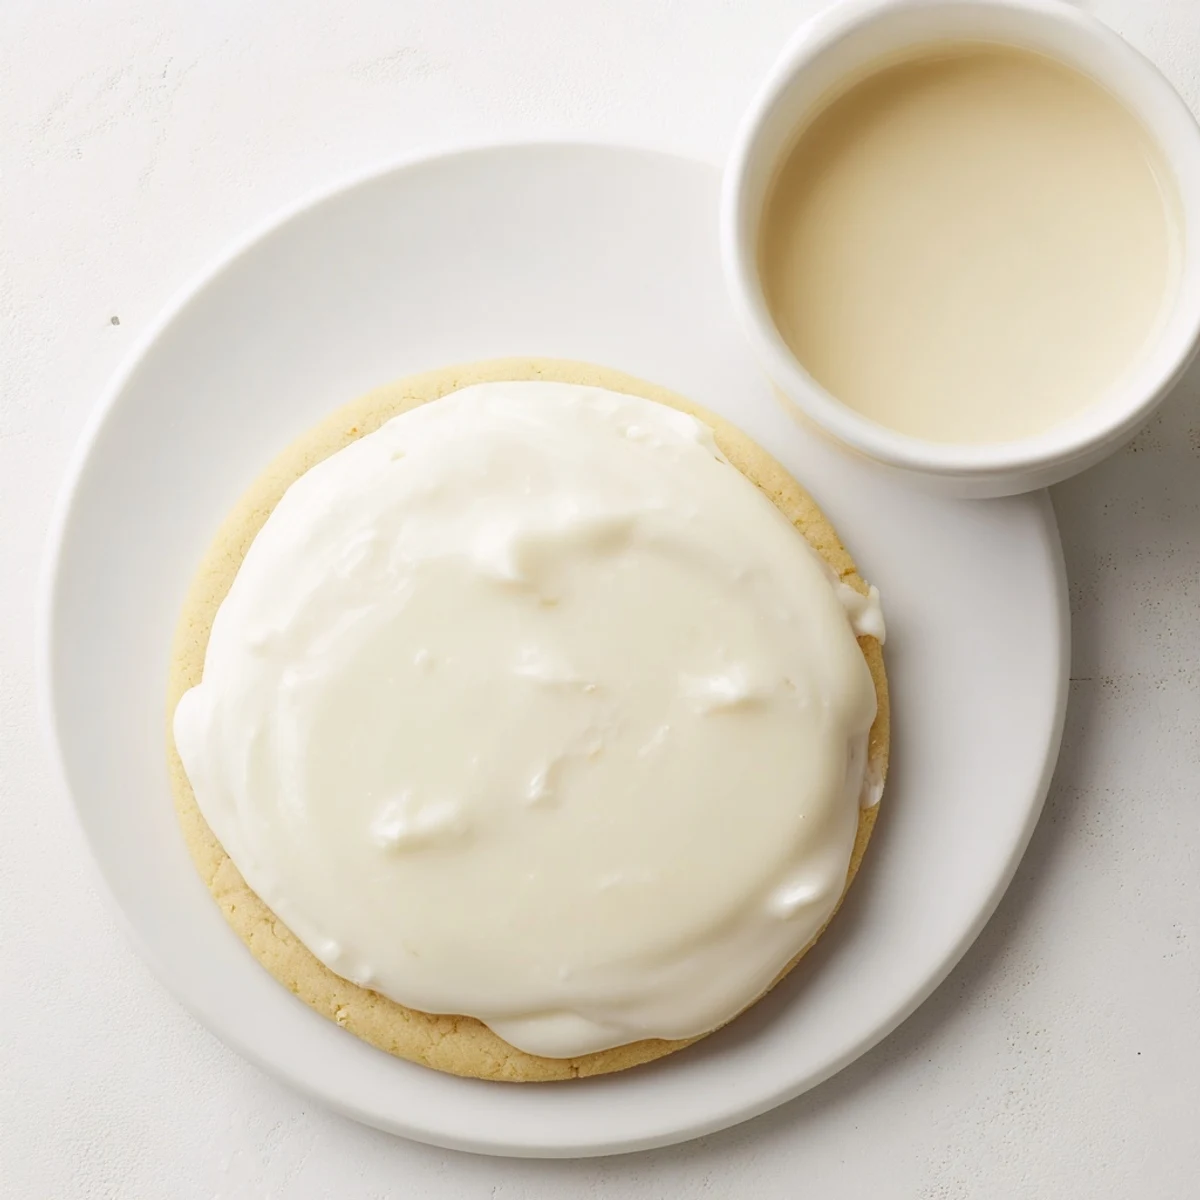
 Now every time I see that glossy finish hardening into something beautiful, I remember that rainy afternoon discovery. Sometimes the simplest recipes create the sweetest memories.
Recipe FAQ
- → How long does the icing take to dry completely?
-
Allow decorated cookies to dry at room temperature for at least 4 hours, or until the icing is completely set and firm to the touch. Humidity may extend drying time slightly.
- → Can I make this icing ahead of time?
-
Yes! Store leftover icing in an airtight container in the refrigerator for up to 1 week. Before using, give it a good stir and add a tiny splash of milk if needed to reach the desired consistency.
- → What's the purpose of corn syrup in this recipe?
-
Corn syrup creates the glossy, professional finish and helps the icing dry smooth and firm. It also prevents the icing from becoming too hard or brittle once set.
- → How do I adjust consistency for piping versus flooding?
-
For flooding or dipping, use the thicker consistency as written. For piping detailed designs, add more powdered sugar a tablespoon at a time until the icing holds its shape when piped.
- → Can I use alternative sweeteners or milk options?
-
Yes! You can substitute non-dairy milk like almond, oat, or coconut milk. For the corn syrup, you may try agave nectar or golden syrup, though the finish and setting time may vary slightly.
- → Why did my icing turn out too thick or too thin?
-
If too thick, add milk just 1/2 teaspoon at a time until pourable. If too thin, gradually sift in more powdered sugar. It's easier to adjust gradually than to overcorrect.
